Showing posts with label Spellbinders. Show all posts

Sunday, December 30, 2018

Happy New Year - a look back at 2018


Its almost time to ring in a new year! Hard to believe that 2019 is here already! 

I thought it would be fun to look back on a few of my favorite projects for the year. Underneath each photo, I will share a link to the original post. So if you want to learn more, or are interested in the products used, you can find it quickly and easily.

This first card may possibly be my favorite of the year. Reason being is, I envisioned this card quite a long time ago. Then, I was able to bring it to life, not only by creating it, but also using products that I designed! Once again releasing products with Papertrey Ink has been quite surreal! Its a huge learning curve each and every time. I am grateful for the challenge. But most of all, I am beyond thrilled when I see someone else using my products. Its indescribable really. Thank you for wanting to use the products that start as a crazy idea in my head. It truly is sharing a piece of yourself with the world when you design products. Thank you for encouraging me with your purchases!

More craziness from inside my head. When I designed Color Block Stencils, I wanted the creation of a trendy, yet timeless, color blocked background to be simple. These stencils allow you to ink unique backgrounds easily, as they line up with the outside of a standard A2 card.

Bold Basics was a stamp set that I also designed to work with Color Block Stencils. How elegant is this card when paired with florals?! The color combinations are endless. From girly to a card for the guys, I am very proud of the stencils!

This Love Word die is another one of my designs, but this carries an even larger piece of me as that is my very own handlettering! I was writing the word for a lettering challenge and Jennifer McGuire saw it and said she NEEDED it as a die! After I picked myself up off the floor, of COURSE I made it into a die! :D 

While this word die was released for the wedding season, with Valentine's Day approaching, I will be taking it out again!! For a video tutorial on this die and all the creative ways you can use it click here: 10 Ways to Be Creative with Die Cut Words

This card is on the top of my favorites list for sure! Colored pencils combined with a beautiful stencil from Gina K Designs! Stencils are a personal favorite tool for me. So much so, that I created a video tutorial showing you: 

This card started my obsession with a fall color palette. It was inspired by a floral arrangement I saw at Michael's. Fresh and trendy, I continued to be head-over-heels for it for months! The gorgeous image from Gina K Designs didn't hurt things either. Also, pop over to the blog post and check out how an accident made a lovely accent on this card! 

My favorite fall color palette paired up with a Die Kit of the Month from Spellbinders on this card. Along with sneaking in my own Color Block Stencils. I still love gold...


More Spellbinders fun, along with Pebbles. Pebbles has this sweet aesthetic that always calls to me. I guess you could say it is my happy place for supplies! 


I had to share a layout for this year. I still love taking photos. So much. But, I often forget to share them. This layout was of a trip my husband and I took in February. My husband was a finalist for Engineer of the Year at his company. It was an impressive feat as there are over 6,000 engineers in his company! We were taken on an all-expenses paid trip to Palm Beach, Florida. However, our first trip alone in over 8 years was quickly ruined as we both came down with Influenza A. We spent the time in bed with Tylenol, in a stunning hotel, on the ocean. Glad I was able to capture a few lovely shots of the scenery before it all hit!
At least we were together...

Mail It Monday moved itself over to Instagram and the community has grown immensely! There are over 1400 card-mailers joining in each week! Encouraging one another to mail cards. We share card drives for those needing extra love. Friendships have been formed. Small groups of card exchanges have begun. Its been so wonderful to watch how it grows. We would love for you to join in as well! Find Mail It Monday on Instagram. And if you want to become involved, simply post with the hashtag #mailitmonday. Your post will remind people to send love, send cards.

Once again, I want to end this year full of thanks and gratitude. Thank you for continuing to visit me here and on Instagram and on YouTube. Thank you for the comments, emails, and messages. I love them all---from kind comments to questions! Thank you for purchasing items through my affiliate links.When you click, you sent a small amount of money back my way. Those purchases help pay for swim lessons, tuba lessons, bass guitar lessons, and more. Being able to help my family in this way means so very much to me! I would hug you, if I could! Thank you for continuing to love the paper crafting industry. For supporting all the small businesses run by moms like me. Thank you for buying my stamps and dies as well! Thank you friends, thank you from the very bottom of my heart. Hey, from the very tips of my toes!

Happiest of New Years to you and yours! May 2019 be full of more happiness than sadness, more love than loss, and more wonderful moments of life!

Sincerely Yours,
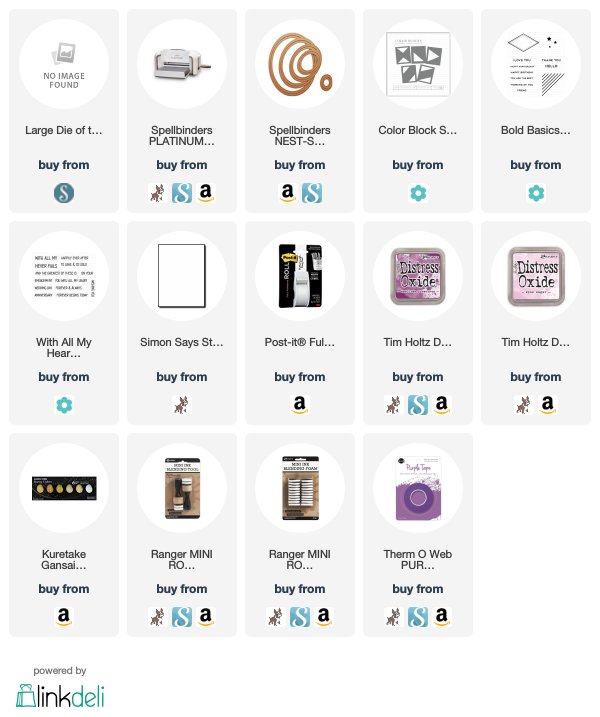
All supplies are linked in the original posts. Thank you!

Tuesday, September 25, 2018

Spellbinders Holiday Die D-Lites - negative die cut piece ideas

What is the first thing you do when you get a new set of dies? For me, after I rip them open in excitement, I immediately cut the images out. I love seeing how the images work together, how they layer, the size, the embossed detail...as you can see, I love me some good die cut images! When I got the new Spellbinders Holiday Die D-Lites Christmas Tree set, something surprising immediately struck me.

I had ideas for how I wanted to use the trees as soon as I saw the package, but when I cut them out, those ideas went right out the window! Because when I saw the left-over portion, or the negative pieces left behind, woweeeee! The "junk" was just as beautiful. New ideas sprang to mind and I got to work creating. 

I cut the basic image from a panel of cardstock that I trimmed down to size. Layered behind it is a piece of gold glitter cardstock. How simple, yet elegant is that?!!?

I added a few stamped stars on the card base, a sentiment, and used the star from the die set to finish the card off. Now I didn't toss the "real" pieces, I have set those aside to make another card. Its a two-for-one! How's that for making quick work of your holiday cards?!?

When you have an opening as perfect as this, you create a shaker card! I mean, come on! How could you not?! 

Behind the opening, on the card base, I did use some of the "real" images. The star and the tree trunk looked awesome behind the shaker sequins and added to the detail. Its like my Christmas tree is all lit up and sparkly! Be sure and visit the Spellbinders blog to read more about how I created these cards!

Sincerely Yours,
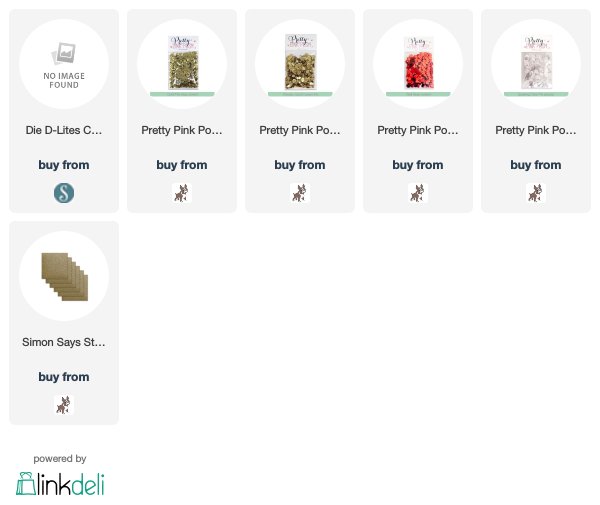
Supplies, affiliate links used:

Monday, September 24, 2018

Spellbinders Holiday Die D-Lites - Adding details to die cut images

Ho! Ho! Ho! Merry Christmas! Ok, we haven't even reached fall here yet, but it IS time to start thinking about creating your handmade Christmas cards. The Holiday Die D-Lites release from Spellbinders will surely excite you to get designing and creating! How could you not with these adorable characters?!?!

I am just going to give you a little peek at what I created for Spellbinders this month, because I would love for you to visit their blog and check out my entire post. These cuties are all stepped up with some quick and easy techniques. And while they look incredible, adding a few extra touches didn't take much time!

For example-see how I used a die template as a stencil on Santa's beard!


Color pencil and some ink add huge dimension to die cut images. 

And yes, these die cut images have all the amazing details you would expect from Spellbinders, but its Christmas, I always want to add something extra to everything!

More simple techniques on this guy too! Multiple colors of cardstock, inking, and don't forget my favorite trick of all-time...well, you will have to head over to the blog and read for yourself! :D

Sincerely Yours,
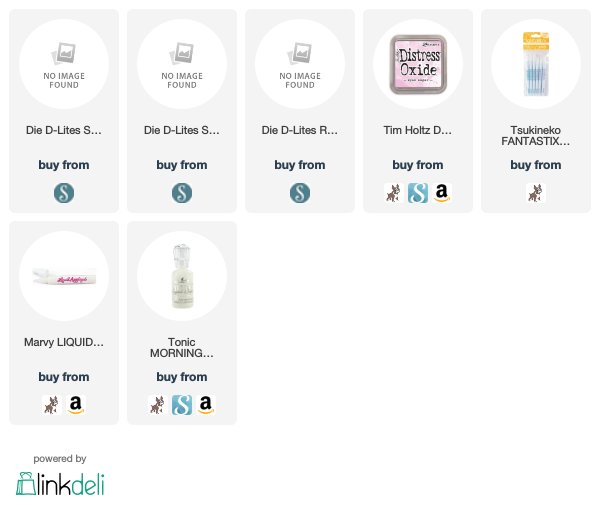
Supplies, affiliate links used:


Tuesday, August 14, 2018

Spellbinders August Large Die Kit of the Month

There isn't much better than getting new dies to play with, is there? Yes, I am a stamper, but there is something about using a die to cut a piece of paper that gets my creative juices flowing! The possibilities are truly endless when it comes to dies. Today I am sharing the Spellbinders August Large Die Kit of the Month. Spellbinders has fantastic options for their different kid clubs. If you love new products and especially new dies delivered to your door each month, visit their website for more information. You can find a link by clicking the names or by using the list at the bottom of this post.

How pretty is this image?! A flower and vines? Perfection! This intricate image can truly stand up on its own on a card. It really is a stunning focal point.

To help accentuate this gorgeous image, I created a background using my Color Block Stencils. The top was inked though the stencil. The rest of the layers were created by masking beyond the first line. I love the look! Its modern, elegant, timeless, and makes that die cut floral pop even more!

After die cutting the floral image from watercolor paper, I applied gold watercolor to the image. I used a smaller amount of water than normal because I wanted a more solid coverage. I also applied two coats of color, to cover up any white spots showing through.

The image was adhered with foam to more lift and life. A few sequins were also added for sparkle. I am obsessed with this color palette for fall, so yes, my next card is also the same colors. Why not go with what works, :D

When I get a new set of dies, I cut the image out several times. It allows me to move it, rearrange it, layer it, cut it, whatever to it. By doing that, I see what the die can do on a card. While playing around with more watercolored floral images, I saw that they came together, almost like a wreath.

I masked the background with Spellbinders Classic Ovals and inked in the same colors as above. Two floral images where adhered with foam, and again, those sequins in the perfect palette were added. I love the sequin in the center of the large flower, don't you?

I finished this elegant card of with a sentiment from my With All My Heart stamp set. It seemed like a wedding or anniversary card to me. So much warmth and rich color!

Speaking of anniversaries, today is our 19th wedding anniversary! Wow! Time does fly. But I can say, without a doubt, that I love my husband a little more each day. Its been a wonderful life so far! Looking back, its a beautiful thing to see our story unfold, and to see how God has held us and led us all these years. Here is to many more adventures together!

Sincerely Yours,
Supplies, affiliate links used:

Wednesday, May 16, 2018

Matchbook Folding Cards - Spellbinders May Small Kit of the Month

I have been playing with the Spellbinders Small Kit of the Month for May! Play time is always the best! This month's set of dies includes 4 dies that cut words away from your cardstock. It allows for some pretty cool and unique card designs! As I looked at these dies, I thought it would be fun to create a matchbook folding card, so the words would be the highlight of the card!

These bright and fun cards were easy to make, especially with how smoothly these Spellbinders dies cut! One pass, no problems, even with the tiny parts!

Click play above to get a super fast look at how the matchbook fold card opens.
For those looking at this via email click here: Matchbook Fold Card

Because of the folding, I used 12x12" card stock to create my bases. It gave me more room to cut the words. You could certainly do this with a standard A2 base, but your closure will be much smaller. The final dimensions of these cards are 4.25" x 5."

To begin with, cut your cardstock to 4.25" x 12." Then score the cardstock at 2" and 7."

If you only have a smaller score board, here is a short cut to get the scores in the correct location. Score your cardstock at 2", then fold that part over. Place the fold against the left edge of your score board. Then score at 5." (2+5=7) I am terribly proud of the math I used to make this happen. Its the little triumphs each day, my friends! :D

To cut the flaps, I placed the dies, making sure the words were facing the correct direction, on the flap. Using tape, I secured the die in place, so that it will not slide during the cutting process in the machine.
Place the die and paper on your cutting mat, making sure to leave the flap exposed, and not covered by the rest of the card. If that happens, you will cut through your base.

On the portion of the card under the die cut flap, I added some watercolor designs I made the other day. I am taking a watercolor course via a book, but that's a post for another day. :D Anyways, why not use the fun things in front of you?! :D

How cute are these cards? Best part is, these cards stay within the standard A2 size, allowing you to use basic envelopes.

Each word in the set of dies has a different font, I love that!

This will make someone smile when they receive it in the mail! Plus, there is a ton of room on the inside for writing a special note!


What do you think? Have you made cards with a fold like this before? I am always late to the cool folds party, so catch me up! And don't miss out on this fantastic kit! Each month the Spellbinders Small Kit of the Month has great dies that will build up your collection!

Sincerely Yours,


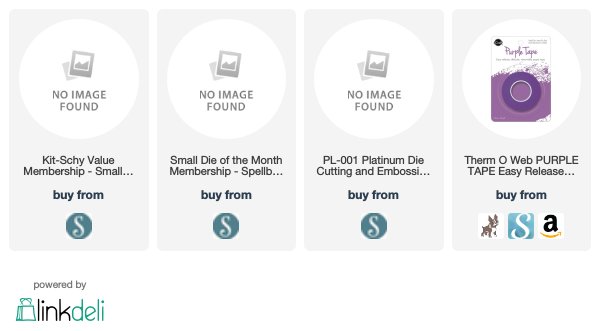
Affiliate links used:

Saturday, February 17, 2018

Winner!

Thank you for all the lovely comments on the Spellbinders February 2018 Blog Hop Post! Those Corner Floral Etched dies truly are stunning! 

For those still looking for that "hidden heart" I was talking about in the post, you can see it at the end of the purple arrow I drew on the photo. It happened purely on its own when I was creating the alcohol ink background. Truly fitting for a Valentine's Day card!

And now for the winner...Please contact Spellbinders at socialmedia@spellbinders.us by the 18th of February with the subject line Spellbinders February 2018 Blog Hop Winner from Kimberly’s Blog.

D.Ann C said...
I love the option of cutting in or completely out with these beautiful dies! Your cards are lovely! Yes, in addition to some of the leaves looking like hearts, there is that tiny little one, you snuck in there too. <3 p="">
February 13, 2018 at 3:03 PM


 Sincerely Yours,

Friday, February 16, 2018

Spellbinders February Small Die Kit of the Month

Spellbinders has several different kit options to choose from each month. Its a great way to build up your die collection, not to mention convenient! There are many different options and price points, so if you haven't before, visit their website and learn more; Spellbinders Kit of the Month
I am excited to play with February 2018's small kit of the month! You can see it above. The kit contains 4 absolutely lovely border dies. They are about 5.5" in length and have intricate details. It felt like I was looking at several patterns of lace. So pretty!


My eye immediately was drawn to the die on the top. It looked like eyelet lace to me. That made me think spring, so I grabbed some stamps and created a springy card full of layers.

Four of the borders were cut from white cardstock. Each of the borders was adhered to a panel of white cardstock with glue. I trimmed the ends down to fit my card front. After adhering the gingham patterned paper to my stamped cardstock base, the lace panel was applied. Twine tied around the card was the finishing touch. 

Tip: when you have borders (where two different objects meet) on your projects, break up that border.

 I did that two different ways on this card. First way was separating the stamped panel from the die cut panel with the gingham patterned paper. The second way was the twine tied between the gingham patterned paper and the die cut panel. Bonus, as the twine added some softness for a different texture.

This is truly a lovely look! Its a fun kit with beautiful design elements!

Sincerely Yours,


Related Posts Plugin for WordPress, Blogger...