Showing posts with label DCWV. Show all posts

Thursday, May 7, 2020

Beautiful Paper Flowers for Mother's Day

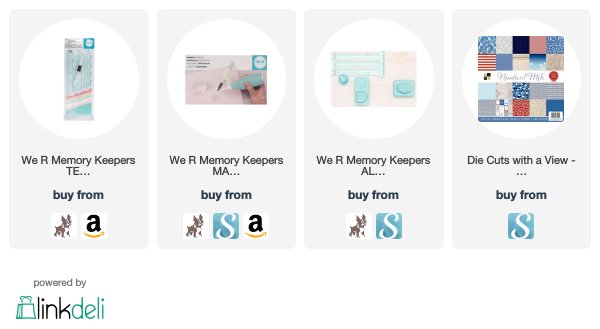
Getting flowers for mom for Mother's Day is going to be a bit tougher this year. So to make it easier, I created these beautiful paper roses with the We R Memory Circle and Spin tool and beautiful papers from DCWV called Petal Paper. While these papers are specially made, you could follow the tutorial below and create these flowers with tissue paper, patterned paper, and even card stock. You know what, even magazine or newsprint would work too!

Start by placing your paper inside the Circle Spin and Trim tool. Cut a circle. The larger you made your circle, the larger your flower will be.

The Circle Spin and Trim tool has two blades stored in the top. (Love that!) Twist the blade into the slot that corresponds to the size you wish to cut. Place the paper inside, close the lid, and turn the knob. You will need to hold the tool down, like any other cutting tool.

Using a scissors, cut a spiral from your circle. Cut off the end to square it up, and trim up any other wonky edges that might appear.

Begin rolling the paper, starting from the outside and working your way in. Use your fingers to help keep the bottom paper level. The top is not a concern, as it spreads out, it will create more realistic looking petals.

Stop rolling once you reach the circle in the center of your paper.

Put glue on the bottom of your rolled up paper. I find that a sticky craft glue works best. 

Place the glue down into the circle left at the center of your paper. Hold in place for a few moments. And also, allow the roll of paper to loosen up slightly, once again, creating a flower that looks more real.
You can manipulate the paper how you see fit. Especially when working with a wet glue. There is time to arrange the paper as you see fit.

Make as many flowers as you desire. Don't forget to cut out some leaves from paper as well. They can also be folded and bent to add a realistic look.

Surprise mom with flowers for Mother's Day. No need to tell her how easy they were to make, all she will see is how beautiful they are!

Happy Mother's Day!

To those of you hurting this Mother's Day, you are near to my heart and in my prayers. <3 p="">

Sincerely Yours,
Supplies used. Shared with affiliate links. Thanks, as always, for the support!
DCWV Petal Papers can be found at JoAnn. Which is offering free curbside pick up for online orders. Coupons are also accepted online and online orders include sale prices as they occur.


Tuesday, September 24, 2019

Halloween Cupcakes - Quick and Pinterest Worthy

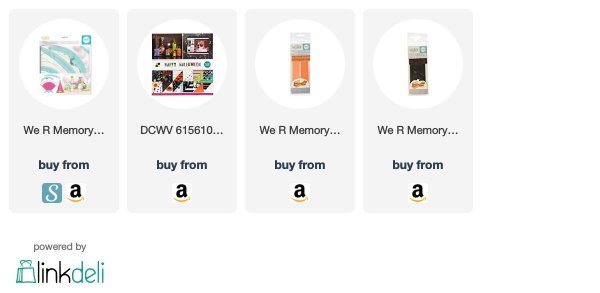
I love decorating cupcakes and treats. I want things to look Pinterest worthy and get all the oohs and aahs. But let's be real honest here, who has the time for that?!? Its one of the reasons that I love designing for We R Memory Keepers. They have the tools to make these projects quickly. But more importantly than that, my projects look fabulous as well! Decorating these adorable Halloween cupcakes took me maybe 15 minutes. No joke! 

To start with, I used a DCWV paper pad called Happy Halloween. The paper pad had these super cute tags with iridescent foil accents. I simply cut them from the paper, glued a tooth pick to the back, and added a couple of stars I punched from patterned paper. The glue took longer to dry than making these! There were so many cute and punny sayings, I had a hard time choosing!

The next step was making the cupcake wraps. Using the We R Memory Keepers DIY Party Board, I was able to make several cute wraps. The toughest choice was picking which papers I wanted to use. The standard cupcake wrap needs a 7"x7" piece of paper. With two cuts, the wrap is ready for adhesive. I place some on each end and secure it closed.

I did take the cupcake wraps another step and added some fun fringe. I used the We R Memory Keepers DIY Party Fringe around the inside edge. One piece wrapped around twice, adding a nice fullness. The Fringe has adhesive on it already, making it quick to apply to the wrap.

I found a few candy pumpkins at my local grocery store and knew they would be a perfect finishing touch.These definitely make me smile. 

What kind of treats do you like to make for Halloween? Will you try cupcake wraps and picks this year?

Sincerely Yours,
Supplies. Affiliate links used. Thank you for supporting my family and I in this way!

Sunday, December 30, 2018

Happy New Year - a look back at 2018


Its almost time to ring in a new year! Hard to believe that 2019 is here already! 

I thought it would be fun to look back on a few of my favorite projects for the year. Underneath each photo, I will share a link to the original post. So if you want to learn more, or are interested in the products used, you can find it quickly and easily.

This first card may possibly be my favorite of the year. Reason being is, I envisioned this card quite a long time ago. Then, I was able to bring it to life, not only by creating it, but also using products that I designed! Once again releasing products with Papertrey Ink has been quite surreal! Its a huge learning curve each and every time. I am grateful for the challenge. But most of all, I am beyond thrilled when I see someone else using my products. Its indescribable really. Thank you for wanting to use the products that start as a crazy idea in my head. It truly is sharing a piece of yourself with the world when you design products. Thank you for encouraging me with your purchases!

More craziness from inside my head. When I designed Color Block Stencils, I wanted the creation of a trendy, yet timeless, color blocked background to be simple. These stencils allow you to ink unique backgrounds easily, as they line up with the outside of a standard A2 card.

Bold Basics was a stamp set that I also designed to work with Color Block Stencils. How elegant is this card when paired with florals?! The color combinations are endless. From girly to a card for the guys, I am very proud of the stencils!

This Love Word die is another one of my designs, but this carries an even larger piece of me as that is my very own handlettering! I was writing the word for a lettering challenge and Jennifer McGuire saw it and said she NEEDED it as a die! After I picked myself up off the floor, of COURSE I made it into a die! :D 

While this word die was released for the wedding season, with Valentine's Day approaching, I will be taking it out again!! For a video tutorial on this die and all the creative ways you can use it click here: 10 Ways to Be Creative with Die Cut Words

This card is on the top of my favorites list for sure! Colored pencils combined with a beautiful stencil from Gina K Designs! Stencils are a personal favorite tool for me. So much so, that I created a video tutorial showing you: 

This card started my obsession with a fall color palette. It was inspired by a floral arrangement I saw at Michael's. Fresh and trendy, I continued to be head-over-heels for it for months! The gorgeous image from Gina K Designs didn't hurt things either. Also, pop over to the blog post and check out how an accident made a lovely accent on this card! 

My favorite fall color palette paired up with a Die Kit of the Month from Spellbinders on this card. Along with sneaking in my own Color Block Stencils. I still love gold...


More Spellbinders fun, along with Pebbles. Pebbles has this sweet aesthetic that always calls to me. I guess you could say it is my happy place for supplies! 
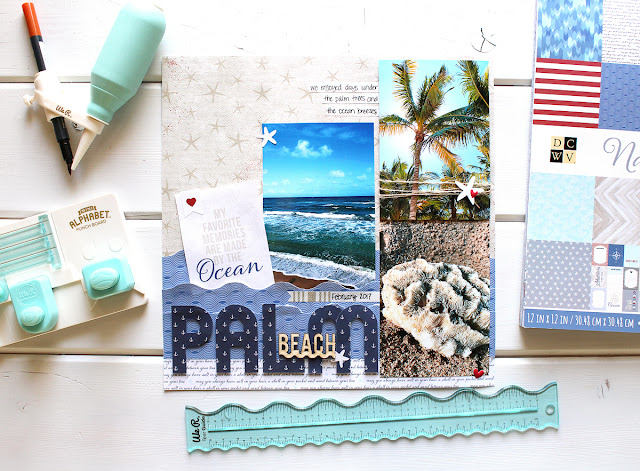

I had to share a layout for this year. I still love taking photos. So much. But, I often forget to share them. This layout was of a trip my husband and I took in February. My husband was a finalist for Engineer of the Year at his company. It was an impressive feat as there are over 6,000 engineers in his company! We were taken on an all-expenses paid trip to Palm Beach, Florida. However, our first trip alone in over 8 years was quickly ruined as we both came down with Influenza A. We spent the time in bed with Tylenol, in a stunning hotel, on the ocean. Glad I was able to capture a few lovely shots of the scenery before it all hit!
At least we were together...

Mail It Monday moved itself over to Instagram and the community has grown immensely! There are over 1400 card-mailers joining in each week! Encouraging one another to mail cards. We share card drives for those needing extra love. Friendships have been formed. Small groups of card exchanges have begun. Its been so wonderful to watch how it grows. We would love for you to join in as well! Find Mail It Monday on Instagram. And if you want to become involved, simply post with the hashtag #mailitmonday. Your post will remind people to send love, send cards.

Once again, I want to end this year full of thanks and gratitude. Thank you for continuing to visit me here and on Instagram and on YouTube. Thank you for the comments, emails, and messages. I love them all---from kind comments to questions! Thank you for purchasing items through my affiliate links.When you click, you sent a small amount of money back my way. Those purchases help pay for swim lessons, tuba lessons, bass guitar lessons, and more. Being able to help my family in this way means so very much to me! I would hug you, if I could! Thank you for continuing to love the paper crafting industry. For supporting all the small businesses run by moms like me. Thank you for buying my stamps and dies as well! Thank you friends, thank you from the very bottom of my heart. Hey, from the very tips of my toes!

Happiest of New Years to you and yours! May 2019 be full of more happiness than sadness, more love than loss, and more wonderful moments of life!

Sincerely Yours,
All supplies are linked in the original posts. Thank you!

Monday, December 3, 2018

handmade Christmas gifts - candles with the We R Memory Keepers Wick

There is nothing better than making a special Christmas gift for someone. Choosing the colors, styles, and whatever that mean something to the recipient is just so darn cool! The gift becomes more heartfelt and personal. Certainly better than a gift card!

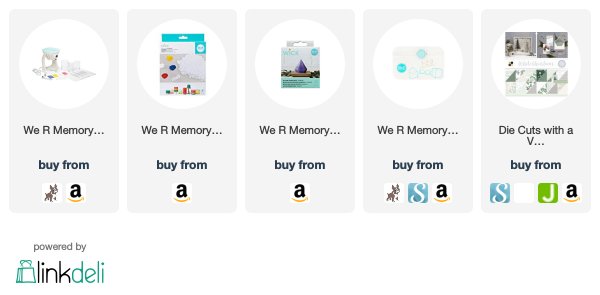
Each of these candles was created with the We R Memory Keepers Wick Candle Machine and the new silicone mold designs. As I have told you before, I was really not sure about this machine. I mean, I am a card-maker, and paper-crafter, not a crafter...Until I tried using it and became instantly hooked. Not only was it easy, but it was E.A.S.Y.! I could add color, scent, and create candles in shapes, or even in basic jars. I made candles for my deck to keep away mosquitos and my mom made candles for her new bathroom. So, I guess you could say we are all addicted!

When the new silicone molds arrived, I was in love with the modern and geometric look of these candles. They screamed my sister's name, so I got to work. My color palette is modern, yet Christmas. For all the details on how to make candles, including my tips for coloring and adding scent, visit the We R Memory Keepers blog

After the candles cooled, these special objects needed special packaging! I wrapped them up in boxes I created with the We R Memory Keepers 123 Punch Board. I measured the candles to get a size that would work for all three. These beauties are going to look lovely under the tree and be so loved when they are opened. And that is the best part!

Sincerely Yours,
Supplies. Affiliate links used. No cost to you, but a lovely blessing to me!

Monday, November 19, 2018

Winter Wonderland decor - DCWV and JOANN Fabric and Craft

Admit it, you have started decorating for Christmas. I know I have. I cannot help it. Something about Christmas decorations brings so much magic to the house. Memories of Christmases past. The memories of loved ones. The little hands that made the ugliest mugs and plates that you proudly place on the mantel. The twinkling lights. The scents of pine and cinnamon. 

Each year, I find another corner of our home that needs some Christmas magic. Being a paper crafter, I love making projects. Then the magic is paired with handmade touches. Nothing could be more special. Today I am sharing projects made with DCWV and JOANN Fabric and Crafts. Creating heartfelt projects, easily, because friends at the holidays, it HAS to be easy!

Using DCWV White Christmas Premium Stack, available at JOANN, I created several fun pieces of decor for a new shelf in our house. This pad is full of double-sided patterned papers, glitter papers, tag and journaling card pages, and a sticker page. Not only could you make tons of decor pieces, but this pad can help you make all your cards this holiday season as well.

I started by making this white shadowbox frame. A piece of wood panel patterned paper was placed in the back. Then I cut out this large journaling card from the pad as well. Its so lovely, it needed to stand on its own! From a duplicate card (included in the paper pad), I cut the house out and foam mounted it over the base image. Adding a bit of dimension really makes projects like this pop. Two small bottle brush trees were also placed in the frame. I am obsessed with those trees!

Please note that to take photos of these projects, the glass in the frames had to be removed to stop the glare. However, I did make sure that the projects could truly be created with the front of the frame intact. Big thumbs up!

Every Christmas project needs gifts! I created small gift boxes using the 1-2-3 Punch Board from We R Memory Keepers. On the top of the small boxes, I created a wreath from greenery. In that greenery, I added a tag. The tag was cut from a sheet of patterned paper from the White Christmas pad. There are SO MANY TAGS! Hello pretty gifts under the tree this year!

There were many unique tags, some smaller like this, and some traditional-style tags as well. To attach the tags, I used the small punch on my We R Memory Keepers Cropadile to punch a hole through the paper. To make it easy to attach the tag to the wreath, I cut a into the hole in a straight line, allowing me to wrap the tag around the greenery wire.

Don't forget the larger box in the background. On the top of that box, I used the We R Memory Keepers 1-2-3 Punch Board to make a bow for the top. It makes me smile.

This little frame is where this entire ensemble got started. I created a wreath from greenery and "hung" it from a piece of patterned paper inside another white shadowbox frame. To make it hang better inside the frame, the green striped paper hanger is foam mounted to the base. That allowed the greenery to lay better.

I trimmed one of the tags and adhered it underneath the wreath. There really is no place like home for the holidays!

I wish you nothing but the best this holiday season! May this season bring new and happy memories. And maybe some new decor!

Sincerely Yours,
Supplies. Affiliate links used.

Wednesday, August 22, 2018

quick teacher gift - emoji sticky notes

We all appreciate teachers and everything they do for our students. We also want to make sure we thank them, but so often its really busy, not allowing us to make a thoughtful gift. Well, this project has you covered. Its quick, easy, you can make the kids help with no worry, its personalized, useful, and thoughtful! WOW! That's a lot of goodness in one tag! :D

For my We R Memory Keepers design team project this week, I needed to make a teacher gift. Being a former teacher, I am all about sharing gifts that can be used and appreciated. These adorable emoji sticky notes are just the ticket! 

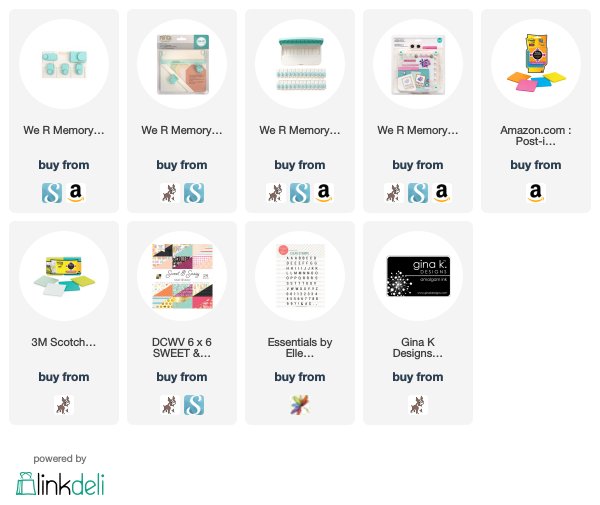
Using the new Emoji Punch Board from We R Memory Keepers, I punched out stacks of fun faces and made little sticky note pads. How cute are these?!?! 

A few other tools made quick work of these tags. Because I know teacher's need a little treat, I hung the tags from jars filled with candy. Trust me, it will be appreciated! :D For all the details, how-tos, some FANTASTIC tips, and how to make this gift totally personalized, see the full post on the We R Memory Keepers Blog.

All the best to your kiddos as they head back to school. Thinking of all you moms who dropped your kiddos off at college for the first time. This is always an emotional time of year-for me too. Here is to a wonderful school year everyone!


Sincerely Yours,


Supplies listed with affiliate links:

Wednesday, May 2, 2018

Palm Beach layout

Whoa. A layout. From me. Its shocking, I know. But I had some great photos from our trip to Palm Beach, FL, great tools from We R Memory Keepers, and some perfect papers from DCWV. I love when my design team assignments line up with my own crafty plans!

Head over to the We R Memory Keepers blog to see the tools I used on this layout. Honestly, they made this layout so easy to create. Essential tools, for sure!

Sincerely Yours,

Affiliate links used, at no cost to you.
Related Posts Plugin for WordPress, Blogger...