Showing posts with label Scrapbooking. Show all posts

Thursday, August 9, 2018

stamping on a layout - We R Memory Keepers Precision Press Advanced

Its a layout! Shocking I know! But, I did stamp on the layout, so that totally makes sense! In all seriousness, I really do love to scrapbook, so its nice when my assignments get me to do something different!

I used the newest tool from We R Memory Keepers called the Precision Press Advanced. Its a really great stamping tool! I paired it up with some mixed media products from Vicki Boutin and had a blast creating!

The Precision Press Advanced comes in two parts. The bottom is magnetic, has a grid, and has a surface with some grip. All along the bottom are pegs that will work in conjunction with the top piece. The top piece is clear and has holes along the edges. The top also has these fantastic soft and rubbery feet on the bottom. Allowing you to use only the top for great stamping results! 

By lining up the pegs on the bottom and the openings on the top, you can get a perfectly lined up stamped image every time. Not to mention when you don't get the image inked up all the way, you can re-stamp without double lines! 

On my layout, I painted lines and stripes onto mixed media paper. When you use paint, the paper can curl a bit. But, by placing the paper in the Precision Press Advanced, with the included magnets, the paper lays flat. Making your mixed media techniques work even better!

Visit the We R Memory Keepers blog today for all the details about this layout. Plus, I have some FABULOUS tips that you won't want to miss! I impressed myself with that little gem! :D


Sincerely Yours,
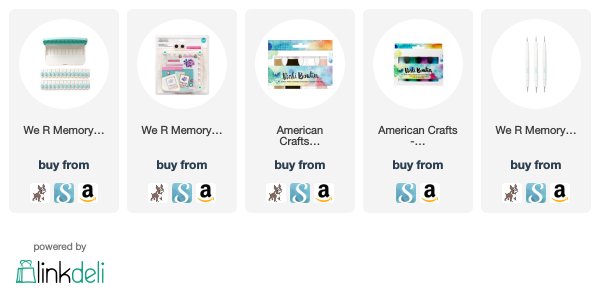
Supplies, listed with affiliate links:

Tuesday, July 10, 2018

stamping on layouts: WRMK new Precision Press Advanced

Ok, so I know it is past the 4th of July, buuuuuut, I was hoping that maybe you had some amazing pictures from the holiday that you would want to scrapbook right away. And if you weren't planning on it right away, I hope the newest tool from We R Memory Keepers will inspire you to start!

My assignment for the design team last week was to create a patriotic layout. Easy enough with all the photos I have because the 4th of July is a huge deal in my hometown and we try to never miss it! Frankly, what is cuter than my son and my nephew in their matching shirts?! But what I didn't have was any 4th of July themed products at home. Time to get creative. Which is my favorite!

To create a custom piece of paper for my layout, I used a background stamp and the new Precision Press Advanced. This updated version is very cool and I love the feature I am showing you here-the ability to use the top lid separately. The top lid has 4 soft feet that allow you to place your stamp anywhere! After applying paint to my stamp, I pressed it into my blue cardstock. Perfect!

P.S. You can purchase the top separately and use it like a stamp press, without the rest of the tool!

To read more about how I made the rest of the layout, and to read much more about the Precision Press Advanced, head to the We R Memory Keepers Blog.

Sincerely Yours,
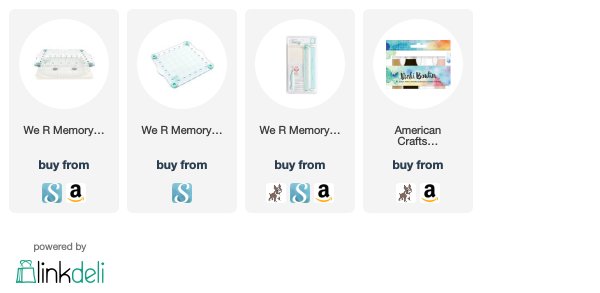
Supplies, affiliate links used:

Wednesday, May 2, 2018

Palm Beach layout

Whoa. A layout. From me. Its shocking, I know. But I had some great photos from our trip to Palm Beach, FL, great tools from We R Memory Keepers, and some perfect papers from DCWV. I love when my design team assignments line up with my own crafty plans!

Head over to the We R Memory Keepers blog to see the tools I used on this layout. Honestly, they made this layout so easy to create. Essential tools, for sure!

Sincerely Yours,

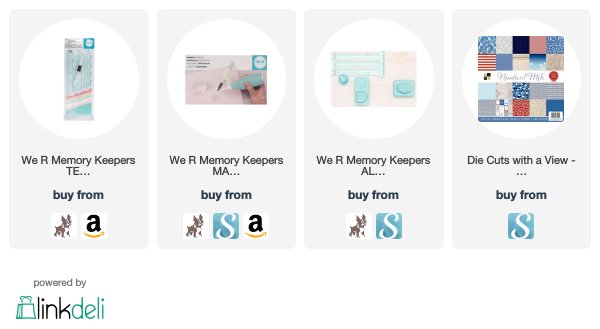
Affiliate links used, at no cost to you.

Friday, September 29, 2017

Halloween projects galore!


Its getting to be that spoooky time of year again! I thought it would be fun to share some of my favorite Halloween projects from the past. Some fun inspiration for your card mailing! I will link to the original blog post. Simply click the name of the project. Once there, you will be able to find links to the products I used.


This first card is made with stamps and dies from MFT Stamps. I love the inked background and with the new Distress Oxide inks, the blending will be even smoother!


One of my favorite Halloween projects, ever. I have kept these and put them out every year! While the dies are no longer available from MFT Stamps, these luminaries can easily be created with any Halloween images from dies or even from a Silhouette. The original post includes a video tutorial.


Nothing is cuter than the images from Reverse Confetti! This card still makes me smile. Simple and perfectly seasonal. The stamp set Spooky Sentiments is still available!


You knew I would sneak a layout in of my little man. Who is not so little anymore! The adorable images from Reverse Confetti made one cute layout! 


File this one under the easiest treat bags you will ever make! Simply put small treat bags in an embossing folder and run them through your manual die cutting machine! Add a tag or stickers! Done!


Yes, this card glows in the dark! Its true! Check out the original post, with a full video tutorial. And stay tuned, I have a few more glow-in-the-dark projects to share!


Sincerely Yours,

Thursday, November 17, 2016

File Folder Mini Album


Visit the We R Memory Keepers blog and check out this File Folder Mini Album I created using the 1-2-3 Punch Board. Not only can the 1-2-3 Punch Board create boxes, bows, and envelopes, but also file folders! 


This album shares photos of our adventures at the BWCA, or Boundary Waters Canoe Area in northern Minnesota. It is an annual vacation, so I wanted to create an album that could store the highlights of each year, but also be expandable.


Head to the We R Memory Keepers Blog now and see how I made the album expandable with one piece of patterned paper! Its so easy!

thanks for stopping by!

kimberly

Supplies:

Wednesday, May 11, 2016

Hero Arts Summer 2016 Release Hop + Giveaway


Welcome to the Hero Arts Summer 2016 Release Hop! Now is your chance to order all these beautiful new products from the Hero Arts Online Store!


Hero Arts never disappoints with its releases! Since I began stamping back in 2000, they have always been one of my favorite companies! I was thrilled to be able to join in this hop and share some of the great new stamps being released!

The first stamp I am sharing today is Destination Washington, D.C. It is a wood-mounted, red-rubber image that I had waaaaay too much fun stamping and coloring! We have made two trips to D.C. and we love it there! I know it won't be long until we are back again. This image was perfect for me to create cards for a mini album.


On each of the cards the image was stamped with a grey ink and heat embossed with clear powder. Knowing I wanted to watercolor the images, the heat embossing made things much easier. The raised lines created from the heat embossing keeps the water and color from running all over the project. 


I love how I was able to fussy cut out these images and foam mount them to my card for added dimension. It will also be fun to able to use the small cut-out images along side photos of the historic landmarks. Don't forget that you can also cut away the words, or any part of this image! So fun!


I love all the water and reflecting pools in D.C. What a better way to use this stamp than to create the look! Masking off the words at the bottom of the stamp, I stamped and heat embossed the image. Then I stamped the image onto a piece of plastic (from my stamp-a-ma-jig) and pressed it into the paper. The straight line on the bottom of the buildings made it easy to line up. When you stamp this way, the image will be unclear and sparse, which is exactly the look you want to achieve!


I colored the top image the same as before. The bottom, I colored loosely, with a lot of water. Once that dried, I added several blue layers over the top, starting with the darkest blue at the base of the buildings. I love the effect!!!!


Spending the evening, while the sun sets, at The Mall is one of my favorite activities! In fact, I make my family go down there almost every night! :D Using one of my photos as color inspiration, I created a sunset look.


Starting with red, moving to orange, and then two different blues, I was able to create a sunset sky. These are going to be great in my mini album!


The second image I am using today is US Map Background. This image ties in perfectly with all the travel-themed images releasing today! I have a geography nerd. He is the school champion. In fact, he qualified for the state National Geographic Bee. Which is amazing because its 4th-8th grade students. He scored in the top 100 of all those students in the state. One of only three 4th graders! Anyways, geography is a big deal in this house! 

So, it seemed fitting to create a notepad of the United States, perfect for the License Plate Game! We play the game often. Basically you keep track of the license plates you see while on a road trip. Having a map to keep track notches the nerdiness up quite a few levels. Educational and fun. This teacher-momma approves!


I stamped the US Map Background image onto trimmed standard printer paper, a lot. A piece of cardboard was trimmed to size and placed behind the stack of stamped papers. Clipping the layers together, I added a special glue, called padding compound, to the top edge. Once dry, you have a custom notepad!


I thought it would be fun to color the states in with pencils. My son thought it would be more fun to check them off, or write the postal abbreviation. However it works, this is a great way to keep track of the plates you see on a road trip!


Be sure and visit the blogs of these truly talented card makers!! Seriously, can you believe all the talent listed there? How did I get here?! 

Hop List: 

Giveaway: Leave a comment on the blog posts for a chance to win one of 3 - $25 shopping sprees! Winners will be drawn from comments across all the blogs! You have until Sunday, May 15, 2016 at 11:59 PT. Winners will be announced on the Hero Arts Blog.


thanks for stopping by!

kimberly

Supplies: stamps are available at Hero Arts Online Store
Related Posts Plugin for WordPress, Blogger...