Showing posts with label Treat tags. Show all posts

Monday, December 30, 2019

Happy New Year! Quick and Easy Party Favors with the We R Memory Keepers Foil Quill

Happy New Year! May 2020 be filled with joy and happiness for you and your family! 

One of my all-time favorite treats is Moose Munch from Harry & David's. Especially the dark chocolate version! Its a special treat that I get once, maybe twice a year. After I found some at my local grocery store, I knew it would also be perfect to use for a great New Year celebration party favor! Crafting and chocolate snacks? Does it get any better? I mean really? :D
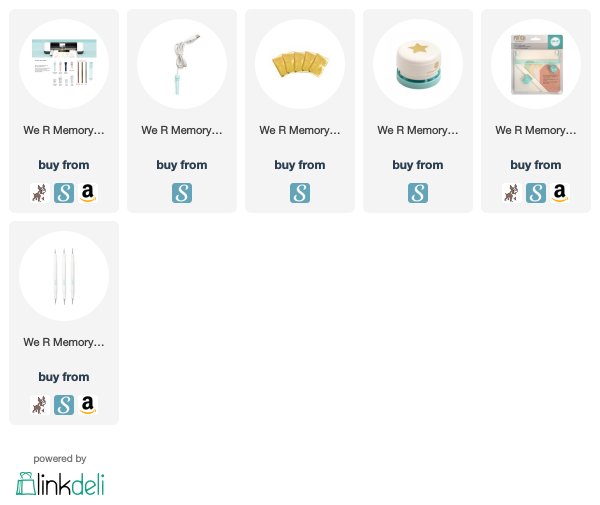
To start with, I typed my words out into the software of my Silhouette Cameo digital cutting machine. While I was formatting the type, I plugged the We R Memory Keepers Foil Quill into a USB power source and placed it in the pen tool slot on my Cameo. (I have version 3, with two tool holders.) Once the wording was formatted, I sent the image to the Silhouette and the Foil Quill performed its magic! 

When adding the foil to the top of your cardstock, use washi tape to hold it in place. The foil also needs to be as flat as possible on the paper for the best results.
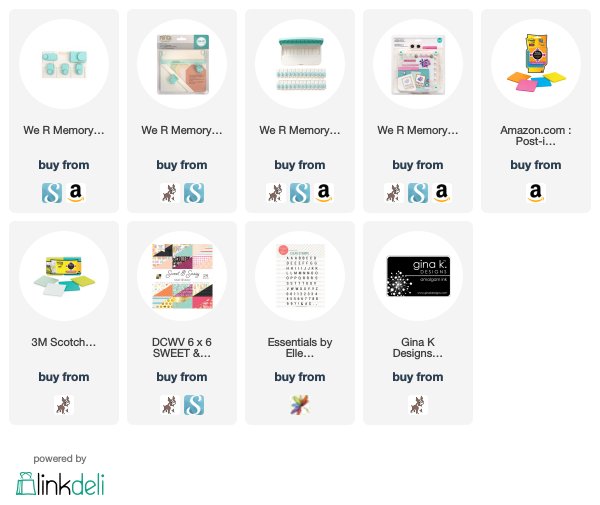
After the foiling was complete, I used the WRMK Tag Punch Board to create tags. When using this tool, I always test a scrap piece of paper first, to check the angles on the top.
The Tag Punch Board also helps you punch a hole. Using the lines, you can perfectly center the hole.
I filled decorative treat bags from Michael's with the popcorn and closed the bags with a twist-tie. Then I wrapped ribbon around the bag closure. Both ends of the ribbon were passed through the tag hole and tied tightly around the bag in a bow.
To add more bling, I punched gold glitter paper with a WRMK Clear Cut Punch. It added some fun bling. In fact, I should have added more stars! 
The straight ribbon ends seemed kind of blah to me. To add some curl (to my wired ribbon) I wrapped it around my stylus tool. How cute is that?
Fun, easy, quick, sparkly, and tasty. Seems like one fabulous party treat for New Years Eve or New Years Day! For more details, visit the We R Memory Keepers Blog for my post.

Sincerely Yours,
Supplies: Affiliate Links used. Thank you for supporting me and my family this way!
Wednesday, August 22, 2018

quick teacher gift - emoji sticky notes

We all appreciate teachers and everything they do for our students. We also want to make sure we thank them, but so often its really busy, not allowing us to make a thoughtful gift. Well, this project has you covered. Its quick, easy, you can make the kids help with no worry, its personalized, useful, and thoughtful! WOW! That's a lot of goodness in one tag! :D

For my We R Memory Keepers design team project this week, I needed to make a teacher gift. Being a former teacher, I am all about sharing gifts that can be used and appreciated. These adorable emoji sticky notes are just the ticket! 

Using the new Emoji Punch Board from We R Memory Keepers, I punched out stacks of fun faces and made little sticky note pads. How cute are these?!?! 

A few other tools made quick work of these tags. Because I know teacher's need a little treat, I hung the tags from jars filled with candy. Trust me, it will be appreciated! :D For all the details, how-tos, some FANTASTIC tips, and how to make this gift totally personalized, see the full post on the We R Memory Keepers Blog.

All the best to your kiddos as they head back to school. Thinking of all you moms who dropped your kiddos off at college for the first time. This is always an emotional time of year-for me too. Here is to a wonderful school year everyone!


Sincerely Yours,


Supplies listed with affiliate links:

Wednesday, October 14, 2015

MFT Stamps Handcrafted Holiday Celebration: Tags


Today all the MFT Stamps teams are getting together for a fabulous tag hop! As a part of the Handcrafted Holiday Celebration that has been happening on Facebook and Instagram! Its been a fun week so far of ideas and inspiration from the team, as well as from your answers to the fun questions. There have been lots of chances to win, and more on the way, so be sure to visit the 
MFT Stamps Blog for all the details!

For my tag, I had to use Die-namics Tag Builder Blueprints 4! It makes the perfect tags and the perfect shaker tags! I think making a special tag elevates your gift that much more and shows that you truly care! I filled my shaker with all sorts of fun bits, which is the best part! And then added a sentiment using the label shape. The sentiment from Gift Tag Greetings was stamped in Field Day ink.

The little elf is from Santa's Elves. He is colored with Copic markers and I love how easy he is to create with the coordinating dies to cut him perfectly out! Yay for Die-namics Santa's Elves!

thanks for stopping by!

~kimberly

Supplies:


Wednesday, September 16, 2015

embossing treat bags for Halloween: Carta Bella


When you see how easy and amazing these treat bags are to create, you will first want to hug me in joy and then you will run to grab supplies to make these for everyone you know! I had no idea how fantastic small kraft treat bags would work with an embossing folder! Its impressive. And simple. Head over to the Carta Bella Blog for all the details. And, you can also check out how ONE sheet of patterned paper can make tags for your child's treats for an entire class! I can feel those hugs. :)

thanks for stopping by!

~kimberly


Monday, August 3, 2015

Interactive Halloween Treat Tags; MFT Stamps August Release Countdown


One more day of waiting until the August release from MFT Stamps is available in the online store! The next time I post will be your signal that it is time to shop! For those that want to know exactly when to shop, the store opens at 9 pm Central time on Tuesday, August 4.

Today I made a couple of really cute, interactive tags for Halloween treats! I think these are a lot of fun for the kiddos in your life! The best part about these tags is the ability to hang them from just about any treat or treat bag or gift!

To create these interactive tags, I started by cutting Primitive White card stock with Die-namics Stitched Interactive Window Trio. The die itself cuts three windows into a panel of cardstock, leaving a stitched design around four sides while allowing the top flap to stay attached, creating a window. Pretty clever if you ask me!

Using Die-namics Traditional Tag STAX, I cut the center window out from my original panel. Now I have a tag with a window!

To have a place to stamp something behind the window in the tag, I cut away the extra flap along its score line and placed it underneath for a perfect fit!

  Then I layered the two pieces on a piece of Orange Fizz card stock that was cut with Die-namics Stitched Traditional Tag STAX.

On this tag I stamped the solid bat images from Frightfully Fun Halloween in Hybrid Black Licorice ink. The stars are from the same stamp set and were stamped in Orange Fizz ink.

This ideal sentiment for the inside of the window is also from Frightfully Fun Halloween.

On this tag I stamped a pumpkin from Frightfully Fun Halloween and colored him in with color pencils. The stars were stamped in Hybrid Black Licorice ink this time as the pumpkin was already orange,

This sentiment also fit perfectly inside the window. Too much fun with tags!


Visit the MFT Stamps Blog for all the latest, including a wonderful shopping list which will help you make your selections tomorrow night. 

thanks for stopping by!

~kimberly

Supplies available August 4:


Related Posts Plugin for WordPress, Blogger...