Showing posts with label Foil. Show all posts

Monday, December 30, 2019

Happy New Year! Quick and Easy Party Favors with the We R Memory Keepers Foil Quill

Happy New Year! May 2020 be filled with joy and happiness for you and your family! 

One of my all-time favorite treats is Moose Munch from Harry & David's. Especially the dark chocolate version! Its a special treat that I get once, maybe twice a year. After I found some at my local grocery store, I knew it would also be perfect to use for a great New Year celebration party favor! Crafting and chocolate snacks? Does it get any better? I mean really? :D
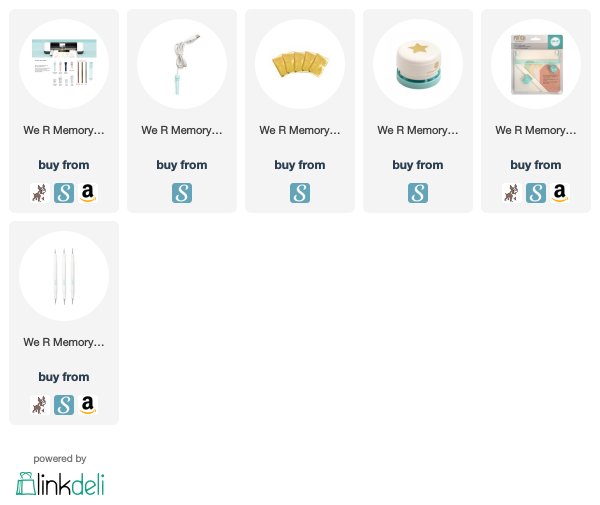
To start with, I typed my words out into the software of my Silhouette Cameo digital cutting machine. While I was formatting the type, I plugged the We R Memory Keepers Foil Quill into a USB power source and placed it in the pen tool slot on my Cameo. (I have version 3, with two tool holders.) Once the wording was formatted, I sent the image to the Silhouette and the Foil Quill performed its magic! 

When adding the foil to the top of your cardstock, use washi tape to hold it in place. The foil also needs to be as flat as possible on the paper for the best results.
After the foiling was complete, I used the WRMK Tag Punch Board to create tags. When using this tool, I always test a scrap piece of paper first, to check the angles on the top.
The Tag Punch Board also helps you punch a hole. Using the lines, you can perfectly center the hole.
I filled decorative treat bags from Michael's with the popcorn and closed the bags with a twist-tie. Then I wrapped ribbon around the bag closure. Both ends of the ribbon were passed through the tag hole and tied tightly around the bag in a bow.
To add more bling, I punched gold glitter paper with a WRMK Clear Cut Punch. It added some fun bling. In fact, I should have added more stars! 
The straight ribbon ends seemed kind of blah to me. To add some curl (to my wired ribbon) I wrapped it around my stylus tool. How cute is that?
Fun, easy, quick, sparkly, and tasty. Seems like one fabulous party treat for New Years Eve or New Years Day! For more details, visit the We R Memory Keepers Blog for my post.

Sincerely Yours,
Supplies: Affiliate Links used. Thank you for supporting me and my family this way!
Wednesday, April 6, 2016

2 ways to foil with the Adhesive Foil Pen


Love the look of foil? Don't have a foiling machine or a laminator? Check out 2 Ways to Foil with the Adhesive Foil Pen and see how you can add the look of gold foil to your projects by using the Adhesive Foil Pen on today's episode of MFTv! Its a great new product that is available in the MFT Stamps online store! First way is combining the glue pen with a stencil. The second shows how to brush the glue on a die cut word! Imagine all the possibilities with both of these ideas!!!!! I am still foiling all.the.things!

Be sure and watch the entire video as I have a special announcement at the end, you really and truly won't want to miss it!

thanks for stopping by!

kimberly

Supplies:

Thursday, September 10, 2015

using the WR Memory Keepers Foil Pen with dies + video


And yes, it is one more video tutorial about the WR Memory Keepers Heat Wave Foil Pen! I think you are getting a clearer picture at how addicting this tool really can be. Its a small splurge, I admit. But its gold. And its pretty! :)


When using the Foil Pen, it works very well with some kind of guide, whether that is a stencil, or an image you stamped. So as I was playing around, I noticed I had a set of open die templates laying on my table. What I mean by open is, you can see through the middle of your dies. Bingo! Why not use the inside, or even outside, edge of the die templates as a guide for the Foil Pen?


It worked really well! I also experimented with black card stock, curious if the foiling would show up, and well, you can see how well it shows up! Yay! Check out the video tutorial below to see the dies and Foil Pen in action. There is also a tip about removing any unwanted gold foil from your card stock towards the end. Enjoy!

Click the image, or the link below to watch the video:


Previous videos:


thanks for stopping by!

~kimberly


WR Memory Keepers Foil Pen with Wood Veneer + video tutorial


Yep, yet another way to use your WR Memory Keepers Heat Wave Foil Pen! This tool really is a lot of fun! On this card not only did I use the Foil Pen on wood veneer paper, but I used it without a stencil or guide. Its all free hand!


This bright and shiny birthday card needed the feel of even more party, so I decided to add random "confetti," or polka dots to my die cut journaling card.


Trimming down the foil to smaller pieces really helps you "see' where you are placing the gold foiling. And speaking of the foil, I have only been using the foil that comes with the tool. However, I did experiment with other heat reactive foils. I tried the Heidi Swapp foil, which worked just fine for this and the tracing paper/stamp method. I also used Deco Art foil. While it worked, it was not as easy to transfer and did not work for the tracing paper/stamp method. That being said, I love all the foils, they just have different uses. Bring on the gold! :)

Here is a quick video showing how easy this is to accomplish!


My other videos about the WR Memory Keepers Heat Wave Foil Pen:


thanks for stopping by, and yes there will be another video!

~kimberly


Related Posts Plugin for WordPress, Blogger...