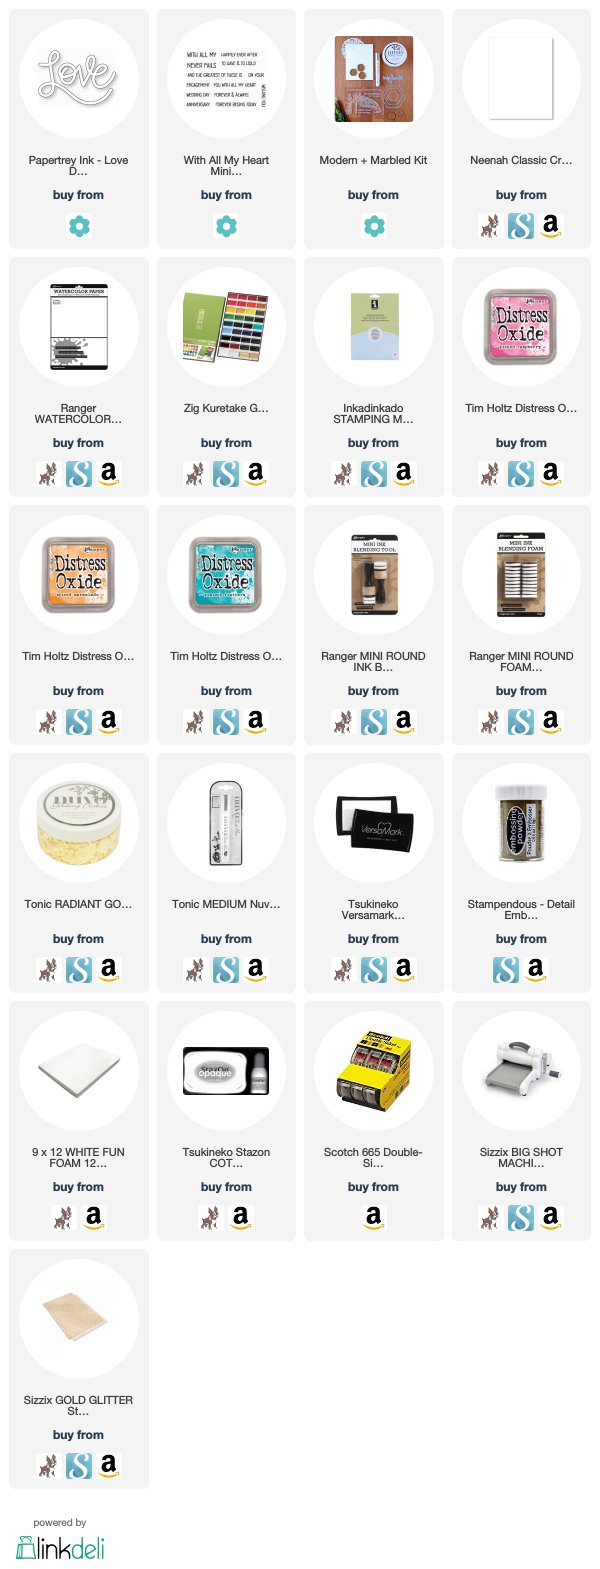
That is a lot of love happening there! :D It has been fun coming up with all the creative ways that you can add decoration to basic die cut words. I filmed 10 different ways to share with you, but honestly, I threw in a ton more ideas while I was talking. When I get excited I do two things, one, I use a lot of exclamation points, and two, I talk. A lot. Bookmark and save this video tutorial, because I guarantee that you will want to revisit these ideas again and again!
For those who wish to watch this video in HD, or for those who are reading this via email or newsletter, please click to view the video. 10 Ways to be Creative with Die Cut Words.
If you are reading this via my blog, click the center of the image above.
Love the word die and With All My Heart stamp set will both be available tonight a PapertreyInk.com at 10 PM EST.
One stencil, that is all it took to create these 7 unique and different cards. Pretty amazing what you can create with one awesome tool like a stencil! I fell in love with the Art Stencil Floral from Gina K Designs and I had more fun playing with it! So, I made a video tutorial for you on all the techniques I used. Each card has its own section in the video that is quick and short, but hopefully inspires you to give a few of these cool looks a try!
First up, color pencil. This one doesn't need much explaining, Simply color and add details!
This card above is embossing with highlights from wax paste!
Gold foiling on clear transparencies? How elegant is this?! Special products from Therm O Web create this amazing look! All the supplies used are listed below.
Light modeling paste and the fabulous new ink colors from Gina K Designs. So easy, and so much pop! After adding the ink, I trimmed the image away from the cardstock it was upon for even more impact.
Copper metallic paste on navy blue paper. Stunning! And easy! Look at all the texture it creates.
The two-tone watercolor technique makes another appearance. Of course this could be done with basic watercolors as well, but why not add a twist for even more beauty?!
And finally, the basic inking technique. Nothing wrong with good, old-fashioned, perfection on a card! I hope you enjoy the video and reference for ideas for the next time you grab a stencil and start creating a card!
This magical watercolor effect on these hearts is created with Peerless Watercolors and a water brush. Isn't it magical?!? This technique is fun and easy!
Watch the video below to learn about Peerless Watercolors, the water brushes you will need for this technique, and then finally, how to create this look for yourself!
For those who would like to watch the video in HD, you can click below:
Inside a water brush, I have placed cut-up, small pieces of Peerless water color. Peerless Watercolor is intense water color that has been applied to paper. You can create palettes of the watercolors easily. The color is picked up off the paper with any type of brush.
When the brush is filled with water, the water takes on the color of the paper. This allows your water brush to now become a colored brush. When you pick up a secondary color with the brush, you can easily create magical-looking blends. For examples of the colors in the brushes, and the blending combinations, be sure and watch the video above.
You can create large ombre images like the hearts from the Gina K Designs stamp set, Geo Thanks. Or, you can create smaller images with the same magic effect! By picking up a smaller amount of color on the brush tip, the smaller images are a breeze to color. Keep in mind that Peerless Watercolors are truly intense. They will also dry darker.
This is so much fun! I have had my Peerless filled brushes for over a year and I love them each time I take them out to play! Have fun creating two-tone magic on your next card!
Water reactive coloring? What am I talking about?! Well, I had to name this technique, and "unbelievably amazing totally cool tone-on-tone Distress Oxide ink coloring" didn't really roll off the tongue! :D This technique is silly easy. Truly!
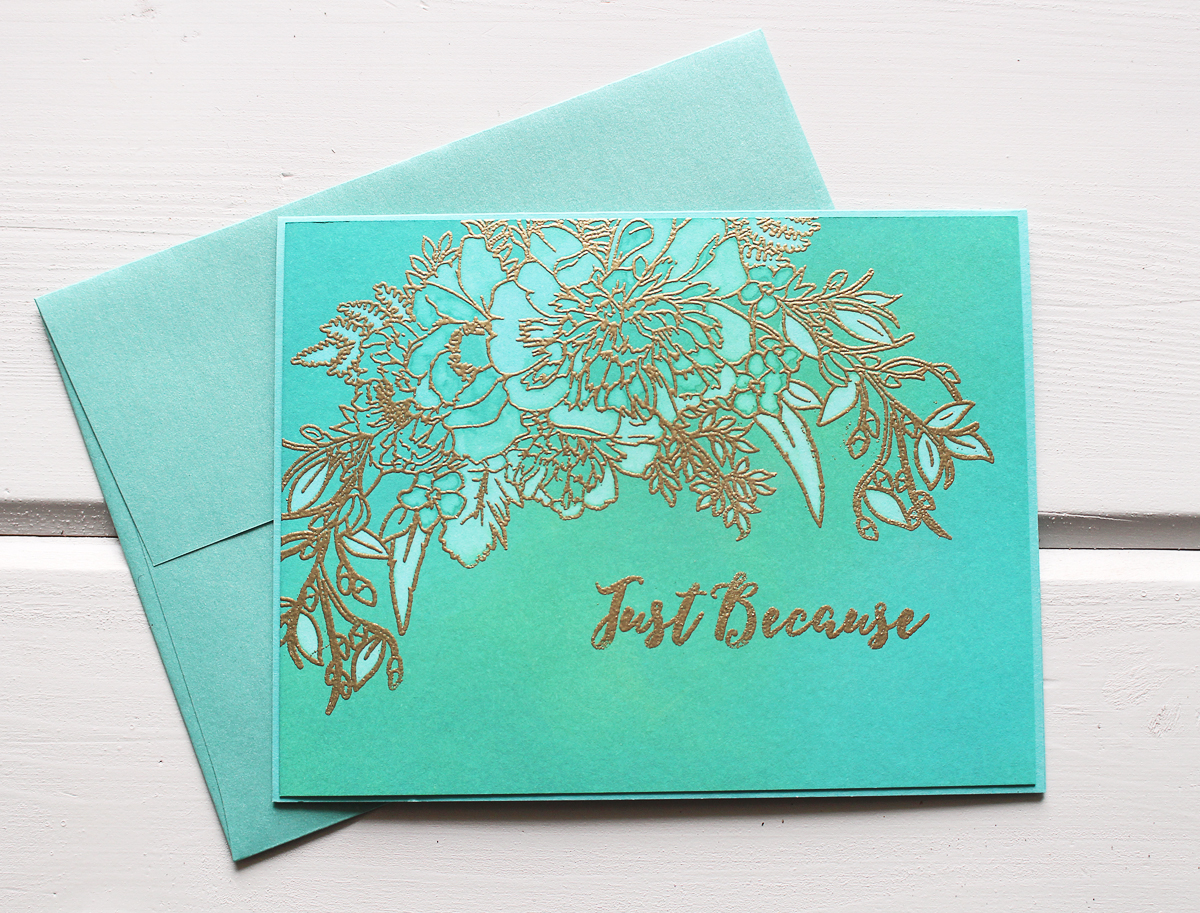
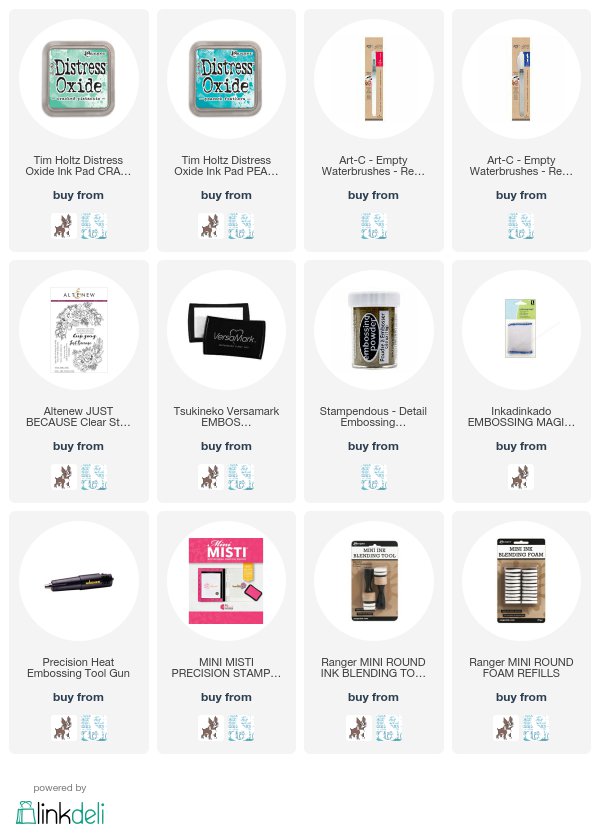
A panel of watercolor card stock was inked with Distress Oxide inks in two different colors. Once it dried (and this takes a looooong time), this beautiful floral bouquet image from Altenew was stamped and heat embossed in gold upon it. Then the real fun began! Watch the video below to see the magic!
Can you believe that Distress Oxide inks and a water brush can create something so lovely?! Its elegant beyond belief! It looks like high-end custom stationery! I know you will have a ton of fun trying this technique out!
What makes Monday so great these days? How about Mail it Monday?! Mail it Monday is the day to be reminded to send happy mail to those who are important to you! The goal is to encourage you to send your beautiful handmade cards and for you to encourage others to do the same.
How can you join in? Easy. Send cards. Post on social media with the hashtag #MailitMonday. Find a card drive and start making cards for a cause. Ask a new friend for their address and surprise them. Send a thank you note to your favorite paper crafting company and make their day. The ways to participate are endless and no matter how you join, you will be spreading sunshine and love!
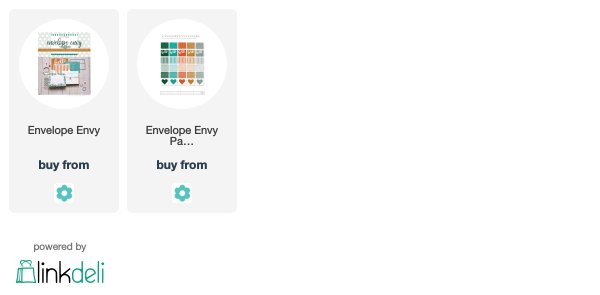
Today's topic for Mail it Monday is about envelopes. Often neglected and kept utilitarian, its time for envelopes to get to have as much fun as the cards contained within them! This is also a shameless plug for my latest kit from Papertrey Ink, called Envelope Envy. Wink, wink.
First up, stamping on envelopes. From a stunning stamped floral border, to basic lines and images, stamping on your envelopes is an easy way to add a special touch. Especially when you choose a few different colors of ink. Drab to fab instantly.
My favorite thing to add to envelopes? Liners! You can cut pattern papers, or even stamp your own designs! There is a die template in the Envelope Envy kit that perfectly cuts a liner for A2 envelopes with a straight-flap closure. The best feature of this die? The dotted line that gets created around the inside of the cut line, it adds so much! If you have never cut an envelope liner before, let me begin your addiction with a quick video tutorial!
For those wanting to watch this video in HD, or for those reading this via email, please click here for the video: lining an envelope
Other fun touches? Stamping on the envelope flap. Embossing the envelope flap with a stencil.
How about adding a seal made by die cutting sticker paper? Stamping underneath the flap. Along the envelope edges. The possibilities are endless for adding special touches to your envelopes! Stay tuned because over the next several weeks, I will be sharing more fun ideas with you! Be sure and subscribe to my blog and my YouTube channel, so you don't miss a post!
Happy Friday! Happy Die-day?! :D Today I am sharing an oldie-but-a-goodie technique with you.
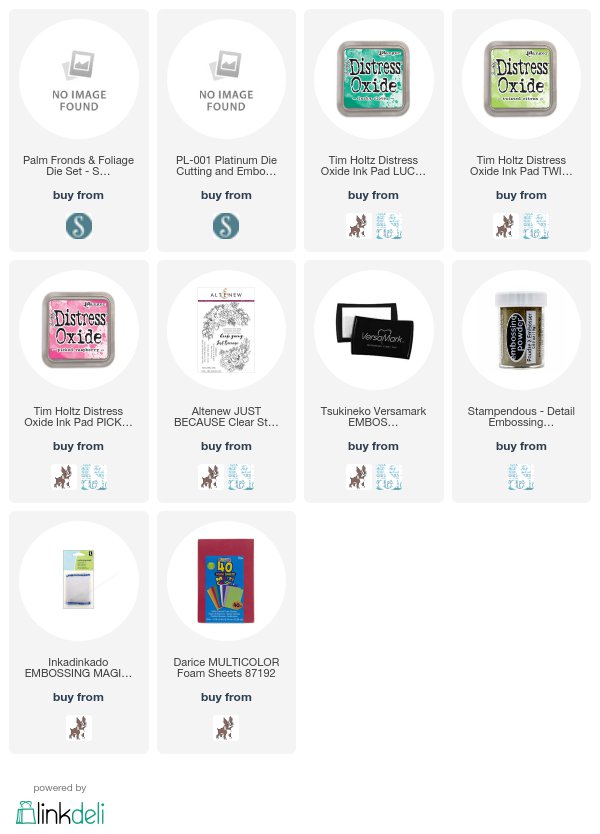
This beautiful layered background was created by stamping with dies! Fun Foam, the sheets of foam that you can purchase at any craft store, are a quick way to create custom stamps. They die cut beautifully. And I knew it was the perfect technique for these tropical-feeling dies from Spellbinders! Palms & Fronds Die Set is from Spellbinders' Small Die Kit of the Month. You can join in the club and get great discounts on dies. Find out more here: Small Die of the Month Membership.
For those who
would like to watch the video in HD, or for those who are reading this from
email, please click here: stamping with dies
How cool is that background?! I love the depth from stamping the
different layers of leaves. I will be getting a ton of use from this set of
Spellbinders dies!
Anyone else ready for a tropical vacation? Or at least somewhere warmer? Happy weekend!
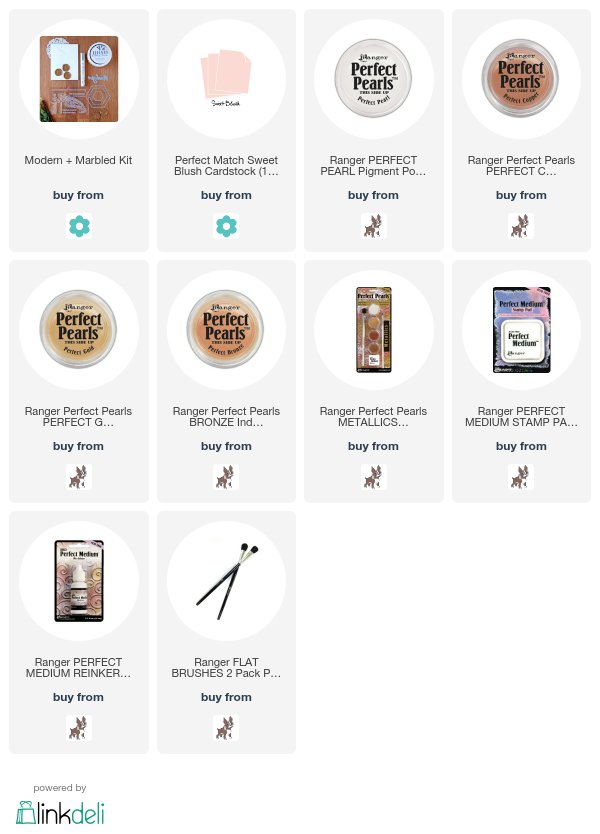
I am still totally obsessed with creating different backgrounds using my marble stamp image from the Modern + Marbled kit at Papertrey Ink! Today I am using the stamped image and Perfect Pearls. The shimmer is incredible!
If you haven't used Perfect Pearls before, or for a very long time, Perfect Pearls are a micro-fine mica powder. They leave behind a beautiful sheen when applied. To apply the powders, you need to stamp your image and then apply the powders with a brush. Watch the video below to see how easy this is, and how crazy elegant the results are!
For those wanting to watch this video in HD, please click here:
Photos can never do the shimmer justice. But I attempted to capture it!
Not only did I use the Perfect Pearls on the background, but also the sentiment. Perfect Pearls come in many colors!
Earlier last week, I put out a call for help. Asking for help is not something I am very good at. But sometimes, you have no other choice. Like so many of you, I got the email from YouTube last week stating that my account will be demonetized at the end of February, unless I can get more viewing hours. What this means for me is, less income being made from YouTube, but it also means I will lose many of the features that make my channel run smoothly. Its been frustrating and disheartening to say the least. I know that I am guilty of not publishing as many videos as I would like over the past year. Its been a big year of change and trying to find my place in the industry again. Which includes getting back to teaching, for me. I have spent so much time creating videos for others and for online classes. I am going to be focusing on adding new content more often. Sharing what I am playing with and using and discovering. So my request of you is this, please head over to my YouTube channel and watch a few videos. Laugh at the really old ones. I hope they inspire you to get creating!
Thank you to those of you who have been avidly watching. I cannot express my appreciation for your kindness, thoughtfulness, and for not making me feel terrible for asking for help. You embraced my cry out and it means so much. Thank you. I would hug each of you if I could!
I am incredibly honored to be a part of this effort to raise funds for those impacted by the terrible hurricanes over the last few months. Thank you to Jennifer McGuire and Kristina Werner for putting together this generous project!
What is the Crafted Kindness Mega Video bundle? Its an amazing collection of 30 video tutorials from 30 truly talented designers in the industry. Each of these designers donated their creativity and time to this project. Each video contains a BRAND NEW, never before seen, card and tutorial.
(What am I doing with these people?! Seriously!? I cannot wait to take this class myself!)
100% of the proceeds for this class (after tax) will go directly to hurricane relief efforts. What a wonderful idea! Once again, I could not be happier to be able to help in such a tiny way! Enjoy the bundle and treat yourself, while helping others. Win-win!
Do you ever wake up in the middle of the night with a great idea?! It happens to me often, and this card is a result of one of those crazy thoughts!
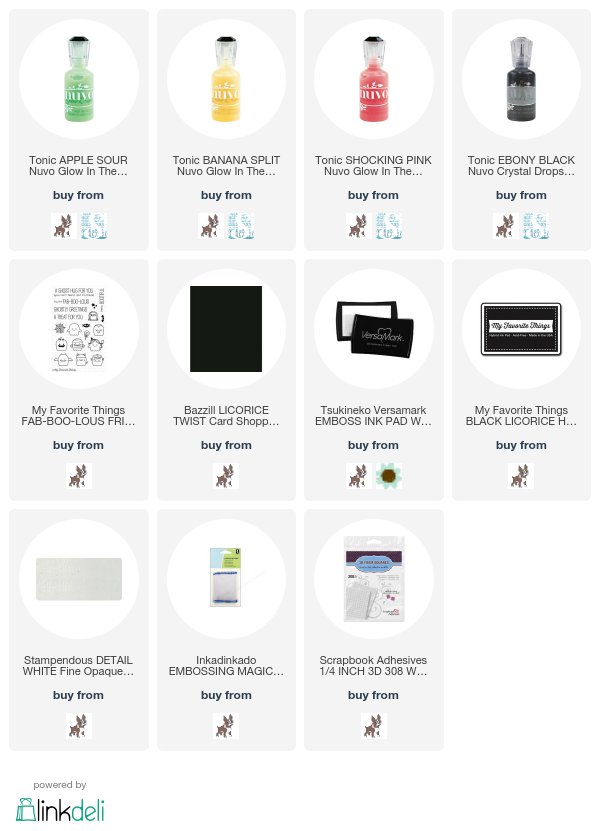
I had purchased several different colors of the Nuvo Glow Drops and had NO idea what to do with them. I began thinking about how to use the drops, and then, it struck me! Eye background! Even better? Glow-in-the-Dark eye background!!
You can see how well these Nuvo Glow Drops truly work! Look at how cute on the little ghost cheeks! :D
I began by drawing pairs of small ovals on a piece of black card stock. I used three different colors of the Nuvo Glow Drops. After finishing the colors, to give the eyes their centers, I added Ebony Black Nuvo Crystal Drops. For more information, suggestions, and details, watch the video below.
thank you SO much to everyone who voted for me!! I am so appreciative!! k Its Blog Hop Night! Make sure and check out all the other blogs wi...
All content, including text, photographs, and samples are copyright 2020 by Kimberly Crawford. They are shared here for your personal, non-commercial use, this includes contests, submissions, and publications. Any other use requires my written permission. Thank you.