Showing posts with label Pretty Pink Posh. Show all posts

Wednesday, July 17, 2019

simple and sweet shaker cards with WRMK Clear Cut Punch Mini

Ahhh, summertime. Warm temps, days at the pool, late nights chasing lightning bugs and toasting marshmallows...and you need a card for tomorrow?!?!? 

Hang on, no worries, once again We R Memory Keepers has a tool that will make quick, adorable, and even interactive cards in minutes! Say hello to the Mini Clear Cut Punch! Clear Cut Punches allow you to see what you are punching. Like an image? A letter? A part of your patterned paper? No problem, cut it away easily with this magnetic punch! A follow-up to the regular-sized punches, these Mini Clear Cut Punches are fun for card-making!

Matching my punches up with these super sweet papers from Pebbles, made for quick and easy shaker cards. So easy, you can include the kiddos in the process. Which, is always wonderful!

Check out the full tutorial on the We R Memory Keepers Blog and if you want to see more about the punches and how they work, pop on over and visit my Stories on Instagram. You can find me @kimberlystamps .

Sincerely Yours,
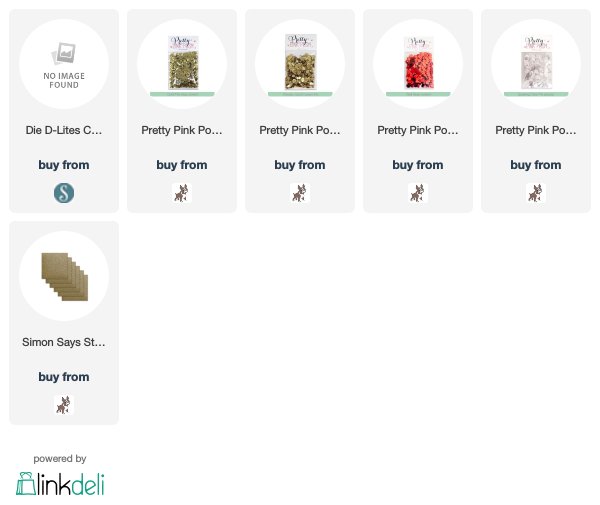
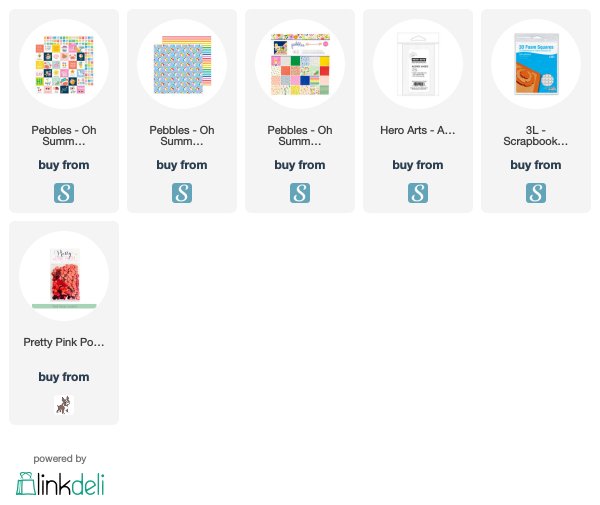
Supplies. Listed with affiliate links. Thank you for supporting my family this way!
Tuesday, September 25, 2018

Spellbinders Holiday Die D-Lites - negative die cut piece ideas

What is the first thing you do when you get a new set of dies? For me, after I rip them open in excitement, I immediately cut the images out. I love seeing how the images work together, how they layer, the size, the embossed detail...as you can see, I love me some good die cut images! When I got the new Spellbinders Holiday Die D-Lites Christmas Tree set, something surprising immediately struck me.

I had ideas for how I wanted to use the trees as soon as I saw the package, but when I cut them out, those ideas went right out the window! Because when I saw the left-over portion, or the negative pieces left behind, woweeeee! The "junk" was just as beautiful. New ideas sprang to mind and I got to work creating. 

I cut the basic image from a panel of cardstock that I trimmed down to size. Layered behind it is a piece of gold glitter cardstock. How simple, yet elegant is that?!!?

I added a few stamped stars on the card base, a sentiment, and used the star from the die set to finish the card off. Now I didn't toss the "real" pieces, I have set those aside to make another card. Its a two-for-one! How's that for making quick work of your holiday cards?!?

When you have an opening as perfect as this, you create a shaker card! I mean, come on! How could you not?! 

Behind the opening, on the card base, I did use some of the "real" images. The star and the tree trunk looked awesome behind the shaker sequins and added to the detail. Its like my Christmas tree is all lit up and sparkly! Be sure and visit the Spellbinders blog to read more about how I created these cards!

Sincerely Yours,
Supplies, affiliate links used:

Thursday, August 3, 2017

creating a watercolored marble background video tutorial


Its time to kick off a little video series using that uber cool marble stamp image in the Modern + Marbled Kit! I wanted to show you a ton of ways to create beautiful marbled backgrounds using various inks, powders, and more! Stay tuned because over the next several days, I will be sharing my favorite ways to create backgrounds. This is SO much better than the old-school shaving cream technique! Its a stamp!


My marble stamp image was inspired by Japanese paint floating called, suminagashi. The colors ebb and flow, mixing and meeting, always creating a new combination. By using watercolors directly on the marble stamp image, the combinations are endless. Each impression with the stamp is unique.


Look at how beautiful the marbling is with watercolor! To see how to create this stunning background, watch the following video, click the arrow:


To watch the video in HD, please click here: Creating a Watercolored Marble Background


In the video, I also show how to create the ombre die-cut sentiment with the same watercolors, along with the stamped sentiment.


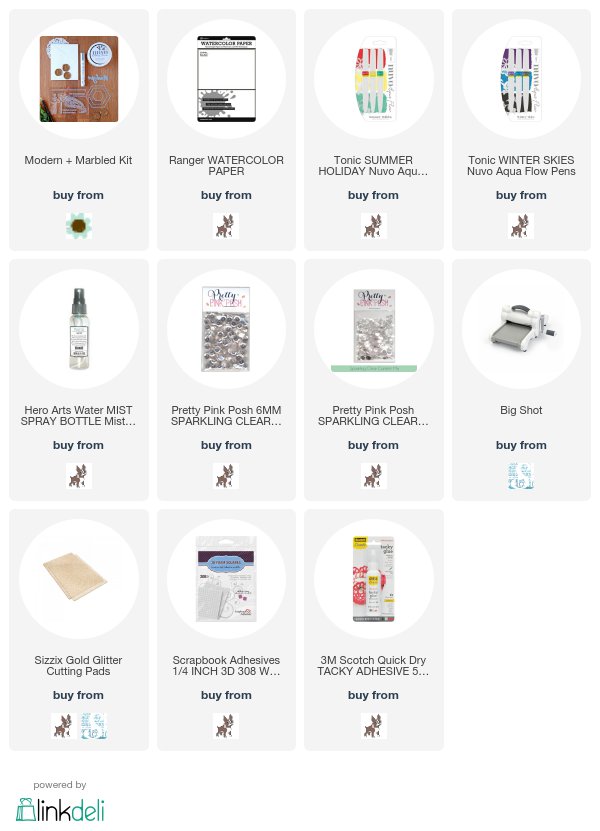
I hope you enjoy the first technique as much as I do! To find any of the supplies, simply click the images below to be taken directly to the items in an online store. 

Sincerely Yours,

Sunday, December 18, 2016

Advent Calendar Extravaganza with Taheerah Atchia


Advent Calendar Extravaganza is -the- festive event of the season! This ‘hop with a twist’ was dreamed up by Taheerah Atchia and features surprise destinations each day! Joining in the fun with Taheerah are ONE HUNDRED special guests - each serving up some fantastic Christmas inspiration! Just like an Advent Calendar, you’ll never know where you’re going to be visiting next until you ‘open the door’!

And that’s not all! With 25 *amazing* sponsors taking part as guests as well, your crafty wish list is bound to get a boost with a chance to win a prize EVERY SINGLE DAY!!

Join in the fun every day at taheerah-atchia.com to see what special surprises await behind the door!


Hello everyone! I am excited to be joining along with this clever, seasonal blog hop! There are so many great prizes up for grabs, plus tons of inspiration! I know you will enjoy being linked up to the fun. So grab a cuppa something warm, a blanket, and get lost in all the holiday beauty!


Today's sponsor is Honey Bee Stamps. They have a wonderful sense of style with a country chic touch. As I start Bible journaling this year, I know that I will be using a ton of their images! Delicate and thoughtful, Melissa's heart for the Lord shines through in all her artwork. 

When I saw the set, Joy to the World, I knew it was the one I wanted to use to make a beautiful Christmas card. This set celebrates the reason for the season, Jesus. And brings back wonderful memories of Christmas hymns sung year after year. After stamping and heat embossing the image in detail gold powder, I needed to create a background.


Bring in the set, Country Wreath! Not only does this set make amazing wreaths, but the images can be used in many different ways! I stamped the star image repeatedly on vellum, then heat embossed it with the same detail gold powder I used on the sentiment. Simple, elegant, and shares the meaning of Christmas. Perfect.

It’s not a party without a prize - and with prizes every day there are several chances to win! Today’s prize is generously supplied by Honey Bee Stamps so you’ll definitely want to win! Simply leave a comment on this post - then head back to taheerah-atchia.com and leave a comment there too! You must leave a comment on Taheerah’s blog as well as mine in order to be eligible to win! Don’t forget to grab the other surprise destinations from Taheerah’s blog and head over to them to leave comments there as well to improve your odds even more! You have until 23:59 EST on 31st December 2016 to enter.

Don’t forget Advent Calendar Extravaganza runs from 1st-25th December inclusive so make sure you visit taheerah-atchia.com every day for fabulous inspiration and amazing prizes every single time! Merry Christmas!

thanks for stopping by!

kimberly

Supplies:


Friday, April 29, 2016

magical unicorns: MFT Stamps May Release Countdown


Welcome to the MFT Stamps Release Countdown! For the next few days we will be sharing projects featuring the new stamps, dies, stencils, and colors that will be releasing this month. You will be able to purchase any of the products you see over the next few days on Tuesday, may 3 at 9 pm Central.

I am pretty sure all I need to say is the name of this new set of stamps and coordinating dies and I will have you sold! Magical Unicorns and Magical Unicorn Die-namics are truly magical! Sweet and perfect. Get out the glitter and be prepared for all things girly!

When I was a young girl, I got a beautiful music box for Christmas. It was ceramic. It was round and the base was puffy clouds. On top was a blue castle with a rainbow behind it. In the front, a unicorn. Of course it was the inspiration for my card! Such fond memories!

On the background I layered pink puffy clouds. Because, why not? Hey, I live with all boys, even the cat. Its everything man around here. A girl needs to be frilly sometimes! :D

After stamping and die cutting the images, I colored them with color pencil. To the edges of the castle and rainbow, I used my Quickie Glue Pen to draw lines. Lines that I covered in glitter!

I also added glitter to the adorable wing image that is in Magical Unicorns.

My fifth grade self would love this card, unicorns and purple! I started by die cutting Stitched Mini Scallop Square STAX from a new paper pad, Watercolor Wash. The papers in this pad are so pretty!!

Once again, I added glitter using the Quickie Glue Pen. I drew lines around the outside. I also used the cloud die from Magical Unicorns Die-namics. I traced around the outside of the cloud with the pen. It was a fun way to add subtle clouds to the background!


Visit the MFT Stamps blog for all the information you will need about the upcoming release. That includes product images, product videos, links to the design team projects, and more! Plus, there always seems to be a chance to win!

thanks for stopping by!

kimberly

Supplies for Wildest Dreams card, available May 3:

Supplies for One of a Kind card, available May 3:

Related Posts Plugin for WordPress, Blogger...