Showing posts with label card kit. Show all posts

Sunday, January 7, 2018

Envelope Envy - back in stock!


I have wonderful news! For those who have been waiting, thanks for being so patient,
  Envelope Envy is now back in stock at PapertreyInk.com! Time to start the new year off with envelopes as lovely as the cards inside! 

Sincerely Yours,

Friday, September 8, 2017

stationery set with Modern + Marbled


One of the best gifts to give a special someone is a set of handmade cards! When I saw this pretty, pale pink stationery box in the Papertrey Ink store, I knew it was perfect! Not to mention how well it coordinates with my Modern + Marbled color palette!


This stationery box ships flat and is easy to assemble. The box will hold standard A2 cards and envelopes next to each other, making for a lovely inside presentation.

I stamped simple cards and created decorative envelopes for the inside of my stationery box.


To close my stationery box, I tied with with string. I added coordinating elements from the Modern + Marbled kit to tie everything together. (no pun intended with the whole string thing!) I added gold gilding flakes to the outside edge of the middle hexagon from the die set and a striped panel using the straight line stamp image. The finishing touch was using one of the self-adhesive wax seals to hold the string to the box. These flexible seals are SO unique! And of course, I love the symbol of the fern leaf, sincerity. For the Sincerely Yours line. :D

I would LOVE to see what you are creating with the Modern + Marbled kit! Be sure and tag me, or Papertrey Ink when you post online. Or even send me an email! The hashtags are #sincerelyyourspti or #papertreyink or #kimberlystamps. Seeing what you create is the absolute BEST part of all of this!


Sincerely Yours,

Friday, August 11, 2017

Altenew Card Kit Blog Hop + Giveaway


Hello and welcome! I am thrilled to be a part of the Altenew New Day Card Kit blog hop! We are sharing projects today with the 
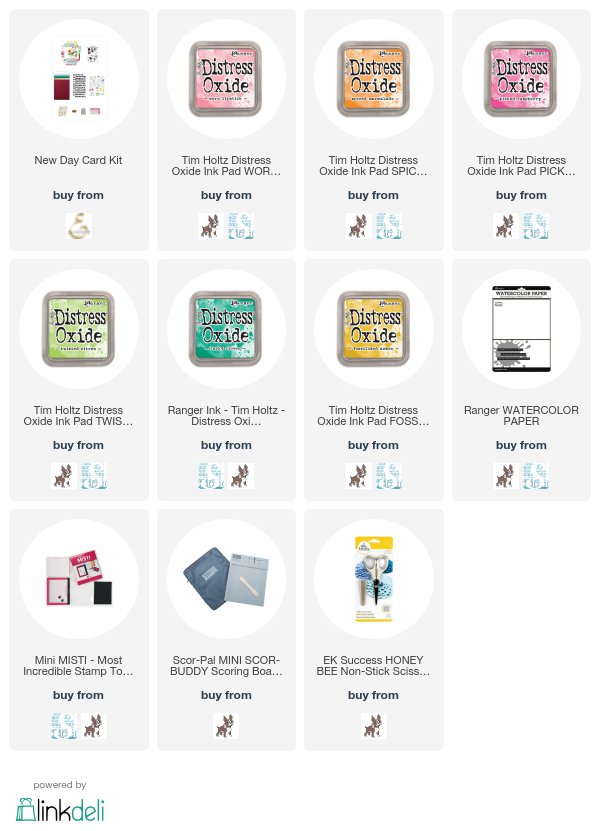
New Day card kit. The kit is full of so many lovely supplies! If you are hopping along, you should have arrived here from Chari Moss' lovely blog! If you are just joining in, check the entire list of hoppers at the end of the post.


The New Day card kit comes with stamps, cardstock, gorgeous patterned papers, paper die cuts, wood cut shapes, enamel dots, glitter gold tape, dies, and glossy letter stickers! Its packed full of the beauty we all love from Altenew!


Because I am always drawn to the stunning stamps from Altenew, I started with those. Otherwise, how do you choose from all that goodness?! :D


I placed my floral image onto my MISTI and inked it with Distress Oxide Worn Lipstick ink. I stamped the image and wiped away the ink. Then I inked the image with Distress Oxide Spiced Marmalade ink. By stamping the same image in the exact same spot, a cool color layer effect happened! To take it even father, I applied Distress Oxide Picked Raspberry ink around the outside edges of the image. Once again, another layer of color was added! Its such a neat effect and works so well with the formula of the Distress Inks! 

 So well in fact, I did the same effect with the stem and leaves image!


Along the left side of the panel, I added a strip of the glitter gold tape. Layered over the top is a small strip of patterned paper. Oh, how I love stripes! The sentiments are two die cut images that are included in the kit, along with the enamel dots.


For the envelope, I added a liner made from a color-coordinating piece of patterned paper I found in the New Day card kit pad, plus to stripes of the gold glitter tape.


Speaking of gorgeous papers, I HAD to use this piece of art to create a card! I simply trimmed the paper down to A2 card size. (It is a 6x6" paper pad.)


I added a stamped sentiment, along with more of that yummy gold glitter tape. I cut the tape in half, length-wise, to create the frame for the sentiment. And well, no card is complete without enamel dots! This kit makes me a happy card-making girl!


While I was on a roll with the patterned papers, I grabbed this rainbow paper and again trimmed it to A2 card size. Another item I could not wait to use were these geometric wood cut shapes! How cool is that grouping of triangles?!


I stamped a sentiment from the stamp set on black cardstock and heat embossed it. Adding the black enamel dots from the kit tied things together. And for fun, a small heart-shaped enamel dot was added. Because, pink enamel hearts! :D

We can't have blog hop without a prize! Altenew is giving away a $50 gift certificate to THREE lucky winners! Please leave a comment on the Altenew Card Blog by Thursday, August 17th at 11:59pm EDT for a chance to win. The winners will be announced on the Altenew Card Blog on Saturday, August 19th.

Thank you for stopping by today! Be sure and continue on the hop by heading over to the wonderful Lydia Evans' blog. For those that need it, the entire hop list is here. Wow!

Kimberly Crawford *you are here

Sincerely yours,

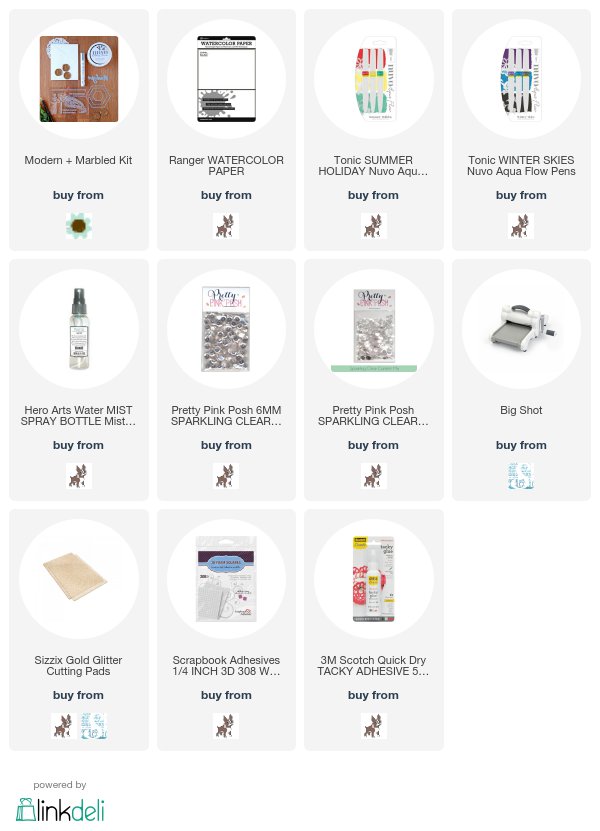
Supplies: please note that most of the supplies used in my cards today are contained within the Altenew New Day card kit. Please click the image below for more details of the kit contents.

Saturday, August 5, 2017

embossed resist marbling video tutorial


One more fun technique with the marble stamp image from my Modern + Marbled kit from Papertrey Ink. When I designed the stamp, I knew I would love the way it could create marbled backgrounds in basic tone-on-tone stamping. But with all these new techniques, the possibilities are endless! 


Today's technique involves emboss resist with a twist. I begin by inking the card stock panel, stamping and heat embossing with clear powder, and finishing the panel off with a darker shade of ink over the top. Its pretty cool!


Watch the video above for the entire process. Keep an eye and ear out for my big boo boo and how you can learn from my mistake. Click the arrow in the center to watch.

To watch the video in HD, please click here: Emboss Resist Marbling


I hope you have enjoyed this quick video series on different ways to use the marble image from the Modern + Marbled kit. If you miss any here is the list:


I have one more really great technique to share, but you will have to wait until Papertrey Ink's big celebration at the end of the month, Stamp a Faire! This free online event is going to be an absolute blast! Don't miss out on on all the fun! Details can be found here-Stamp A Faire 2017. I will have more details here on my blog soon!

Sincerely Yours,
Please note that many of the supplies in the Modern + Marbled Kit are being used in this video series, including the marble image stamp. The contents of the kit can be seen by simply clicking the image in the supply list below. It is the first image and is labeled Modern + Marbled.

Friday, August 4, 2017

Distress Oxide Ink Resist Marbling video tutorial


Another post with another fantastic way to use the marble stamp in the Modern + Marbled kit! This time I paired the marble stamp image with Distress Oxide Inks. The results are wowee!


I am in love with the properties of the Distress Oxide inks. Dye ink AND pigment ink properties all rolled into one ink pad of heaven!


Look at how unique and subtle the marbling look is with the inks and a little bit of water! A fine mist bottle and a cool stamp can sure make something beautiful!


Watch the video above to see how simple it is to create this beautiful resist marble background. Simply click the arrow to watch.

If you would like to watch the video in HD, please click here: Distress Oxide Resist Marbling


As a bonus in the video, learn how to add gilding to acetate! Yes! It is another incredibly easy technique that adds serious pow! The Nuvo Gilding Flakes and the Nuvo Medium Glue pen that I used to create the hexagon are included in the Modern + Marbled kit! 


To finish off my card, I added some leaves and flowers from Gran's Garden stamp set from Papertrey Ink. So pretty! And also stamped with Distress Oxide inks! For links to the supplies used to create this card, please check out the images below. For those of you viewing this through email, please click over to my blog and you can access the direct links. Thanks!


Sincerely Yours,

Thursday, August 3, 2017

creating a watercolored marble background video tutorial


Its time to kick off a little video series using that uber cool marble stamp image in the Modern + Marbled Kit! I wanted to show you a ton of ways to create beautiful marbled backgrounds using various inks, powders, and more! Stay tuned because over the next several days, I will be sharing my favorite ways to create backgrounds. This is SO much better than the old-school shaving cream technique! Its a stamp!


My marble stamp image was inspired by Japanese paint floating called, suminagashi. The colors ebb and flow, mixing and meeting, always creating a new combination. By using watercolors directly on the marble stamp image, the combinations are endless. Each impression with the stamp is unique.


Look at how beautiful the marbling is with watercolor! To see how to create this stunning background, watch the following video, click the arrow:


To watch the video in HD, please click here: Creating a Watercolored Marble Background


In the video, I also show how to create the ombre die-cut sentiment with the same watercolors, along with the stamped sentiment.


I hope you enjoy the first technique as much as I do! To find any of the supplies, simply click the images below to be taken directly to the items in an online store. 

Sincerely Yours,

Tuesday, November 15, 2016

MFT Stamps Kitschy Kitchen Card Kit now available!


The latest card kit from MFT Stamps, Kitschy Kitchen is now available! This retro-inspired kit is full of stamps, dies, inks, and card stock! Its once again a loaded card-making kit! 


The brilliant sentiments from the stamp set kick-started my card and then after I checked out retro kitchen images online, I decided on a color palette. I used a dark grey background stamped with the spoon image in a repeating pattern. Accent dots were added with a Distress marker and a Kirarina Wink pen. I love how the Kirarina pen pops off the dark card stock!

Then I stamped my bowls and then die cut them with the coordinating dies. How cute are they?! The bowls needed a place to "sit" so a strip of the same card stock seemed like the perfect solution.

Knowing I needed that strip of card stock, it became the place to stamp the sentiment. Oh, man, I ADORE this sentiment! A few flowers and other images from the stamp set were stamped and cut out by hand. So much fun! I cannot wait to make more cards with this fun kit!

Visit the MFT Stamps Blog for all the details on this limited edition kit. Plus, the design team has been making beyond amazing projects with this kit and you can get linked to everyone there!

thanks for stopping by!

kimberly

Supplies:
Related Posts Plugin for WordPress, Blogger...