Showing posts with label Christmas card. Show all posts

Thursday, December 12, 2019

quick holiday cards - Cordless Marker Airbrush

Join me over on Instagram and check out the latest tool from We R Memory Keepers, the Cordless Marker Airbrush. This tool adds a great airbrushed look to your projects! Check out all the ways I used it on this set of Christmas cards.

And hey, if you still need to work on your Christmas cards, let this be some inspiration for you! 
Because I certainly fall into that category! 
After die cutting various leaves and berries from basic white card stock, I added layers of color with the Cordless Marker Airbrush and the markers that come with it. The markers are juicy and vibrant. The color selection is great-especially for layering!

By layering greens, yellows, and blues, I was able to get a ton of dimension and texture on these die cut pieces! Adding the color is easy, making quick work of mass-producing cards!
I created the custom background paper with a stencil. Using stencils with this tool is wonderful! Great coverage and the stencils wash clean quickly with water in the sink.

I also added a touch of color and stripes to my envelopes! What a fun way to finish off my cards!
Pop on over to Instagram and join me. @kimberlystamps

Sincerely Yours,


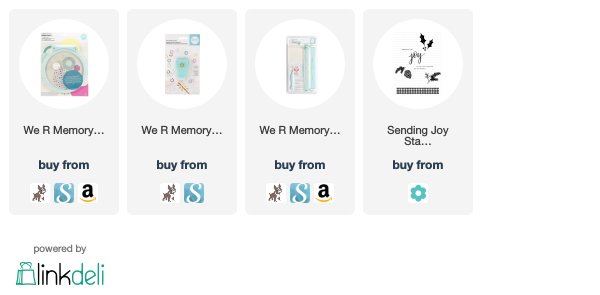
Supplies used, with affiliate links. Thanks for making purchases with these links! It costs you nothing extra, but it has sure added to my family this past year. It is so greatly appreciated!!

Friday, November 23, 2018

shaped Christmas cards - We R Memory Keepers Circle Spin & Trim

When we make our own Christmas cards, not only are we sending a little piece of ourselves and our love, we can also be as creative as we want! While I love sending heartfelt cards to my friends and loved ones, life is busy and time is precious. So when my creativity meets up with a tool that saves me time, well, you can image how happy that makes me! 

(and possibly even more so when all those things collide beautifully for a design team assignment. wink, wink.)

These shaped cards, made to look like Christmas tree ornaments, were easy to create with a new tool from We R Memory Keepers called the Circle Spin & Trim. Easy to use, even your kiddos can get involved with a tiny bit of supervision. 

The Circle Spin & Trim allows you to cut various sized circles from cardstock or patterned papers. The blades are stored in the top of the tool and the handle there makes it easy to turn the blade. For all the details on this tool, visit the We R Memory Keepers blog.

Stamp on your ornaments, add paper details, and then consider adding notes and circle photos to the inside as well! Hey, these could even be tree decorations, gift tags, or more! Have fun creating your holiday cards this season!

Sincerely Yours,
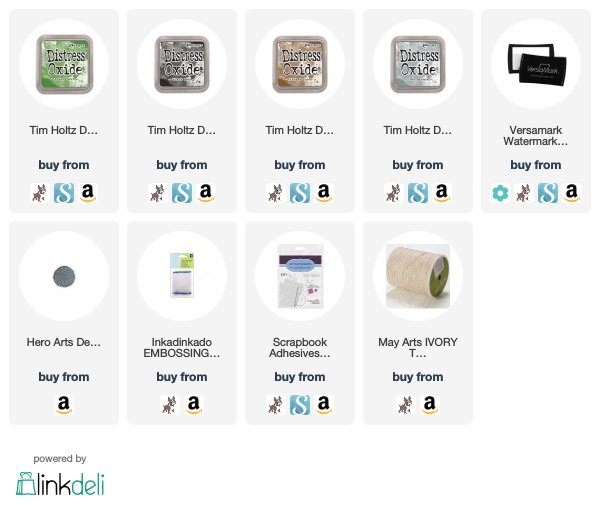
Supplies. Affiliate links used. No cost to you, but its a wonderful little blessing to me when you purchase through the links. Thank you!

Monday, October 15, 2018

Sending Joy - available now!

It is time! The October release for Papertrey Ink is now available! For all the release information please visit this page: October Release. To purchase Sending Joy and Sending Joy Dies, please click the images at the bottom of this post. Thank you, one more time for all the love, support, comments, messages, and emails! I could not be more fortunate to have such a wonderful group of people surrounding me! I could never express how much it means to me!

For tonight's cards, I used one of my personal favorite images, this diamond from my set, Bold Basics. It creates one lovely focal point on a card!

After stamping and heat embossing the diamond image from Bold Basics, I began layering my stamped and die cut images from Sending Joy. The elements in this set are perfect for mixing and matching. I am pretty sure there is no way to use this set "wrong!"

The last step was adding the stamped and die cut word joy. Oh, and to finish it off, I added one of the straight-line sentiments from Sending Joy. I masked the image off to make it fit into the design of my card. Using a post-it note, I inked the first two words and stamped them. Making sure my image was clean and dry, I once again masked and added ink, but this time to the second half.

One more card. This intensely dark green cardstock was giving me fits for photography, but the elegance of the rich color with the gold is stunning in real life! 

On the cardstock, I stamped and heat embossed the diamond from Bold Basics and the small pine branch image from Sending Joy. When heat embossing on dark cardstock, be sure and use an embossing magic pouch on your surface to help eliminate stray flecks of powder.
For more depth, I stamped the berries from Sending Joy and then applied gold Perfect Pearls. I will be trying this dual look again soon!

And I couldn't end this release without showcasing the main image of Sending Joy, the word joy. Have fun shopping tonight! I cannot wait to see what you make! Be sure and tag me on social media, or email me your projects! Seeing how your creativity uses images and dies is a thrill that cannot be described! 

Sincerely Yours,
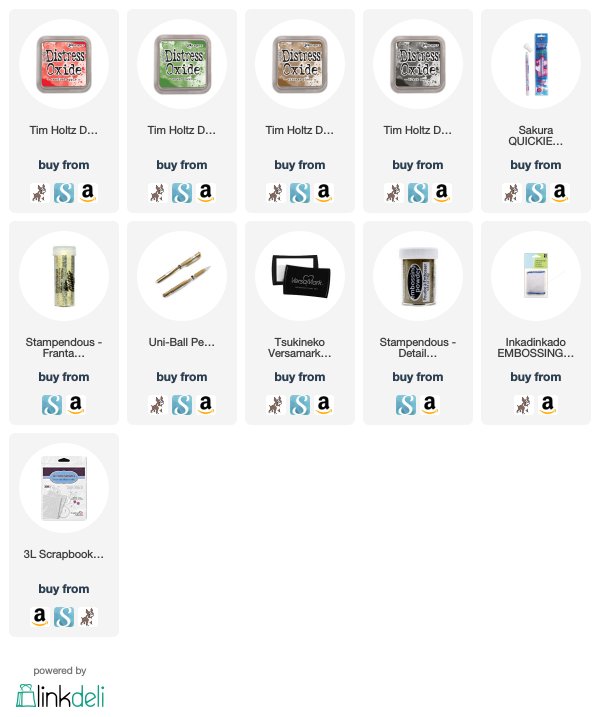
Supplies. Affiliate links used. List will be updated as quickly as possible.


Sunday, October 14, 2018

Sending Joy

The thing about Sending Joy is, you can make it work with your favorite color palette or holiday motif. You can even add the images to some of your other favorite holiday stamp sets! Simple, clean, and very versatile! We are inching closer to the time when you can order these images from PapertreyInk.com. October 15 at 10 PM Eastern. I will be sure and post a reminder when that times comes around!

I am having fun layering all these images together in different arrangements. The combinations really are endless. One big twist on this card-I stuck the die cut branch and berry image into a watermark ink pad and heat embossed the whole thing, without stamping the image. Its a cool look. I think next time I will repeat the process a few times and really build up the shine and the metallic finish.

And of course, these images work for envelopes! Since the launch of my Envelope Envy kit from Papertrey Ink last November, I have continued to be obsessed with adorning my envelopes. Its so easy to do and makes your happy mail even happier. Not to mention, its fully customized this way!

And, one more project, a simple tag. Tags are essential for gift wrapping in our house, so I know I will be making a bunch of these! Ok friends, next post will be time to shop! See you then!

Sincerely Yours,


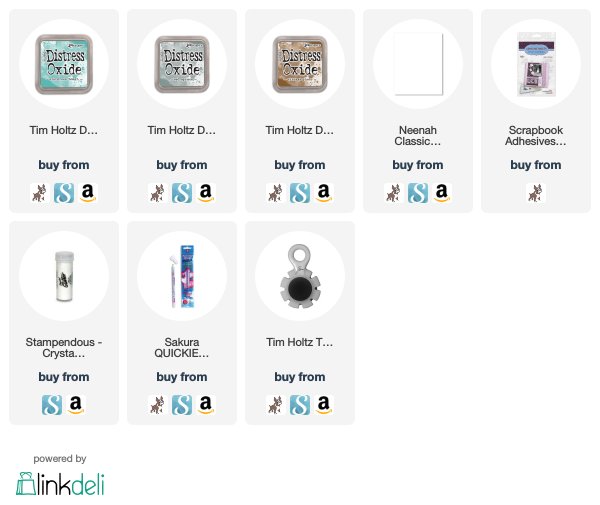
Supplies. Affiliate links used. List will be updated with new products on Oct. 15.

Saturday, October 13, 2018

Sending Joy - cards and a table runner

More projects with Sending Joy today! The October release from Papertrey Ink continues today. Be sure and visit the blog for a look at all the amazing products coming out this month! So much holiday goodness! And once again, thank you for all the online love! When you work so hard creating a set of images and dies, it feels SO great to have others get excited about them! Huge hugs to you all!

For the last two Christmases I have been obsessed with buffalo check, and the buffalo check pattern in red and black. I changed my tree ribbon to it and bought an adorable wool coat with the same pattern! Its probably the northern Minnesota girl in me and my love of flannel. But the look can be created easily with the gingham border image in Sending Joy. I stamped my image on red cardstock with black ink. I trimmed it out and distressed the edges to give it that rustic feel.

Please note: the border image in this set is an incredibly detailed image. It is also a very long image, as it runs the length of an A2 card. When you stamp the image, you will need to put a good amount of pressure on the center of the image. 

I added several stamped and die cut images from Sending Joy in the corner. To tie in the gold embossed sentiment, I added details to the stamped images with a gold gel pen. Simple touch, easy to do, but it adds quite a bit of visual detail. Plus, sparkle! :D

Wanting to continue using the buffalo check pattern, I punched the stamped image with a small star punch. I knew I could use them to create the look of ornaments. 

After stamping the pine branches along the top of my cardstock, I foam-mounted each of the stars. A black pen allowed me to draw quick strings to "hang" my stars. I finished off the card with some glitter. I stamped an image from Sending You Comfort and used my Quickie glue pen to add glitter. I know, enough with the glitter already. :D

The final project I have to share with you is this table runner! I found this table runner in the Dollar Spot at Target last year and picked up a few. I knew I could stamp on them when the perfect set came along. Today was that day!

Using an ink made for surfaces, I stamped the word joy first. Then I surrounded the word with images from Sending Joy. Again, its simple, but what a beautiful touch to add to your holiday table this season!

I am thoroughly enjoying the visit with my parents, so I apologize for this posting a little late. Shopping and cooking, watching movies, and today some crafting-I could not be happier! Have a wonderful day, friends!

Sincerely Yours,
Supplies. Affiliate links used. List will be updated on October 15, when the release is live.


Friday, October 12, 2018

Sending Joy - chalkboard card and ornament

Welcome back! I must again start my post with a huge thank you! So many messages and sweet comments left every where about Sending Joy. They are so sweet and thoughtful, my heart is totally touched and full! 

The wreath look from my first day's card was still with me, but I wanted to change it up. The final scene in White Christmas (one of my favorite Christmas movies of all-time) features silver and red. There is something chic and retro about that color palette. So I used it on this card. I stamped the pine branch image with white ink on black card stock.

After stamping the berries, I used a Quickie glue pen to fill in the circles. I poured red glitter (gasp, glitter again) over the top. To tie in the berries, I layered a piece of silver glitter cardstock underneath the black panel. Chic and fun!

Now about those ornaments I talked about earlier this week. These ornaments are so easy, you will be able to make enough to fill your tree this year! These chalkboard black ornaments are kind of flat, not entirely, but they are certainly not a sphere.I picked these up at a big box craft store on clearance at the end of last year. 

Stamping on a rounded surface can be tricky. I attempted to stamp with the image on a block, but the rolling motion was too complicated and didn't leave a good image behind. So I had an idea...photo polymer stamps are flexible...what if I didn't use the block...?

I inked up the image (with an ink made for surfaces like this) and picked it up with my hand. I placed it down on the ornament and gently pushed it onto the ornament surface. And look! It worked really, really well! 

To add more Christmas to the ornament, I stamped and die cut images from Sending Joy. The coordinating dies have a slight edge around the stamped part, bringing a nice finishing touch. And that star? More about that tomorrow! I do love me some red and black buffalo check!!!


See you again tomorrow. Hopefully I can sneak some good creative time tomorrow. If not, it will be because my parents are here for a visit. It is wonderful to have them here, as they live a long way away. My heart could burst with happiness today!
P.S. Can Stephanie Clapper please email me? You asked me a super question and I cannot find a way to reach you! :D You can click the link on the right side of my blog to email me. Thanks!

Sincerely Yours,
Supplies. Affiliate links used. List will be updated when products are available on Oct. 15.


Thursday, October 11, 2018

Sending Joy

Welcome back! Its day two of looks at the Papertrey Ink October release and I am going to continue to share projects with my newest stamps and dies called, Sending Joy. Thank you for all the sweet comments on the blog! I love that the simplicity of this set and the heartfelt idea behind it excites you! And I have to admit that when people said they liked the font of the word "joy," I was truly tickled because it is in my own lettering! :D Thank you!!!

Continuing with the simple yet elegant look is this card. I stamped the pine branch and berries images onto white cardstock. Once the ink dried, I applied a sheet of double-sided adhesive to the entire panel. Removing the backing exposes all the adhesive, but allows the stamped images to show through. I covered the entire surface with glitter and created that very cool looking background. Yes, I know glitter isn't always beloved, but this look is pretty great! 

 To finish things off, I stamped and heat embossed the word joy on vellum and then die cut it. I love the soft effect the vellum has.

The second card does contain glitter, but only a teeny, tiny bit. I stamped the gingham border onto white cardstock. I cut it from the cardstock and used a distressing tool along the edges. My hope for this image was to create the look of ribbon. Distressing the edges adds to that feel. With this color palette, I wanted the pine cone image to be the stand-out. Layering two of them together looks nice with the pine branches.

Here is where the glitter comes in. It was a Christmas card, it needed some shine or sparkle. To add some sparkly snow to the pine branch, I used a Quickie glue pen and drew along the image lines and added the same glitter as before. This is more my speed with the glitter. Just enough to find it all over your face later in the day. Ha!

I have a list of ideas a mile long. Tomorrow I will be bringing you more cool ideas, including an idea and tip on creating some ornaments. We get special ornaments for each year, so this idea is awesome for our family! I hope it is for yours as well! See you tomorrow!

Sincerely Yours,

Supplies. Affiliate links used. List will be updated after the release goes live on Oct. 15:

Related Posts Plugin for WordPress, Blogger...