Showing posts with label Vellum. Show all posts

Friday, October 12, 2018

Sending Joy - chalkboard card and ornament

Welcome back! I must again start my post with a huge thank you! So many messages and sweet comments left every where about Sending Joy. They are so sweet and thoughtful, my heart is totally touched and full! 

The wreath look from my first day's card was still with me, but I wanted to change it up. The final scene in White Christmas (one of my favorite Christmas movies of all-time) features silver and red. There is something chic and retro about that color palette. So I used it on this card. I stamped the pine branch image with white ink on black card stock.

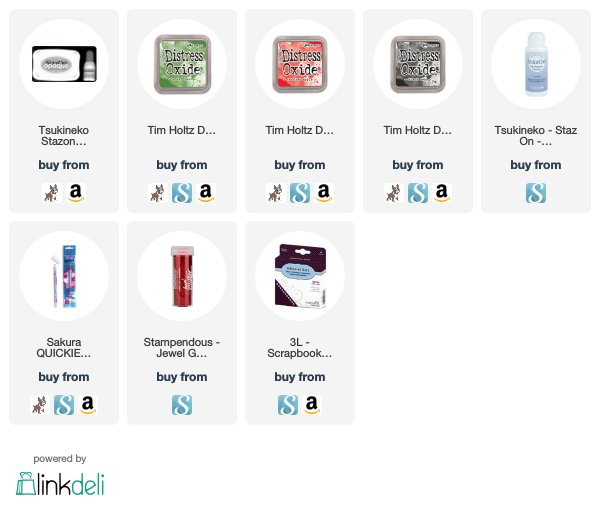
After stamping the berries, I used a Quickie glue pen to fill in the circles. I poured red glitter (gasp, glitter again) over the top. To tie in the berries, I layered a piece of silver glitter cardstock underneath the black panel. Chic and fun!

Now about those ornaments I talked about earlier this week. These ornaments are so easy, you will be able to make enough to fill your tree this year! These chalkboard black ornaments are kind of flat, not entirely, but they are certainly not a sphere.I picked these up at a big box craft store on clearance at the end of last year. 

Stamping on a rounded surface can be tricky. I attempted to stamp with the image on a block, but the rolling motion was too complicated and didn't leave a good image behind. So I had an idea...photo polymer stamps are flexible...what if I didn't use the block...?

I inked up the image (with an ink made for surfaces like this) and picked it up with my hand. I placed it down on the ornament and gently pushed it onto the ornament surface. And look! It worked really, really well! 

To add more Christmas to the ornament, I stamped and die cut images from Sending Joy. The coordinating dies have a slight edge around the stamped part, bringing a nice finishing touch. And that star? More about that tomorrow! I do love me some red and black buffalo check!!!


See you again tomorrow. Hopefully I can sneak some good creative time tomorrow. If not, it will be because my parents are here for a visit. It is wonderful to have them here, as they live a long way away. My heart could burst with happiness today!

P.S. Can Stephanie Clapper please email me? You asked me a super question and I cannot find a way to reach you! :D You can click the link on the right side of my blog to email me. Thanks!

Sincerely Yours,
Supplies. Affiliate links used. List will be updated when products are available on Oct. 15.

Thursday, September 13, 2018

Sincerely Yours - Sending You Comfort - fall color palette

More cards today with Sending You Comfort. Its a pretty happy day when you continue to play with a stamp set and have more and more ideas for creating! I know you will love this set because while I am featuring it with sympathy sentiments, these leaf branches will have a place in your card-making year 'round! Once again, thank you for all the sweet comments and support! So much time and effort goes into putting together a stamp set, so when you share your own excitement, the thrill goes to the bottom of my toes!

Sending You Comfort and Sending You Comfort die will be available on September 15 at 9 PM central time via the Papertrey Ink website. When those products go live, I will start to update links here on my blog. I will also schedule a post to remind you to shop. This whole release is pretty amazing! For more about the entire release visit Papertrey Ink's blog.
This is the fall color palette that I cannot get enough of! Soft, trendy yet somehow classic. Once you find a palette that works, stick with it! It makes creating so much easier. Instead of tracking down colors, you only have to start creating. This frees me up and forces me to get creative with what I am designing. And its pretty. :D

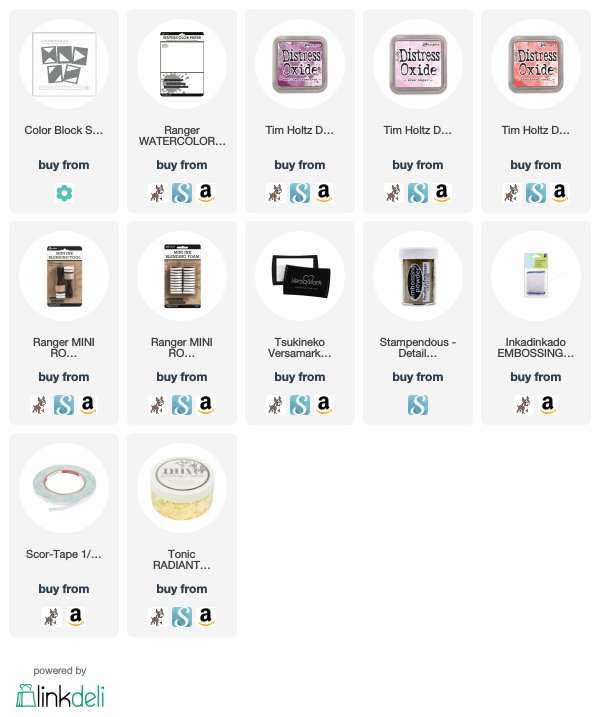
On a piece of watercolor paper, I inked Distress Oxide inks. They blend so beautifully, which I have mentioned about a bajillion times. Then I took the Sending You Comfort leaf image, spritzed it with water and stamped. Using the water makes the ink react, causing a lifting effect. I finished off the background with some random splats of water. Yes, I did it. It was scary. Very scary. :D

To allow the background to shine through, I stamped and heat embossed this sentiment from Sending You Comfort with gold powder. I attached the panel with very thin Scor Tape at the top of the vellum. But I needed to hide that adhesive. So I wrapped gold thread around the top and eee! Happy accidents are always the best!

For this second card, I stuck with the same color palette. To make the background, I used my Color Block Stencils. This set of stencils allows you to make some great backgrounds and with this fall palette, its no exception. 

Along the edges, where the two inks met, I added a line of Scor Tape and topped it with gold gilding flakes. So classy. Once again, I stepped out of my comfort zone and added some water splats. Definitely getting braver...

I did stamp the small dotted images around the sentiment from Sending You Comfort.

Sending You Comfort die is the leaf image. Having the option to cut the image out and stamp also is something that makes me happy when making cards. I stamped and heat embossed the image on vellum, then die cut it. The die is partially open, making it easy to line it up for even edges all the way around.

Thanks to those of you who have started following me on Instagram! Be sure and say hi and see what happens during my day-because I would love to "hang out!" @kimberlystamps

Sincerely Yours,
Supplies:
List will be updated when products are available on September 15.
Affiliate links used.


Monday, October 31, 2016

MFT Stamps November Release Countdown; Simply Snowflakes


Welcome to the MFT Stamps Release Countdown! For the next few days we will be sharing projects featuring the new stamps, dies, and stencils that will be releasing this month. You will be able to purchase any of the products you see over the next few days on Tuesday, November 1 at 9 pm Central.

Today I am using some of the most gorgeous snowflake products I have seen in a long time. I am beyond thrilled to have these in my collection, as they will never, ever leave my stash! This card was so much fun to create with all its layers, so let me share which products I used layer by layer.

On my Sweet Tooth card stock base, I started by stamping and heat embossing in gold, this beautiful sentiment from Snowfall of Blessings. This stamp set was part of a previously released kit.

Surrounding the sentiment and then covering the rest of the background is a dot image from Simply Snowflakes. I stamped with Delicata Gold ink to add a softer, more subtle look.

To layer over the top, I tore a piece of vellum, leaving the sentiment exposed at the bottom. Then I stamped the stunning snowflakes from Simply Snowflakes. Heat embossing in gold added another level of dimension. Could those snowflakes be any prettier?! And, these images were also part of a previously released kit.

Adhesive tip: with a large piece of vellum to adhere to my card base, I knew it would be an issue. I solved that by using adhesive behind the heat embossed snowflakes. The images "cover up" the adhesive.

Die-namics Stylish Snowflakes is something I was hoping to see, for a long time! This set of dies cuts out the most intricate snowflakes! I placed two of them around the sentiment for even more drama.

Visit the MFT Stamps blog for all the information you will need about the upcoming release. That includes product images, product videos, links to the design team projects, and more! Plus, there always seems to be a chance to win!


thanks for stopping by! 

kimberly

Supplies available November 1:

Friday, June 24, 2016

3 background techniques


I recently had the honor of teaching at the MFT Stamps 2016 Retreat. Not only did I get to spend almost a week at the MFT Stamps Headquarters in central Florida, but I also got to teach a class and meet 30 wonderful card makers! MFT Stamps brick and mortar store is just as beautiful as you would expect and if you ever get the chance, its worth the trip. Such a sweet town and beautiful neighborhood. The trip was an absolute blast and I am so grateful to MFT Stamps for the opportunity. I thought I would quickly share the three projects that I taught. Each card focused on a fun background-making technique.

The first card features marbling. The look of marbling is classy and has started to become a bit of a trend. I went old-school, bringing out the shaving cream and re-inkers trick.

Start by spraying basic white shaving cream onto a work surface. Drop small amounts of 3-4 reinker colors into the shaving cream. Spread the color around in a pattern using a toothpick. I like to use a left to right, top to bottom, corner to corner, corner to corner pattern. Then you place your paper into the shaving cream, pushing down so the entire surface gets covered. Do not bury it, however. Scrape the excess shaving cream off the paper after lifting it out and you have a unique background. You can usually get 2 or 3 backgrounds from one batch.


This card uses the smooshing technique. I applied various colors of ink to an acrylic block, spritzed it with water, and then applied it to my watercolor paper. I moved the block to spread the color around. Once it dried, I placed a stencil over the top and removed the ink color in places by pressing a baby wipe through the openings. Its a fine-line as you want to get moisture through, but not cause spreading. Hold the baby wipe gently over the openings for a second or two and continue over the whole stencil surface. 


The last card is the most fun. This one will require a video tutorial, which I promise will happen very soon. Its a two-tone watercoloring technique. Inside the new MFT Stamps Water Brushes (they are fab!) I dropped small pieces of Peerless Watercolor, creating a colored water. Then, picking up another color with the brush trip, I got this custom blend of colors. Doesn't it look amazing on the leaves?! Stay tuned because I have more ideas for this one!

We have been going non-stop since school got out. Its been insane around here, but I am happy because my son is enjoying so many activities! We visited my parents after school got out. Then its been tons of swim meets. We are off this weekend to the Olympic Swim Trials in Omaha, NE! The little man cannot wait to watch all his swimming heroes in action, including one of his teammates who qualified for the trials! She will be swimming the 100 Fly on Sunday and we cannot wait to cheer her on, loudly! :D 

thanks for stopping by!

kimberly

Supplies for Because:


Supplies for Thanks:


Supplies for Good Things:
Related Posts Plugin for WordPress, Blogger...