More cards today with Sending You Comfort. Its a pretty happy day when you continue to play with a stamp set and have more and more ideas for creating! I know you will love this set because while I am featuring it with sympathy sentiments, these leaf branches will have a place in your card-making year 'round! Once again, thank you for all the sweet comments and support! So much time and effort goes into putting together a stamp set, so when you share your own excitement, the thrill goes to the bottom of my toes!
Sending You Comfort and Sending You Comfort die will be available on September 15 at 9 PM central time via the Papertrey Ink website. When those products go live, I will start to update links here on my blog. I will also schedule a post to remind you to shop. This whole release is pretty amazing! For more about the entire release visit Papertrey Ink's blog.

This is the fall color palette that I cannot get enough of! Soft, trendy yet somehow classic. Once you find a palette that works, stick with it! It makes creating so much easier. Instead of tracking down colors, you only have to start creating. This frees me up and forces me to get creative with what I am designing. And its pretty. :D
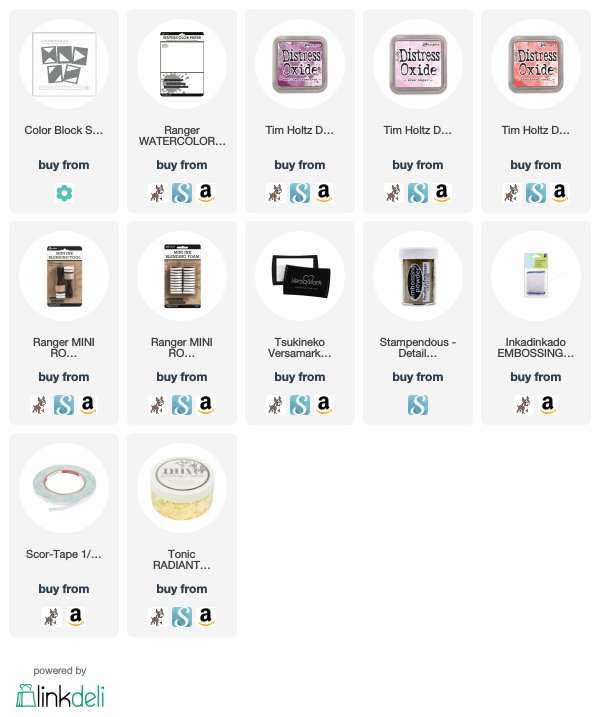
On a piece of watercolor paper, I inked Distress Oxide inks. They blend so beautifully, which I have mentioned about a bajillion times. Then I took the Sending You Comfort leaf image, spritzed it with water and stamped. Using the water makes the ink react, causing a lifting effect. I finished off the background with some random splats of water. Yes, I did it. It was scary. Very scary. :D

To allow the background to shine through, I stamped and heat embossed this sentiment from Sending You Comfort with gold powder. I attached the panel with very thin Scor Tape at the top of the vellum. But I needed to hide that adhesive. So I wrapped gold thread around the top and eee! Happy accidents are always the best!

For this second card, I stuck with the same color palette. To make the background, I used my Color Block Stencils. This set of stencils allows you to make some great backgrounds and with this fall palette, its no exception.

Along the edges, where the two inks met, I added a line of Scor Tape and topped it with gold gilding flakes. So classy. Once again, I stepped out of my comfort zone and added some water splats. Definitely getting braver...

I did stamp the small dotted images around the sentiment from Sending You Comfort.

Sending You Comfort die is the leaf image. Having the option to cut the image out and stamp also is something that makes me happy when making cards. I stamped and heat embossed the image on vellum, then die cut it. The die is partially open, making it easy to line it up for even edges all the way around.

Thanks to those of you who have started following me on Instagram! Be sure and say hi and see what happens during my day-because I would love to "hang out!" @kimberlystamps
Sincerely Yours,

Supplies:
List will be updated when products are available on September 15.
Affiliate links used.