Showing posts with label Christmas Ornament. Show all posts

Friday, November 23, 2018

shaped Christmas cards - We R Memory Keepers Circle Spin & Trim

When we make our own Christmas cards, not only are we sending a little piece of ourselves and our love, we can also be as creative as we want! While I love sending heartfelt cards to my friends and loved ones, life is busy and time is precious. So when my creativity meets up with a tool that saves me time, well, you can image how happy that makes me! 

(and possibly even more so when all those things collide beautifully for a design team assignment. wink, wink.)

These shaped cards, made to look like Christmas tree ornaments, were easy to create with a new tool from We R Memory Keepers called the Circle Spin & Trim. Easy to use, even your kiddos can get involved with a tiny bit of supervision. 

The Circle Spin & Trim allows you to cut various sized circles from cardstock or patterned papers. The blades are stored in the top of the tool and the handle there makes it easy to turn the blade. For all the details on this tool, visit the We R Memory Keepers blog.

Stamp on your ornaments, add paper details, and then consider adding notes and circle photos to the inside as well! Hey, these could even be tree decorations, gift tags, or more! Have fun creating your holiday cards this season!

Sincerely Yours,
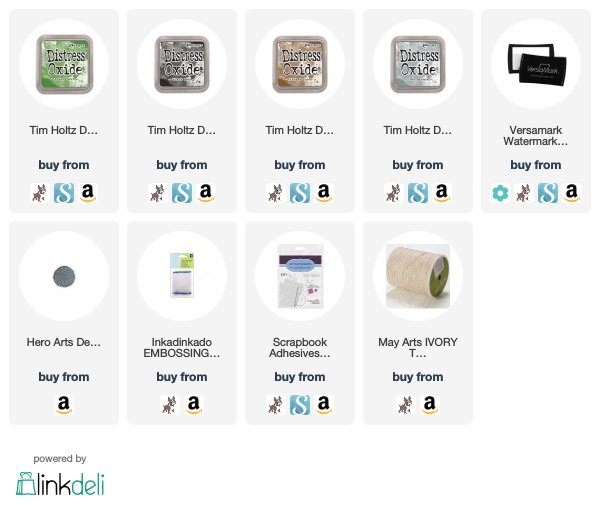
Supplies. Affiliate links used. No cost to you, but its a wonderful little blessing to me when you purchase through the links. Thank you!

Sunday, October 14, 2018

Sending Joy

The thing about Sending Joy is, you can make it work with your favorite color palette or holiday motif. You can even add the images to some of your other favorite holiday stamp sets! Simple, clean, and very versatile! We are inching closer to the time when you can order these images from PapertreyInk.com. October 15 at 10 PM Eastern. I will be sure and post a reminder when that times comes around!

I am having fun layering all these images together in different arrangements. The combinations really are endless. One big twist on this card-I stuck the die cut branch and berry image into a watermark ink pad and heat embossed the whole thing, without stamping the image. Its a cool look. I think next time I will repeat the process a few times and really build up the shine and the metallic finish.

And of course, these images work for envelopes! Since the launch of my Envelope Envy kit from Papertrey Ink last November, I have continued to be obsessed with adorning my envelopes. Its so easy to do and makes your happy mail even happier. Not to mention, its fully customized this way!

And, one more project, a simple tag. Tags are essential for gift wrapping in our house, so I know I will be making a bunch of these! Ok friends, next post will be time to shop! See you then!

Sincerely Yours,


Supplies. Affiliate links used. List will be updated with new products on Oct. 15.

Friday, October 12, 2018

Sending Joy - chalkboard card and ornament

Welcome back! I must again start my post with a huge thank you! So many messages and sweet comments left every where about Sending Joy. They are so sweet and thoughtful, my heart is totally touched and full! 

The wreath look from my first day's card was still with me, but I wanted to change it up. The final scene in White Christmas (one of my favorite Christmas movies of all-time) features silver and red. There is something chic and retro about that color palette. So I used it on this card. I stamped the pine branch image with white ink on black card stock.

After stamping the berries, I used a Quickie glue pen to fill in the circles. I poured red glitter (gasp, glitter again) over the top. To tie in the berries, I layered a piece of silver glitter cardstock underneath the black panel. Chic and fun!

Now about those ornaments I talked about earlier this week. These ornaments are so easy, you will be able to make enough to fill your tree this year! These chalkboard black ornaments are kind of flat, not entirely, but they are certainly not a sphere.I picked these up at a big box craft store on clearance at the end of last year. 

Stamping on a rounded surface can be tricky. I attempted to stamp with the image on a block, but the rolling motion was too complicated and didn't leave a good image behind. So I had an idea...photo polymer stamps are flexible...what if I didn't use the block...?

I inked up the image (with an ink made for surfaces like this) and picked it up with my hand. I placed it down on the ornament and gently pushed it onto the ornament surface. And look! It worked really, really well! 

To add more Christmas to the ornament, I stamped and die cut images from Sending Joy. The coordinating dies have a slight edge around the stamped part, bringing a nice finishing touch. And that star? More about that tomorrow! I do love me some red and black buffalo check!!!


See you again tomorrow. Hopefully I can sneak some good creative time tomorrow. If not, it will be because my parents are here for a visit. It is wonderful to have them here, as they live a long way away. My heart could burst with happiness today!

P.S. Can Stephanie Clapper please email me? You asked me a super question and I cannot find a way to reach you! :D You can click the link on the right side of my blog to email me. Thanks!

Sincerely Yours,
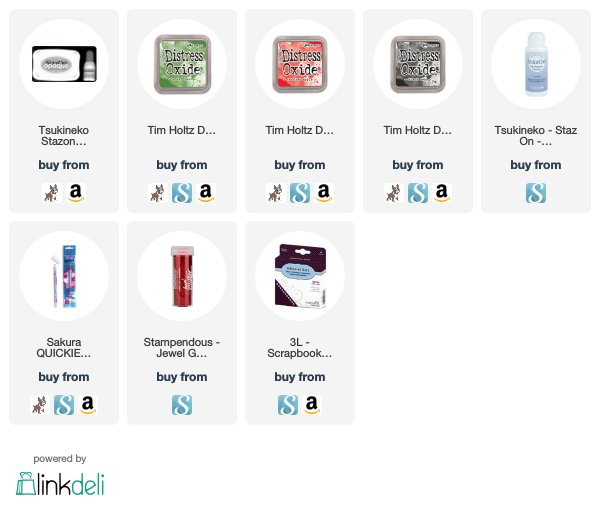
Supplies. Affiliate links used. List will be updated when products are available on Oct. 15.


Sunday, September 30, 2018

Fairy Tale Christmas - Papertrey Ink

Fairy Tale Christmas is the latest kit from the genius mind of Betsy Veldman and will be available at Papertrey Ink tomorrow night. If you are even slightly interested in this kit, run now and set a reminder to order yours before they are gone. Once you see the unlimited possibilities with this kit, you will want, no NEED to have it! As I began playing with this kit, the amount of ideas I had were astounding. So many beautiful elements to create with! And there truly is something for everyone in this kit. From the beginning crafter to the advanced, it is all inside Fairy Tale Christmas!

My first card is lovely and easy. So easy. Which is my favorite kind of card. The card that leaves everyone trying to figure out if you REALLY made it or not. :D The pre-printed papers in the kit, along with coordinating dies, made the front of this card. Snip, snip, crank. I could have left the card finished, but with these cool clear card shaker elements and sequins, I had to step it up!

The plastic shaker component fits perfectly inside the opening. Fill. Adhere. Add to card base. Simple and so gorgeous!

Taking up another notch, the idea behind the kit is storybook Christmas. The kit helps you create small books. Books that can be used to hold gift cards, create ornaments, or more!

Layering the pre-printed papers, along with using the dies, I made this incredible ornament. Look at the wondrous world inside! Especially note the year stamp at the top. The stamps have years that you can use. Add it to an ornament like this, or even stamp on the spine of the book!

Oh yes, I took it up another notch with lights! The kit has a set of battery-operated lights! How amazing does this book ornament become now?! The switch can turn the lights off and on. The batter is also replaceable. The small LEDs do not get warm either.

Who doesn't want to open this book, walk inside, and celebrate the holidays?!?!

I want to decorate my entire tree with these! The attention to detail is truly astounding. My mind is completely blown!

One more card to share. This one is also a shaker card, but I utilized the stamps and dies in the kit more for this one.

After stamping and die cutting the scene elements, I decided to place them inside the card, inside a shaker. Like a snow globe world.

My favorite part of this card is the acetate for holding the shaker elements. I took a cosmetic sponge and rubbed white StazOn ink upon the surface. I wanted it to look like a frozen window. Adding a few stamped snowflakes from the kit really polished the look off! So fun!

Visit the Papertrey Ink blog for links to some unreal projects. There are several talented designers joining in this launch and you do not want to miss their projects!

Sincerely Yours,
Supplies, affiliate links used, list will be updated at kit launch:

Monday, November 30, 2015

ornament making; MFTv


Head to the MFT Stamps Blog for MFTv today and see how to create this darling ornament! (Its a video tutorial, remember! :) While this ornament looks great on a tree, it would also be an extra special touch to add to a gift bag or even a wrapped gift! I have lots of tips and tricks to share with you, from coloring small images with Copic markers to how to use adhesive sheets to create the gorgeous glitter snow background. Stop on over and check it out!

thanks for stopping by!

~kimberly

Supplies:

Monday, October 5, 2015

birch slice ornaments: MFT Stamps October Release Countdown


There is something about birch slices that I cannot resist. I think it is the country rustic look that I love so much. They are warm, inviting. and a wonderful surface for stamping! Last year I made birch slice ornaments with chalkboard paint for a MFT Stamps project, and this year I decided to add to my collection. I found these birch slices, with twine and all, at my local big box craft store. They measure about 4" in diameter. Some closer to that size than others.

I started by stamping this saying from Joyous Christmas Sentiments. Because of the wood surface, I used Hybrid Black Licorice Ink to stamp the image.

Around each sentiment I stamped several snowflakes from Snowflake Flurry. Again, I used Hybrid ink. The color is Hybrid Wild Cherry Ink. These ornaments are simple and sweet and would make a great gift for anyone! 

One more day until all the fantastic products we have been showing you over the last few days will be available for purchase in the MFT Stamps online store! When my next blog post goes live, tomorrow night at 9 pm central, you can shop to your hearts content! I mean, you need all these stamps and dies to make Christmas cards and ornaments and gifts, right? :D Visit the MFT Stamps Blog for more information and a helpful shopping list!

thanks for stopping by!

~kimberly

Supplies for the Birch Slice Ornaments, available Oct. 6:


Related Posts Plugin for WordPress, Blogger...