Showing posts with label Crate Paper. Show all posts

Tuesday, February 4, 2020

Valentine's Day Cards - adding texture with embossing folders

Love is in the air! It is time to start making and sending those Valentine's Day cards! These cards came together in minutes with some great tools from We R Memory Keepers and products from Heidi Swapp!

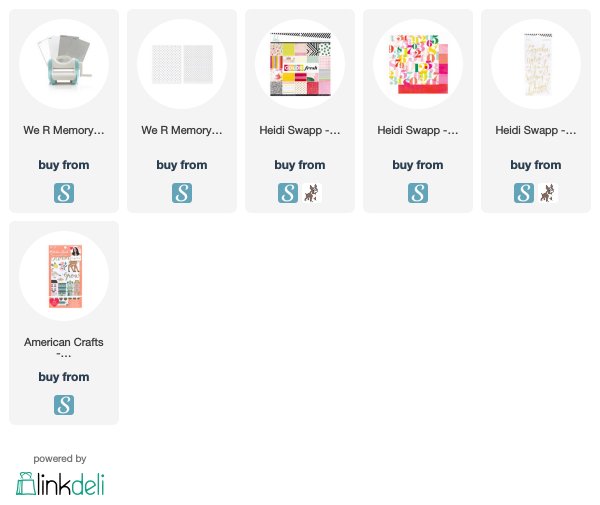
Using the new We R Memory Keepers manual die cutting machine, the Revolution, I ran some striped patterned paper from Heidi Swapp through the machine in a heart embossing folder.

After I took it out of the embossing folder, I gently sanded the top of the raised surfaces off with 180 grit sand paper. Doing that exposed the white core of the paper and added awesome depth to my texture! 

On the paper, I added stickers with sweet words of love.

Visit me on Instagram @kimberlystamps and check out my post and stories for more details and tips and tricks! I love sharing helpful ideas there, because I can share them as I have them happen while I work. I love it! Hope to see you there!

 Sincerely Yours,

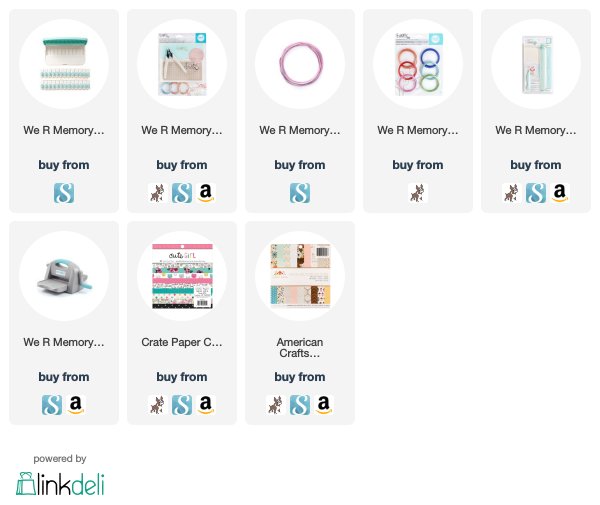
Supplies used, listed with affiliate links. My family appreciates your support! And so do I! :D
Thursday, July 12, 2018

let's flamingle


Is there anything better than a punny card? Well, maybe a card with a flamingo! For this week's 
We R Memory Keepers design team project, I used the new Word Punch Board and Happy Jig. The new Word Punch Board will rock your card making, scrapbooking, and planner world!!! Any words you want, punched out from any papers you want. Yessssssss!
Feeling all beachy and summery, I knew I wanted to create a flamingo with the Happy Jig wire tool. The instructions for the flamingo come in the instruction booklet included in the tool. How cute is that?! Having this adorable embellishment required a great sentiment, but I did not have any stamps that worked. Which is where the Word Punch Board came in awfully handy. DIY sentiment. Whoop!

Add in some sand paper for the beach texture and you have one fun card to mail to someone! For more details, visit the We R Memory Keepers Blog.

P.S. I hope you are following me on Instagram the handle @kimberlystamps! I share so much there. With the stories feature, I try and share small clips of projects and tools, plus a ton about our garden and whatever else is happening. To make it super easy, there is a button you can click on the right side of my blog that will allow you to follow me instantly. I would LOVE to see you there! :D

Sincerly Yours,
Supplies with affiliate links:

Monday, July 8, 2013

Reverse Confetti release hop

have your cake with Reverse Confetti by Kimberly Crawford

Hello REVERSE CONFETTI Fans!  The wait is finally over, and it's time for
another new release from your favorite new company!  That's right, it's our
second release and it's even better than the first one.  Another 4 new stamp
sets are being released TODAY!  We know you all are excited to see what's
new, so start by hopping along with the Confetti Crew.

The hop started over on the Reverse Confetti blog, and you should have made
it here from the talented and kind Jen Tapler's blog.  It would be worth your while to start at the beginning of the hop, so you don't miss a thing.  We have tons of inspiration for you to see using Reverse Confetti's second release of 4
brand new stamp sets!

have your cake cu with Reverse Confetti by Kimberly Crawford

S_CelebrateCake_productgraphic

Here is a look at the set, Celebrate Cake, and a closer look at the little tag .

MixMatchCombos

Look at the genius of this set!!! I have been DREAMING of a set like this for SO long!! Jen designed great sentiments, perfect for that subway style we all love, but these words mix and match! Check out all the combinations above! Isn’t it brilliant?!?!

have your cake cake box with Reverse Confetti by Kimberly Crawford

I felt like I just HAD to make a cake box. This one was digitally cut from kraft cardstock using my Silhouette. To make the box match the patterned paper on the card, I simply stamped the top image from Whole Lotta Dots onto the box before I assembled it. Isn’t it cute?!?!

S_WholeLottaDots_productgraphic


I hope you've enjoyed hopping with us today.  Be sure and hop with us on the
8th of EVERY MONTH for more REVERSE CONFETTI inspiration!  Now it's time to hop on over to the sweet and  fabulous Laurie Schmidlin's blog.  If you get lost along the way, you can find the hop order and list of all the participating designers over on the Reverse Confetti blog. Celebrate the creative side of you!

thanks for stopping by!

~kimberly

Friday, May 31, 2013

heat embossing and washi tape with wood veneers

washi butterfly cu 1 by Kimberly Crawford
Ready for the next ideas for wood veneers? On today’s project, I combined a couple of ideas, using washi tape and heat embossing.

To heat emboss your wood veneer, simply push the veneer into your embossing ink pad. Lift in gently and place it onto a piece of scrap paper. Cover with embossing powder and tap off the excess. Then apply the heat. This will take a bit longer than usual, so keep your heat tool moving. I cannot wait to try this with the glitter embossing powders!!

washi butterfly cu 2 by Kimberly Crawford
The washi tape was a bit more fussy…but still worth it. Simply apply the tape over the surface, going over the edges. Trim away the excess along the edge of the shape with a pair of detail scissors. I then used my finger nail to smooth away the edges.

washi butterfly by Kimberly Crawford
So, there you have it, my ideas for using up those wood veneers you have been hoarding! ;) In case you missed any of the posts, you can find them all by clicking the links below:
thanks for stopping by!

~kimberly


P.S. Well, time has gotten away  from me, as usual. Seems like I am always saying that. :) The little man is done with school and he is now the focus of all my time, which I wouldn’t trade for anything. We also spent a fantastic weekend in MN with my family celebrating my nephew’s first birthday. It was good to go “home.” We also got to spend time on the lake, which was cold, and the fishing was lousy, but it was so wonderful to be outside.

The summer will be busy with the little man having golf, baseball, and science camp. We have trips planned, both day and longer. My first blog posts as an official Paper Crafts Go To Gal will be soon and I will be popping in here and there with Scrapbook Adhesives by 3L projects and Reverse Confetti too, but it will be a bit quieter. I know you all have busy summers planned too. When it rains, stop by for a visit. Or when you are hanging at the beach under that great umbrella.

Thanks for always stopping by! For the emails, for the sweet comments, for the questions, and for just being great. Hugs!

Saturday, May 25, 2013

stamping on wood veneers

youre the best wood veneers by Kimberly Crawford
Today I am posting on the Crafty Power Blog by Scrapbook Adhesives by 3L and I thought I would combine my series of blog posts about ideas with wood veneers and adhesives. Scrapbook Adhesives by 3L has the perfect repositionable adhesive to help you stamp on your wood veneers!

youre the best wood veneers cu2 by Kimberly Crawford
Be sure and stop on over to the blog and get a couple of pretty cool and very helpful hints!

thanks for stopping by!

~kimberly


Wednesday, May 22, 2013

coloring wood veneers

whats up wood veneers cu 3 by Kimberly Crawford
Wood veneers are so popular and versatile. I personally love using them and have amassed quite a collection of them! (noticing a trend, or maybe, an issue? I seem to collect a lot of supplies…)

whats up wood veneers cu by Kimberly Crawford
The veneers come unfinished allowing you to alter them as you choose. On this card, I chose an easy route, spray ink. However, I did not have the “right” shade of green for this card (based on the green patterned paper).

whats up wood veneers cu 1 by Kimberly Crawford
To solve that, I simply misted two colors, green and yellow, onto a craft mat.

whats up wood veneers cu 2 by Kimberly Crawford
By simply placing the wood veneer into the pile of ink, I was able to get the color I desired. Its very inky/messy this way, so I picked up the wood veneer and placed it into a paper towel to remove the excess ink.

whats up wood veneers by Kimberly Crawford

Ways to color wood veneers:
  • Spray inks
  • Ink pad-apply directly to the wood surface
  • Color with watercolor markers
  • Color with Copic markers or airbrush
  • Paint

Stay tuned for more ideas for your wood veneers! thanks for stopping by!

~kimberly


Related Posts Plugin for WordPress, Blogger...