 Today I get to share another Spellbinders design team project with you! I am very happy with this layout. It just makes me smile, but who could resist that face? The photos were taken when the little man was about 18 months old. We were out in the yard, he jumped behind the tree, peeked out at me, and broke into giggles. Then he peeked out the other side. I have never been happier to have the camera in my hands! The way the photos turned out, I knew I needed to create a tree for the layout. Knowing that I didn't have a tree die, I would have to create one.
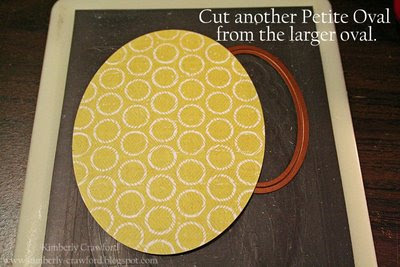
 Here is a close up look of the tree. I stamped brown cardstock with a wood grain image stamp and added a scalloped heart for a finishing touch. Here is how to make your own tree:


 And there you have a tree! :)
 I also made a sunshine for the top of the page using the Inverted Scalloped Circles and a Classic Circle. Don't the creative possibilities with Spellbinders die templates just amaze you? Oh, I love using them!!!
thanks for stopping by!
Supplies:
Supplies:
Spellbinders Die Templates-Petite Oval Small, Labels One, Classic Circles Small, Inverted Scalloped Circles Small, Scalloped Hearts
Patterned paper, Letter stickers, Rub ons-Crate (Lil Sprout)
Patterned paper-My Mind's Eye (Feeling Groovy) (Heart)
Stamps-Hero Arts (Wood Grain Background, Anytime Sentiments)
Ink-Clearsnap (Colorbox Chalk Creamy Brown, Dark Brown)
oooh...did you see this? Spellbinders NEW Pendants announcement? :) :) :) :)


11 comments:
Ba-rilliant!
What a cute layout, Kim!!
Genius!! Love how happy and fun this layout is!
Very creative and darling Kim!!
I just love the way you created the tree Kimberly. You are an awesome artist. And this layout is adorable.
Oh GOODNESS, how CUUUUUTE!
This makes me smile too! Adorable!!
OMGosh! This is SO cute! You did a great job with the tree!
A wonderful idea!!!!! Thanks fir instruktion!
Many greetings
Andrea
This is so adorable and absolutely CLEVER, Kim! What a cute picture of the little one! :)
Adorable page, I love the way you did the tree. Your son is totally cute. :0)
Post a Comment