Showing posts with label gift card holder. Show all posts

Wednesday, April 15, 2020

Thank you card with a gift card pocket - We R Memory Keepers Pocket Punch Board

There are SO many people who deserve our thanks these days. So many people who need our support as we live in unprecedented days. I pray that you are safe, and healthy. Hugs to each of you as we all face stress and fears. I hope that you find ways to make yourself happy. Usually finding a way to help someone out, or to spread cheer fills my heart up. Making cards is definitely one bright spot in my days!

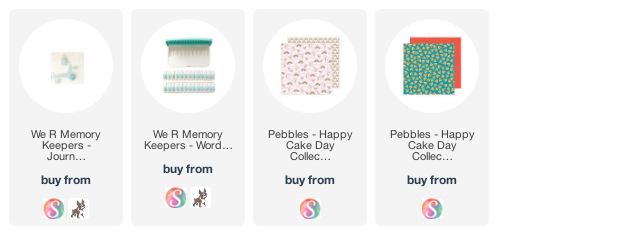
Because people need our thanks, I thought it would be fun to make a card that can hold a gift card. Using the Pocket Punch Board from We R Memory Keepers made it easy. I love when my design team assignments turn into a great project to use immediately!

I also used the We R Memory Keepers Word Punch board to create the "thanks" banner. And check out those cute papers from Pebbles, Inc.!

For a tutorial, pop over to the We R Memory Keepers blog. For a video tutorial, visit me on Instagram @kimberlystamps! You will get a great look at the tool, plus an important tip about orientating your patterned papers!

Sincerely Yours,
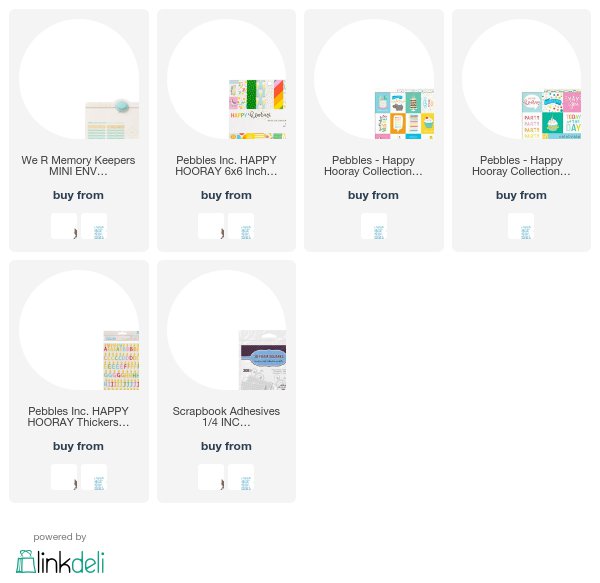
Supplies used. Shared with affiliate links. Thank you!

Thursday, February 15, 2018

inside out card

An inside out card? What?! Well, what I mean is, I put the envelope ON the card, instead of the card inside the envelope! I am obsessed with the Mini Envelope Punch Board from We R Memory Keepers, and I thought for my project this week, it would be fun to use the envelope on a card!

One of the envelope sizes you can make with the Mini Envelope Punch Board is perfect for holding not only 3x4 journaling cards, but also gift cards! Seeing as my son turned 12 the other day, the timing could not have been more perfect for this card and the ability to give a gift card!

Visit the We R Memory Keepers Blog and check out how to create this fun inside out card!

Sincerely Yours,


Monday, December 15, 2014

felt tag and gift card holder: MFT December Creative Challenge


Welcome to the December Creative Challenge brought to you by the MFT Stamps design team! This month we were challenged to use FELT! MFT Felt is hands down the best. THE best. The way it cuts with my Die-namics is fantabulous and the colors are always what I need!!

As Christmas is quickly approaching, gasp, I was starting to think about wrapping presents. Yes, you read that correctly, starting to think about wrapping. My mother-in-law loves gift cards to some of her favorite stores for Christmas. But, when I give them to her, I always like to add another treat, something else to open. Often its chocolate. The good stuff. So, I thought it would be fun to make a tag AND a gift card holder for one of her gifts.

I die cut Steel Grey Felt with Die-namics Blueprints 9, twice. On one of the tags, I trimmed away the top, to create the same-sized front. I stitched the two parts together using some grey thread and a running stitch. Don't look too closely, or you will see why I make things from paper and do not sew...

The word joy was created with Sweet Tooth Felt and Die-namics Peace, Love, Joy. The branch is from Die-namics Wild Greenery in Jellybean Green Felt. The berries, Wild Cherry Felt, cut with a circle from Die-namics Blueprints 9. I adhered the felt pieces with glue meant for fabric.

One last note, I love the extra large size of this holder, because that is a double-sided gift card inside the pocket. In fact, I even pulled the gift card out of the top, so it would show in the photo. 

This present is for my sister-in-law. Same idea, but I put the gift card on the inside this time because I wanted to make a simple tag. Again I cut Steel Grey Felt with Die-namics Blueprints 9.

The snowflake is Sweet Tooth Felt cut with Die-namics Pierced Snowflakes. The word love came from 
Die-namics Peace, Joy, Love. I layered Blu Raspberry and Berrylicious Felt to add more depth. To finish this tag off, I added a Blu Raspberry Button that had been tied with Hemp Cord.

There you have it. Two fun projects made with felt, adding a perfect touch to your Christmas presents, or even perfect for giving as-is! Be sure and head to the MFT Blog to see what the rest of the team has created. As always, the team has made some eye-popping projects!

thanks for stopping by!

~kimberly

Supplies for Felt Gift Tags:

Tuesday, October 14, 2014

MFT October New Product Launch


Its time! The wait is over! The October release products from MFT Stamps are now available in the store! If you are still trying to decide what to purchase, hop along with the team, and if you already know, stop on back for inspiration while you wait for your order to arrive!

Tonight I am featuring Die-namics Stitched Rectangle STAX! This set of layering rectangles will probably be used on all of my cards!!! Each edge of the cut image has stitch marks. Being a girl who really doesn't sew, this adds the beautiful touch of stitching to my projects, without the thread!

Still thinking Christmas tree ornaments from yesterday's projects, I got to thinking about the small chalkboard ornaments I began creating for my tree last year. Die-namics Stitched Rectangles works perfectly to create the look!


I started by die cutting Kraft cardstock with the second largest die. Black Licorice cardstock was cut with the rectangle two down from there.

The Kraft cardstock was stamped with Wood Plank Background using Grout Grey ink. Then the Black Licorice cardstock was stamped with sentiments from Merry Messages using Sweet Tooth ink.

The wreath is two pieces of Jellybean Green cardstock cut with Die-namics Spring Wreath. The bow is from the same set and it was cut from Wild Cherry Felt.

Twine was tied through the top corners of each chalkboard and they are ready to hang on my tree!

Having another mini chalkboard left, I decided to turn it on its side and use it for a card. The Jellybean Green cardstock card base was stamped with Snowfall Background using Sweet Tooth ink. The sentiment on the chalkboard was stamped with the same ink using several sentiments from Merry Messages. And again, I used felt for the accent pieces.

Here is a close look at the gorgeous stitched details from Die-namics Stitched Rectangles STAX.

One more card... as I looked at Die-namics Stitched Rectangle STAX, I thought it would make a great pocket for a gift card when combined with Die-namics Gift Card Grooves.

By placing both dies onto my Wild Cherry cardstock, securing them in place with low-tack tape, I passed them through my manual die cutting machine at the same time. Once done, it created this great little pocket! When you adhere this to your card, be sure and only place the glue or foam adhesive around the edges, allowing your gift card to fit.

Head to the MFT Blog for details and information about how you can win! Be sure and leave comments on all the design team blogs you visit for your chance!

thanks for stopping by!

~kimberly

Supplies for Chalkboard Tree Ornaments:


Supplies for Merry Christmas Chalkboard card:


Supplies for Santa Was Here Gift Card holder:

Related Posts Plugin for WordPress, Blogger...