Showing posts with label boy birthday. Show all posts

Wednesday, April 4, 2018

birthday party decor

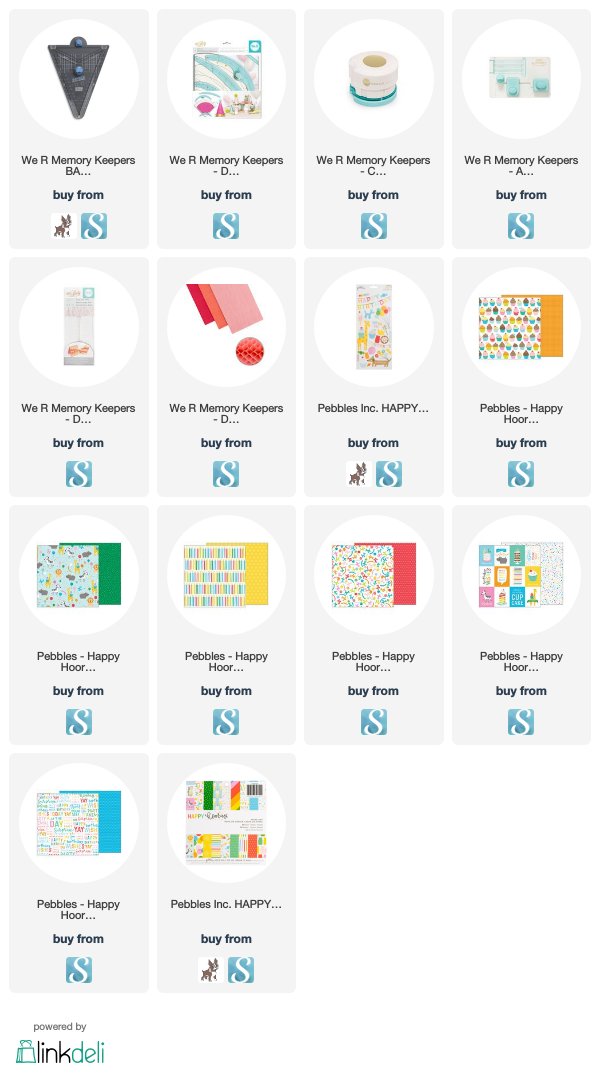
Its time for another fun post with We R Memory Keepers! This week my assignment was to create birthday party decor. Talk about fun! I had a blast creating all these fun party pieces using my We R Memory Keepers tools and papers from Happy Hooray by Pebbles, Inc. Guess what? With those awesome tools, I made all of this in about an hour! Seriously! Visit the We R Memory Keepers blog for all the details!


Sincerely Yours,

Thursday, February 15, 2018

inside out card

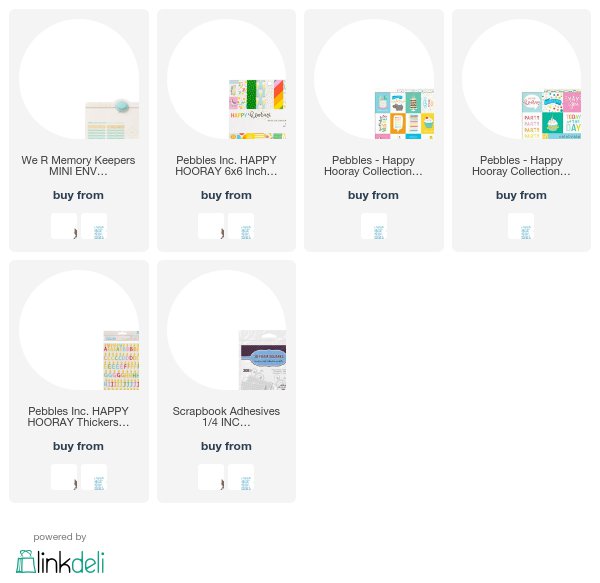
An inside out card? What?! Well, what I mean is, I put the envelope ON the card, instead of the card inside the envelope! I am obsessed with the Mini Envelope Punch Board from We R Memory Keepers, and I thought for my project this week, it would be fun to use the envelope on a card!

One of the envelope sizes you can make with the Mini Envelope Punch Board is perfect for holding not only 3x4 journaling cards, but also gift cards! Seeing as my son turned 12 the other day, the timing could not have been more perfect for this card and the ability to give a gift card!

Visit the We R Memory Keepers Blog and check out how to create this fun inside out card!

Sincerely Yours,


Sunday, July 3, 2016

dino happy birthday


Welcome to the MFT Stamps Release Countdown! For the next few days we will be sharing projects featuring the new stamps, dies, and stencils that will be releasing this month. You will be able to purchase any of the products you see over the next few days on Tuesday, July 5 at 9 pm Central.

You're Rawr-some and the coordinating Die-namics You're Rawr-some are fun scene-building images that make some awfully cute masculine cards or boy birthday cards! Having a boy of my own, we are always in need of good boy stuff and these are perfect! But, with the adorable and punny sentiments in You're Rawr-some make great cards for anyone!

I stamped and then colored my dinosaur, palm tree, and grasses images from You're Rawr-some with color pencils. After the coloring was complete, then I die cut the images with Die-namics You're Rawr-some. Then I had fun layering them to create a scene around the next new product!

Before cutting my card base with Die-namics Happy Birthday To You, I stamped it with a new background image, Transparent Triangles Background. These open triangle images have a ton of possibilities, but when I saw the dinosaur images and then these, all I could think of was The Flintstones and knew that these images would pair together perfectly! :D

After cutting Die-namics Happy Birthday To You, I placed a panel of Blu Raspberry card stock behind the letters. I could have replaced all the centers of the letters, but chose not to as I love the look! Hang on because tomorrow, my love for Die-namics Happy Birthday To You will continue!

Visit the MFT Stamps blog for all the information you will need about the upcoming release. That includes product images, product videos, links to the design team projects, and more! Plus, there always seems to be a chance to win!

thanks for stopping by!

kimberly

Supplies available July 5:

Sunday, January 31, 2016

2 space-themed birthday cards for boys


Welcome to the MFT Stamps Release Countdown! For the next few days we will be sharing projects featuring the new stamps, dies, stencils, and colors that will be releasing this month. You will be able to purchase any of the products you see over the next few days on Tuesday, February 2, at 9 pm Central.

Out of This World and Die-namics Out of This World speak to the space-loving kid in all of us. And even more importantly, to the space-loving boys in our lives! Having a little boy, its not too often that I get sets of stamps and dies that would work for projects to give him! Out of This World fits the bill and he loves the images!

The sentiment from Out of This World, "counting down," caught my eye and is where the inspiration for this card began. 

(Silly side story, remember when your kiddos were little and you would countdown from 3 before the real consequences would start? I did that with the little man and one day, after I said, "3, 2, 1..." He replied with, "LIFT OFF!" After suppressing a serious bout of giggles, we had a talk about respect. But seriously, how funny was that?! Okay, back to card making.)

I cut Daffodil card stock with Die-namics Stitched Numbers. To create the dots between the numbers, I used the bottoms from the question mark and exclamation points in the set. The sentiment is stamped on to Black Licorice card stock and heat embossed. Be sure and use that embossing magic pouch before heat embossing white on black, save yourself the stray flecks!

To shoot my fun rocket into space, first I needed to make outer space! Using the new background stamp, Starry Night Background Builder, I stamped the images on Black Licorice card stock with Watermark Ink. I heat embossed the stars with clear powder to create texture and shine. SUCH a cool look! 

All of my images were stamped on to Sweet Tooth card stock, stamped with Hybrid Black Licorice Ink, and colored with color pencil. Die-namics Out of This World made cutting out the images easy!

I almost forgot the part that gets the rocket into space-the ignition! I created the flames for the rocket about to take flight using Die-namics Roughing It. Sure, it's a camping set, but it had flames! Exactly what I needed! 

What is space without aliens? Cute aliens?! Out of This World has a few cute alien images that work in with the rest of the images, including the planet.

The images are a ton of fun to color and I love that they can all be colored to different color palettes! Even for your space-loving little girls! Pink and purple rocket? Yes, please!

To make outer space on this card, I used a new die called, Die-namics Stars in the Sky Vertical. It does exactly what its name says; cuts many stars, the tall way. It works perfect on my card that is portrait oriented. There is also Die-namics Stars in the Sky Horizontal for landscape cards! On the back of my card base, I adhered a panel of Daffodil card stock, allowing the stars to shine through!

One last fun touch, I traced a bowl to create a circle from Gravel Grey card stock. Then I embossed the card stock with Stencil Jumbo Polka Dot. Looks like a crater-filled planet, doesn't it?!


Visit the MFT Stamps blog for all the information you will need about the upcoming release. That includes product images, product videos, links to the design team projects, and more! Plus, there always seems to be a chance to win!

thanks for stopping by!

kimberly


Supplies for 3-2-1 Countdown card, available February 2:

Supplies for Unbelievable Birthday card, available February 2:

Related Posts Plugin for WordPress, Blogger...