Showing posts with label Inking. Show all posts

Tuesday, September 10, 2019

Two Stamping Techniques, Two Cool Tools, One Fall Card

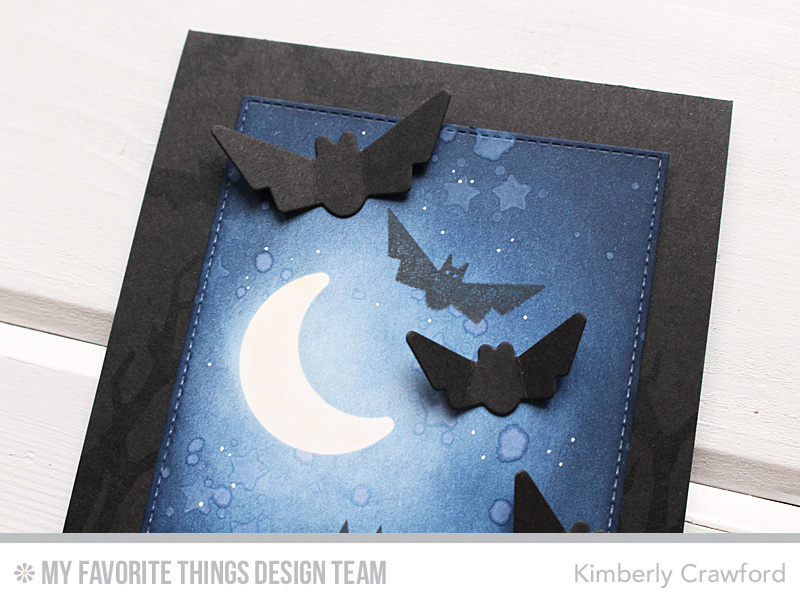
Moments of fall seem to be peeking through the days of lingering warm weather. One of my favorite fall color palettes is this one here. Mostly because I can create fall without diving head first into reds, yellows, and oranges. Because those colors somehow don't feel right when its still 85 out and the air conditioning is running. :D

Check out the We R Memory Keepers tools I used to create not only the beautiful sort-of fall color background, but also the shadowed sentiment.

For a full tutorial please visit the We R Memory Keepers Blog.

First set of tools up is the Impressions Daubers. These foam-handled tools are perfect for blending inks on your card stock or patterned paper. You can even use them to create unique backgrounds by using them as a stamp. There are two shapes as you can see. I personally love the circles, but when you need to get into a smaller spot, the triangles really are helpful. The Impressions Daubers come in a handy case that closes nicely. A fun and useful tool to add to your stash!

Then I used the Precision Press to create a very cool shadow effect behind my sentiment. The Precision Press is very helpful with lining up stamps so they line up perfectly. The part that I like the most about the Precision Press is the fact that the lid is not attached to the base. You can use the lid to stamp on its own. Nice for creating backgrounds.

Visit the We R Memory Keepers Blog for the full details on using these tools. Plus a few very helpful inking and stamping tips! 

Sincerely Yours,
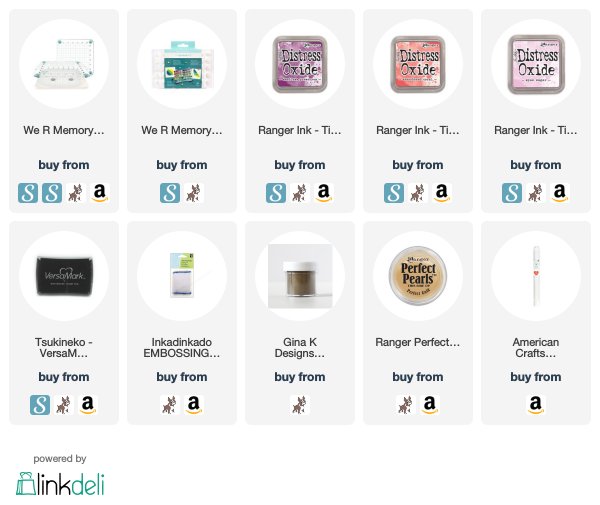
Supplies Used. Listed with affiliate links. Thank you for supporting me and my family with your shopping.

Thursday, July 28, 2016

creating a spooky night inked background; MFT Stamps August Release Countdown Begins


Welcome to the start of the MFT Stamps Release Countdown! For the next 5 days we will be sharing projects featuring the new stamps, dies, and stencils that will be releasing this month. You will be able to purchase any of the products you see over the next few days on 
Tuesday, August 2 at 9 pm Central

Its time for a little spooky fun with the MFT Stamps August Release! I started things off with Spooky Sweets and the coordinating Die-namics Spooky Sweets! These two sets work so well together! Allowing you to mix and match stamps and die cut images! Tons of possibilities!

To create the background panel, I started by cutting the moon image from Die-namics Spooky Sweets from Masking Paper. Masking paper has stick, like a post-it note, on the one side and a regular surface on the top. I placed my moon on my card stock panel and began to ink. Starting with the lightest color of blue ink next to the moon and then working my way out with darker inks. Once I was happy with the inking, I removed the mask, revealing a white moon in the sky! Such a cool look! 

To add to the depth of the inked background, I spritzed water on the three star image in Spooky Sweets and stamped it directly on the card stock. Doing that allows the star image to impress itself in the ink. I added a few water splats, along with white splats.

I stamped a bat from Spooky Sweets on the panel. Surrounding the stamped bat is bats die cut using Die-namics Spooky Sweets. See how well it all plays together?! One more detail worth nothing, on the black card base, I stamped tree branches and more bats, to help pull the background onto the base. The watermark ink is subtle, but effective!

Visit the MFT Stamps blog for all the information you will need about the upcoming release. That includes product images, product videos, links to the design team projects, and more! Plus, there always seems to be a chance to win!

thanks for stopping by!

kimberly

Supplies available Tuesday, August 2:

Friday, October 2, 2015

elegant and whimsical Christmas cards: MFT Stamps October Release Countdown


Who is singing Christmas songs now because of all the amazing products and projects?! I know I am! Today's peeks give you a look at the classy and elegant to the fun and whimsical Christmas products being released this month! A style for everyone!

How about those brand new colors?! From the moment I saw the Green Eyed Monster card stock, I was in love. Its a beautiful shade of blue/green, one that is elegant and soothing. Pairing this beautiful color with the gorgeous images in Hand Lettered Holiday was a no-brainer! The color, sparkle, shine, and timeless images make this one of the prettiest cards I have ever made.

I began by inking a panel of Sweet Tooth card stock with Green Eyed Monster ink using a Mini Ink Blending Tool. Once the color was applied, I placed Stencil Snowfall over the top. Using a damp paper towel, I gently pressed through the stencil, removing the ink underneath, creating the look of snow. The panel was then spritzed with MIX-ables Shimmer Sheer Mist. I set it aside to dry and then decided to help things along with my heat embossing tool. I have no patience. :) The sentiment from Hand Lettered Holiday was stamped on the panel and heat embossed with white powder. Snowflakes from another new set, Snowflake Flurry, were also stamped and heat embossed. To add more depth, I stamped more snowflakes with watermark ink. For even more shine, I added a few clear sequins.

Now on to the cute and whimsical holiday style! Birdie Brown is bringing us some adorable stamps and coordinating dies of Christmas elves this month in a set called, Santa's Elves. The set is full of images to color and to create great scenes! I love the accessory images like the tree and the cute jingle bell!

I die cut all my images from Die-namics Santa's Elves from Blending Card by X-Press It. Then I stamped the images with Hybrid Black Licorice Ink. The images were all colored with Copic markers.

Sweet Tooth card stock was cut with Die-namics Stitched Rectangle STAX. I used the second largest one, to make a slightly smaller space to create my scene. To the center of the rectangle, Lemon Drop ink was applied with a Mini Ink Blending tool. Then, with the same color ink, I stamped a few of the snowfall images from Santa's Elves. The sentiment was stamped in Hybrid Black Licorice ink. How cute is that?!

The scene panel was layered on a piece of Wild Cherry card stock cut with Die-namics Pinking Edge Rectangle STAX. Which was placed on the card base that was stamped with a fantastic new background image, Sketched Chevron Background. Adore is not a strong enough word to describe how I feel about this new background! Its perfect!!

Visit the MFT Stamps Blog for more information about the October release! Be sure and check out the new colors being released and all the videos showing you the new products! Its nice to be able to see them in someone's hand and get a better idea of size!

thanks for stopping by!

~kimberly

Supplies for Happy Holidays card, available Oct. 6:


Supplies for Like No One Elf card, available Oct. 6:

Related Posts Plugin for WordPress, Blogger...