Showing posts with label Halloween. Show all posts

Monday, October 7, 2019

Die cutting + Planner Pages

Honestly, I never thought about die cutting for my planner pages. It never crossed my mind. But my assignment for We R Memory Keepers was just that. Boy, am I glad it was, because I have a TON of ideas for incorporating die cutting into my planner pages!

I started off slowly. I had this cute, but basic bat clothespin from Pebbles, Inc. I added a die cut circle of patterned paper and a suuuper cute brad. Ok, cute idea. But what else?

Well, I wanted to layer this pre-made tag on the page. So, why not die cut a cute banner for more color and a change of shape? Done and more cuteness. Now this was becoming pretty fun!

Then I remembered this cool label tape and embossing folders I had...adorable borders with dimension! EEEEE!! 

Finally I needed to add a space for my days. I was going to draw them with a pen, but as I flipped through my stash of dies and saw some scalloped frames from My Favorite Things the lightbulb went off! I think I will be using these squares all the time! They add texture, color, and a whole lot of cuteness! For the complete details on this layout, visit the We R Memory Keepers Blog today!

So have you ever used die cuts in your planner?

Sincerely Yours,
Affiliate links used. Thank you for supporting me and my family this way! :D
Tuesday, September 24, 2019

Halloween Cupcakes - Quick and Pinterest Worthy

I love decorating cupcakes and treats. I want things to look Pinterest worthy and get all the oohs and aahs. But let's be real honest here, who has the time for that?!? Its one of the reasons that I love designing for We R Memory Keepers. They have the tools to make these projects quickly. But more importantly than that, my projects look fabulous as well! Decorating these adorable Halloween cupcakes took me maybe 15 minutes. No joke! 

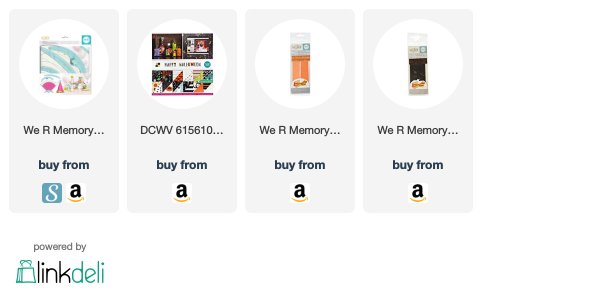
To start with, I used a DCWV paper pad called Happy Halloween. The paper pad had these super cute tags with iridescent foil accents. I simply cut them from the paper, glued a tooth pick to the back, and added a couple of stars I punched from patterned paper. The glue took longer to dry than making these! There were so many cute and punny sayings, I had a hard time choosing!

The next step was making the cupcake wraps. Using the We R Memory Keepers DIY Party Board, I was able to make several cute wraps. The toughest choice was picking which papers I wanted to use. The standard cupcake wrap needs a 7"x7" piece of paper. With two cuts, the wrap is ready for adhesive. I place some on each end and secure it closed.

I did take the cupcake wraps another step and added some fun fringe. I used the We R Memory Keepers DIY Party Fringe around the inside edge. One piece wrapped around twice, adding a nice fullness. The Fringe has adhesive on it already, making it quick to apply to the wrap.

I found a few candy pumpkins at my local grocery store and knew they would be a perfect finishing touch.These definitely make me smile. 

What kind of treats do you like to make for Halloween? Will you try cupcake wraps and picks this year?

Sincerely Yours,
Supplies. Affiliate links used. Thank you for supporting my family and I in this way!

Thursday, October 18, 2018

Halloween Decor - String Art with Eyelets

So I love the look of string art, but me and a hammer and nails really is not a good idea. Seriously, even ask my 12-year-old! Ha! But when I was assigned to make a piece of Halloween decor, I knew I could create the look with eyelets!

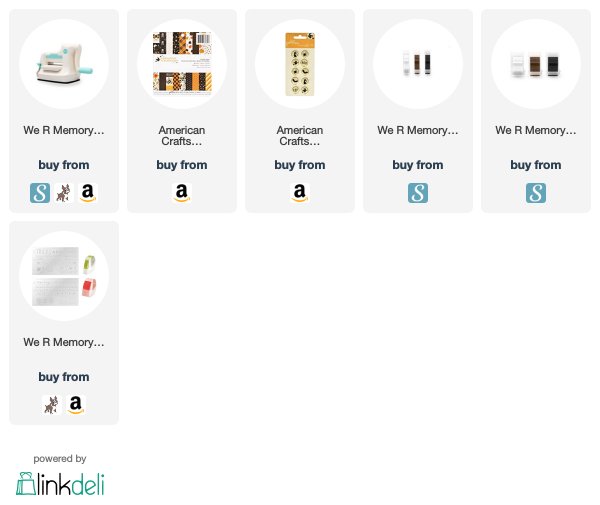
I could not be more thrilled at how this turned out! Its SO crazy cute! It was pretty easy to make. All I needed was a pencil, ruler, eyelets, and a Cropodile Big Bite. Be sure and visit the We R Memory Keepers blog for all the instructions and a few tips!

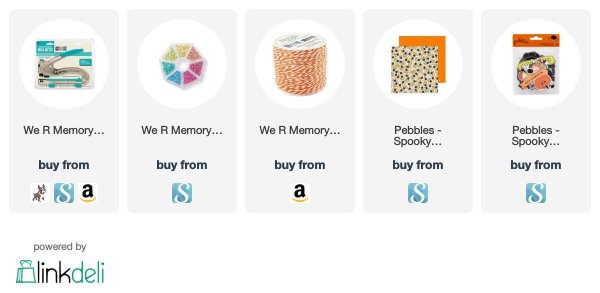
To add to the seasonal look of this framed project, I used Pebbles Spooky Boo collection. I mean, read this sticker! Caution: may contain traces of spiders! Ha! 

Sincerely Yours,
Supplies. Affiliate links used.

Thursday, August 23, 2018

Halloween Decor with Pebbles' Spooky Boo - Guest Designer

This month I am guest designing for Pebbles Inc.! I have long been a fan of all their collections, as their trendy, but cute and classy designs totally speak to my aesthetic! Its an honor to use their products and to share on their blog!

There is a new shelf in our living room and it was time to make a design plan for Halloween. The new Spooky Boo collection, plus a bunch of frames I had hoarded saved for a special occasion, made the perfect combination. Making all these pieces was so.much.fun! 

Over on the Pebbles blog, I share details on the products I used in each frame, along with why I made some design choices as well. Seriously, how fun are these??! 

My slightly sick sense of humor is on display, as I added a trick or treat banner to the poison bottle stickers. Ha!

Not only does Spooky Boo make fantastic decor, but the tags and stickers will also make some great Halloween treat packaging as well! You know how much I love making fun Halloween food as well, so be sure and keep an eye out for more uses with Spooky Boo! And to get even more looks at what I made, follow me on Instagram. You can find me @kimberlystamps! See you there! :D


Sincerely Yours,
Supplies used, listed with affiliate links:

Monday, October 23, 2017

Mail It Monday: mail-able treat ideas for Halloween


Its Mail It Monday! Doesn't this brighten your Monday?! It sure does mine. Especially when I see your photos and read your comments about how thoughtful you all are when you send cards! I am so blessed by them all, which encourages me to mail even more! Today I am mailing 12 cards. 12! Its unheard of for me. And it makes me so, so happy!

I have some very sweet littles in my life, including my nephew. I wanted to surprise them with some fun Halloween mail. Remember as a kid how you hoped every day that there would be mail for you?! And how great it felt when there was something for you?! I knew I needed to mail them cards!

While I really didn't have any Halloween supplies suitable to make cards in my stash, I did see a cute pack of cards at Hallmark. No shame in store bought my friends! Its the thought and sending happy mail that matters.


I wanted to include some small treats in my cards, something that was mail-able and would not add too much bulk. After much searching, I saw an ad on Instagram for Wendy's Frosty coupon books. (That was definitely the first, and most likely the last, useful web ad...ha!) And at $1 a book, affordable. I also found a box of Halloween temporary tattoos. Another super find!


Off my cards go to make a kiddo's day. Seriously, the best feeling ever!! Keep sending love and sending cards!! <3 p="">


 Sincerely Yours,

Thursday, October 19, 2017

Witch Hat Halloween Decor


Another fun project for the design team at We R Memory Keepers today! Halloween is quickly approaching and I am getting all my decor out. One of my favorite things to do is to add a few more pieces to my collection each year. And each year, they are handmade pieces. 


These witch hats were made with the DIY Party Board. Yep, the board that is meant to create party items. So fun when you can use your tools in many ways! Plus, how cute are these papers and stickers from the Pebbles Midnight Haunting collection?!! Visit the We R Memory Keepers blog for a tutorial and some helpful tips!

Sincerely yours,

Friday, September 29, 2017

Halloween projects galore!


Its getting to be that spoooky time of year again! I thought it would be fun to share some of my favorite Halloween projects from the past. Some fun inspiration for your card mailing! I will link to the original blog post. Simply click the name of the project. Once there, you will be able to find links to the products I used.


This first card is made with stamps and dies from MFT Stamps. I love the inked background and with the new Distress Oxide inks, the blending will be even smoother!


One of my favorite Halloween projects, ever. I have kept these and put them out every year! While the dies are no longer available from MFT Stamps, these luminaries can easily be created with any Halloween images from dies or even from a Silhouette. The original post includes a video tutorial.


Nothing is cuter than the images from Reverse Confetti! This card still makes me smile. Simple and perfectly seasonal. The stamp set Spooky Sentiments is still available!


You knew I would sneak a layout in of my little man. Who is not so little anymore! The adorable images from Reverse Confetti made one cute layout! 


File this one under the easiest treat bags you will ever make! Simply put small treat bags in an embossing folder and run them through your manual die cutting machine! Add a tag or stickers! Done!


Yes, this card glows in the dark! Its true! Check out the original post, with a full video tutorial. And stay tuned, I have a few more glow-in-the-dark projects to share!


Sincerely Yours,

Tuesday, September 5, 2017

glow-in-the-dark Halloween card video tutorial


Do you ever wake up in the middle of the night with a great idea?! It happens to me often, and this card is a result of one of those crazy thoughts!


I had purchased several different colors of the Nuvo Glow Drops and had NO idea what to do with them. I began thinking about how to use the drops, and then, it struck me! Eye background! Even better? Glow-in-the-Dark eye background!!


You can see how well these Nuvo Glow Drops truly work! Look at how cute on the little ghost cheeks! :D


 I began by drawing pairs of small ovals on a piece of black card stock. I used three different colors of the Nuvo Glow Drops. After finishing the colors, to give the eyes their centers, I added Ebony Black Nuvo Crystal Drops. For more information, suggestions, and details, watch the video below.


For those that want to see it in HD, please click here: Glow in the Dark Halloween Card
For those who subscribe via email, please use the link above.
Otherwise, click the arrow to watch the video.


So much fun! I have a certain nephew who will think that this card is about the coolest thing ever! 


Sincerely Yours,

Thursday, September 22, 2016

MFT Stamps Color Challenge #54


The latest MFT stamps color challenge is up and its perfect timing for your Halloween projects and cards! Its a fun combination!

I started by die cutting Die-namics Chunky Chevron Cover-Up from all four colors of card stock. I popped several pieces from the Sweet Tooth card stock panel out and added the colored pieces in at random. Once I had my layout decided, I adhered the Sweet Tooth card stock panel, and its pieces down, then added the color card stock pieces, but used foam adhesive for added dimension.

The card was finished off with a heat embossed sentiment from Frightful Friends stamp set, a few bats from Die-namics Spooky Sweets, and for sparkle, clear sequins.

Visit the MFT Stamps Card Challenges Blog for all the challenge details, including more inspiration from the design team. Join us and play along, we cannot wait to be inspired by what you create!

thanks for stopping by!

kimberly

Supplies:
Related Posts Plugin for WordPress, Blogger...