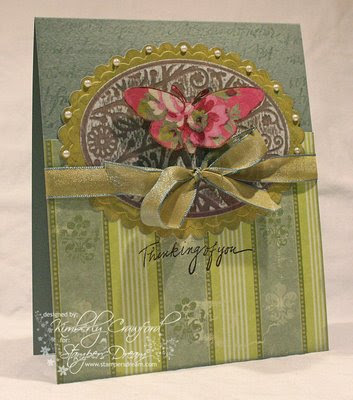
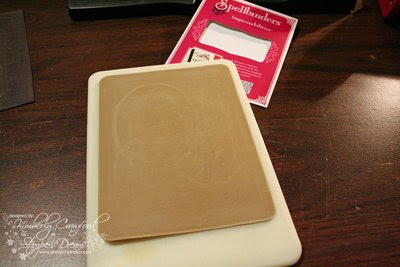
 If you haven't had the chance to play with the newest Spellbinders' product, Impressabilities, you should! They are a ton of fun and there are so many creative ways to use them. Today I am going to show you how to create a die cut shape that has the Impressabilities image on it. You can see the oval in the card above.
(see the strange pattern? always place the pattern you want showing down onto the die, in this case the brown is on the other side)
2. Place the Impressabilities down on your cutting mat.
3. Place the die with paper in it, rough side up, onto the Impressabilities.
 4. Place the embossing mat over the layers, top with second cutting mat, and run through the machine.
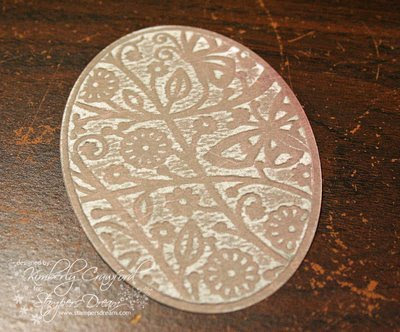
This oval was cut from patterned paper and sanding it revealed its white core. Imagine the possibilites with colored core paper!
 Here is a look at the finished oval. Pretty easy, but stunning results!! I wanted to mention that the butterfly on the card was cut from the latest patterned paper from K&Co called, Madeline. hope you have a wonderful day! thanks for stopping by!
 Here is a look at the finished oval. Pretty easy, but stunning results!! I wanted to mention that the butterfly on the card was cut from the latest patterned paper from K&Co called, Madeline. hope you have a wonderful day! thanks for stopping by!
Supplies:
Ink-Clearsnap (Colorbox Chalk Dark Brown), Tsukineko (Versamark Watermark)
Ribbon-May Arts
Pearls-Hero Arts


.jpg)


11 comments:
A gorgeous card Kim!! Love it! xx
WOW! I am impressed with the Impressabilities and that awesome technique! Gorgeous card, and so very creative!
Kimberley, This card is awesome!!
Such great directions.
Ooooooo, Kim, I love this!!! So elegant! TFS the info on the Impressabilities!
GORGEOUS!
I am getting out my pen and adding more things to my never ending list!
How does one of get satisfied in this rapidly changing industry? I never have enough of anything. I have enough paper, to paper Windsor castle; yet I need more.
I think I need help!
R
WOW, this is just fantastic. Thanks for sharing!
Beautiful Kim! The card is just so soothing! :)
Gorgeous Card and excellent tutorial Kim!!
Beautiful Card Kim! :)
Your card is STUNNING! Total GORGEOUSNESS!
Thanks for the tip on sanding the embossed panel...I'll have to try that! I'm still figuring out all that can be done with these templates and your tutorials are VERY helpful!
ohhh kimberly i love your blog such clear instructiions on how to make your beautiful cards im going to be a big fan of yours cant wait to she the rest of your blog.
you are so very very talented.
love tracey x
Post a Comment