Friday, October 18, 2013
warmest thoughts with The Craft's Meow
Friday, March 8, 2013
Paper Crafts Card Creations Vol. 11 Blog Hop
Each of the designers on the hop today is using one of the wonderful and downloadable sentiments created especially for this issue! You can find the sentiments here –> Card Creations Vol.11 Sentiments
I chose this sentiment to use on my project:
You have the ability to download either a .jpg format or a .pdf. It gives you options and that is always best for creativity! But I want to show you how I changed my sentiment to fit my project. Its very easy to do!
I downloaded the .jpg version to my computer and saved it in a location that I would remember. That is, for me at least, the big key. :) I opened it with Photoshop Elements v10. You can use any photo editing program with the tools shown on the side.
Start by finding the color box on the left side.
Click the left side or front box. A color palette like this will appear. Slide the two white arrows (around the line of rainbow) until you get to a color you desire. Then click inside the palette for the shade of color. You can click and play around until its perfect.
Once the color makes you happy, click the tool that looks like a bucket of paint. Then click the center of each letter and icon. Each part will change. Then print. See? Easy peasy lemony squeezy! (to quote my favorite 7 year old)
Inside the photo editing program, you can also make this image larger or smaller, whatever is needed to suit your project. I simply printed it as is.
Here is a closer look at the printed sentiment. The image was stamped with Color Shine color mists. The mists were spritzed onto a craft mat and the stamp placed into them, just like ink.
Check out these fantastic designers who are using several of the other downloadable sentiments!!
- Angeline Yong Jeet Leen
- Jocelyn Olson
- Kalyn Kepner
- Alice Wertz
- Jaclyn Miller
- Kimberly Crawford *you are here*
- Cristina Kowalczyk
- Emily Leiphart
- Karolyn Loncon
- Rachel Izakowicz
- Rae Barthel
- Sarah J. Moerman
- Paper Crafts Connection
thanks for stopping by!
~kimberly
Friday, August 26, 2011
Paper Crafts magazine presents: Bonus Sketch Blog Hop
Typically I am not a sketch user, but I found these sketches made creating projects flow easily and quickly. These sketches are easily adapted to mixed media projects, or even scrapbooking. I mean, look at that cover! I am totally making those candles on the little man’s next birthday page! And on days where the mojo just isn’t around , I will be grabbing this issue for inspiration!
In the back of the issue are 12 bonus sketches, and if you are waiting to get your hands on the issue, you can find the sketches here: Paper Crafts bonus sketches. For the hop today, we all chose a sketch and created a project.
I took the sketch very literally because the whole thing just spoke to me and my usual style. To create the panel with the sentiment, I die cut a journaling card with Spellbinders Labels Seventeen (just use a little low-tack tape to hold the die template in place while cutting). And I just had to use one of my favorite lines from CHA, Kaiser Craft’s Miss Nelly.
For more inspiration, and of course a chance to win, visit these talented ladies:
- Julia Stainton
- Teri Anderson
- Chan Vuong
- Lindsay Amrhein
- Kalyn Kepner
- Regina Mangum
- Angeline Yong
- Heidi Van Laar
- Kimberly Crawford *you are here*
- Vanessa Menhorn
Two, leave a comment on my blog because I have a copy to give away also! You have until midnight (MDT) on Sunday, August 28 to leave comments.
For your comment, I would love for you to help a mom out! :) Our little man has asked for his training wheels to be removed from his bike. He is trying hard, but, you know how it goes. :) Do you have any special tips, tricks, or advice to help him conquer bike riding? We would really appreciate the ideas!
good luck, enjoy the hop, and thanks for stopping by!
~kimberly
Supplies: Sketch-Betsy Veldman (Card Ideas for Paper Crafters), Patterned paper-Kaiser Craft Miss Nelly (Her Smile, Her Eyes), Stamps-Hero Arts (Live and Laugh), Ink-Tsukineko (Memento Tuxedo Black), Brads-Creative Impressions, Spellbinders-S5-025 Labels Seventeen
Sunday, August 14, 2011
I heart you with Avocado Arts
I stamped the license plate image onto a piece of cardstock. Then, I masked off the heart and inked up the letters from the sentiment. They fit perfectly. The image was then stamped again, with red ink. The heart was cut out and foam mounted to the center. Two mini brads were added to “hang” the plate from.
Seeing this as a little boy card, I stamped a line of cars in black.
Stopping the cars short of the end, I added a few little hearts, like exhaust. Simple and cute. The little man starts kindergarten on Thursday, so I may slip this into his bag to find. Maybe I need to send it more than he needs to get it.
And here’s a quick little peek at what is coming up for next month…
Our basement is finally back to normal. There are a few more repairs to be completed, but everything is back in its place. We had a great time with my parents and sister here for the last week and then some. Lots of shopping and playing tourist. And of course eating at lots of fun places and cooking lots of fun food.
My hubby and I also celebrated our 12th wedding anniversary this past weekend. I am very blessed with him and all he does for our family!! We went crazy and worked on the house in honor of it.
Be sure and check out the rest of the ladies and their fabulous creations!
Avocado Arts Blog
AJ Otto
Latisha Yoast
Julia Stainton
Becky Oehlers
thanks for stopping by!
~kimberly
Supplies: Stamps-Avocado Arts (Zip N By to Say Hi), Patterned paper-Crate (Toy Box), Ink-Palette (L’Amour, Noir), Twill-Jillibean Soup, Twine-Jillibean Soup, Brads (Creative Impressions)
Thursday, June 30, 2011
a message board with Avocado Arts
I started with a base of 12x12 Chalk Stock, then added two pieces of cork, and for the last spot, I found sticky back Dry Erase paper.
The cork and Dry Erase paper also took ink nicely. Keep in mind that you will want to use inks made for projects like this AND give them ample dry time to avoid smudges.
Check out the rest of the team:
Avocado Arts Blog
AJ Otto
Latisha Yoast
Julia Stainton
Becky Oehlers
Don’t you love it when paper crafting and home projects come together?! thanks for stopping by!
~kimberly
Supplies: Stamps-Avocado Arts (Hello Friend, Strike a Post, Avocado Type), Chalk Stock-Canvas Corp (12x12), Cork-Creative Impressions, Dry Erase (Darice available at Michael’s), Ink-VersaMagic, Palette (Noir, L’Amour, Paris Lights, Landscape, Reflection Blue)
Saturday, January 8, 2011
Stampendous Blog Hop
Welcome to Stampendous! Rubber Stamps’ first official Blog Hop! We’re so excited that our stellar Design Team was up for this challenge so soon after the grueling work of producing all the samples for our January 2011 Catalog. Here’s your chance to see some really wonderful projects from BOTH the October 2010 Valentine, Easter, Spring Catalog (just uploaded to our website for your purchasing pleasure that can be seen HERE) and the January 2011 Catalog premiering at CHA at the end of this month (soon to be available in your local store for your wish list making pleasure). We’re so excited you can join us! There will be four prizes drawn at random from the eligible hoppers... We’ll give away two of the Busy Bunnies set from the October Catalog and two flower sets from the January Catalog! All blog hoppers who comment on all the blogs will receive an email with a really cute bonus project and directions!!
Official Rules:
1. Start the hop at the Stampendous! blog then hop through all the Design Team blogs.
2. Make sure to leave a comment on each Design Team Members' post.
3. We will pick 4 random winners from all the comments left at all the sites. You must comment on EACH site to be eligible.
4. You have until Monday, January 10th at midnight EST to hop and comment.
5. Winners will be picked and notified on Wednesday, January 12.
6. We can’t mail prizes internationally, but if you want to join the hop we will email you the cute project.
7. Have fun!
Here’s where to start hopping:
Here is my first project for the hop. I am totally thrilled that this is in the October 2010 catalog! Mostly because I just love this card. Its so bright, springy, and I didn’t put the sentiment in a “normal” place. Way to go me! :) (Let’s face it. I am pretty type-A and lining things up is very important. Its a big step for me. :)) And note the sentiment stamped in watermark ink on the card base. I forget to add subtle details like that to my cards. Time to throw that one back into my repertoire.
Supplies: Stamps-Stampendous Clear(SSC1090 Block Art Beautiflowers), Copics (BG000, R22, R24, R27, YR02, YR04, YR07, YG03, YG17, G07), Ink-Memento (Tuxedo Black), Versamark (Watermark),Ribbon-Creative Impressions, Spellbinders-Classic Scalloped Rectangle Large)
This card will be in the January 2011 catalog coming out at CHA. (Don’t you LOVE how they shoot these for catalogs? Could they come to my house please? :)) Of all the cards I have made, this one would rank in my top 2. Seriously. I love it. The colors and the papers just worked. I love the image. Its so beautiful and serene. Makes me want to go to Italy, and I have a thing for poppies.
Supplies: Stamps-Stampendous Wood (M234 Poppy Scene), Copics-R22, R24, R27, G40, G82, G94, E53, E55, E57, E29, E37, BG000, O), Ink-Memento (Tuxedo Black), Clearsnap (Colorbox Chalk-Creamy Brown), Patterned paper-October Afternoon (Thrift Shop 8x8)
Have fun hopping!!! thanks for stopping by!
Monday, September 27, 2010
Mint Monday
Its been quite sometime since we have had a Mint Monday! I am happy to say that life has once again returned to normal, we are settled, and I am ready to get back into the groove of things! :)
If you have made a project using Mint Motif stamps, be sure to email me at Kimberly1Crawford@gmail.com. I would LOVE to share your project and a link to your blog or gallery!
AND, in case you missed it, don’t forget the design team call we have going for Mint Motif! The deadline is THIS FRIDAY! There is lots of details HERE.
Please email your applications with all this information to
dt@iheartpapers.com. Deadline to apply is October 1, midnight EST.
I made a small flower, using the leaf image from Mint Motif’s school basics. Well, I made two. And I wanted to use the other one. (The first one is HERE) So, I grabbed more of the October Afternoon Seaside papers that the flower was made from and made another card.
The cork was stamped with a sentiment from MM’s Very Square Sentiments and it was die cut with a Spellbinders Classic Square. The thin cork from Creative Impressions is very easy to cut with your dies. I am sure that my love of all things kraft and twine also includes cork. :) And yes, Angela, I have an addiction! :)
The October releases will be peeking in just a little bit! (the 11th)! Oh, I cannot wait for you to see these images!! thanks for stopping by!
Supplies: Stamps-Mint Motif (Very Square Sentiments, School Basics), Patterned paper-October Afternoon (Seaside 8x8) Making Memories (Ledger), Cork (Creative Impressions), Twine (May Arts), Spellbinders (Labels One, Classic Squares Small)
Tuesday, June 8, 2010
Borderabilities Possibilities
CARDSTOCK:


This first card was made with the simple border making technique from yesterday and cardstock. Isn’t that beautiful?
Supplies: Patterned paper-Cosmo Cricket (De Lovely), Ribbon-Offray, Stamps-Hero Arts (Everyday Sayings), Ink-Palette (Noir), Cardstock-Papertrey Ink
CARDSTOCK:

Supplies: Patterned paper-Cosmo Cricket (De Lovely), Stamps-Mint Motif (Very Square Sentiments), Gems-Hero Arts, Cardstock and Ink-Papertrey Ink
FELT:

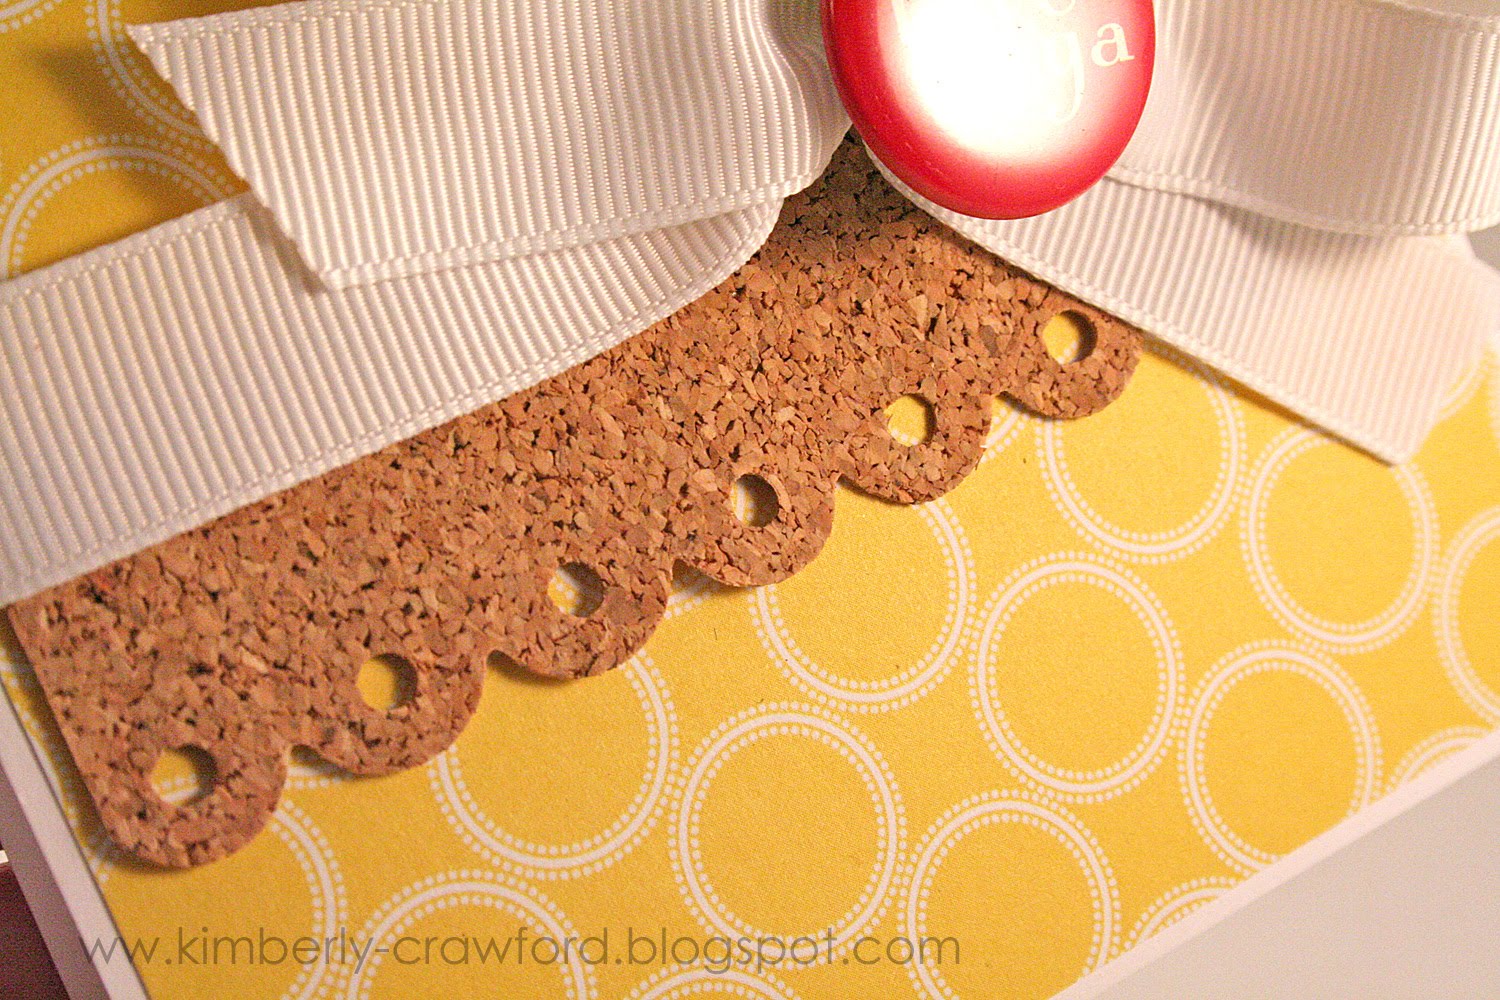
CORK:

FABRIC:

DECORATIVE TAPE:
S4-239 Classic Scalloped Border Petite
Decorative tape is so, so hip right now. It comes in so many styles and colors and well, its just one more thing to start collecting! Some of the tapes come off just like a roll of tape. This tape, from 7gypsies, has a backing. Making it very, very easy to cut. Again, peel the backing off and apply where desired. A fantastic flat element for card makers that want to actually mail them.
Supplies: Patterned paper-Basic Grey (Basic Kraft), Stamps-Mint Motif (Very Square Sentiments), Ink-Palette (Noir), Gems-Zva Creative, Tape-7gypsies
Well, what do you think? Are you inspired? Are you ready to create borders? I have the coolest tutorial for you tomorrow! Fabric paper, Classic Scalloped Border Petite, and some shabby chic-ness. So fun! thanks for stopping by!
Friday, May 28, 2010
hello from the heart
This is a mini card, about 3”x3”. The card base was made using a Classic Scalloped Squares Large die template. If you are curious how to make your own shaped card bases, I have a video tutorial HERE.
A short and sweet post today. We are going to escape this weekend. Nothing to do with buying a house, selling a house, moving, packing, or life changes. :) Just a good, family, get-away. Hope that you have wonderful plans for the long weekend. See you on Mint Monday with a scheduled post. thanks for stopping by!
Supplies: Stamps-Papertrey Ink, Patterned paper-American Crafts, Cork-Creative Impressions, Button-Papertrey Ink, Twine-May Arts, Spellbinders-Classic Scalloped Squares Large, Classic Squares Large


S4-239 Classic Scalloped Border Petite