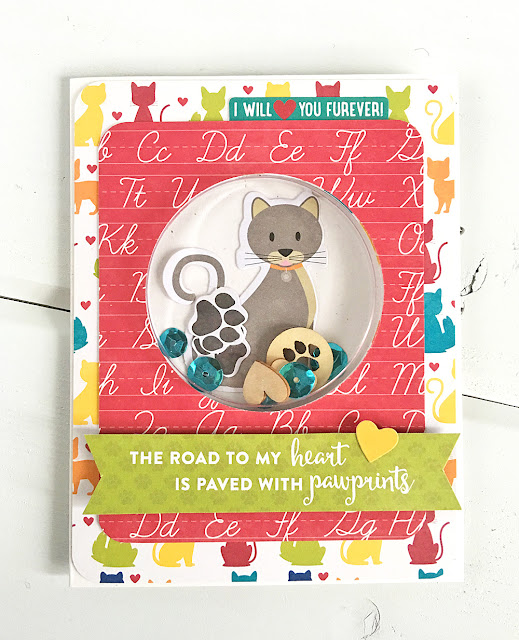
One of my favorite releases from CHA is the new line from Jillibean Soup called, Shape Shakers! Imagine the squeals of delight coming from me as I opened the box and began creating samples for CHA! Shape Shakers is a ridiculously brilliant idea for making shaker cards. You can buy different shaped and sized plastic shaker pouches, sequins, stamps and dies, and it gets better, SHAPED CARD BASES! Yes, the bases are pre-cut so your plastic shaker pouch fits perfectly!
Here is a look at the entire line above. Click the image to make it larger, so you can see all the fun there is to be had when creating shaker cards with this line!
Or, for an even better look, head to the Jillibean Soup Blog.
The great part about these shaker pouches is how deep they are! They are able to hold quite a bit of fun, and opens up your shaker filling options. Inside this Large Circle I placed sequins, die cut shapes, and wood veneer shapes.
The Shape Shakers are meant to be adhered to the inside of the card, making filling and adhering your Shape Shaker easy!
This card also features the Large Circle shaker. To layer the papers on the outside, I found a circle die in my collection that was the same size as my pouch. Punches would work too.
Inside this shaker, I used Bean Board Alphas. Fun for a teacher!
This is the Small Circle shaker. Once again, I utilized a die in my collection that could cut the perfect circle in my patterned paper layers.
I found a balloon die cut image that fit inside the Small Circle shaker. To keep the string, I simply trimmed it away and adhered it to the front of the card. To add the other balloon images, I traced the circle opening in the card base onto the balloons and cut them with scissors.
There are stamps that perfectly line up with the openings! I used the scallop square image around the Square shaker. There are also flower images and sentiments to coordinate as well!
Inside this shaker are wood veneers, sequins, and seed beads.
You don't have to use the card bases as bases. On this gift bag, I made a large tag by die cutting a pennant shape from the front of the card base.
Stamped images from the coordinating stamp sets helped finish off the bag.
I thought it would be fun to create a shaped shaker tag. I grabbed the Jar shaker and traced the outside of the plastic onto a piece of patterned paper. Once cut with scissors, on the inside of the jar shape, I stamped the jar outline, jar lid, and a couple of hearts. The butterflies were stamped separately, colored, and cut out with scissors.
Along with the butterflies, wood veneer hearts were added to the inside. The adorable sentiment was stamped onto a label sticker and stuck to the front. I used a strong hole punch (to get through the plastic of the shaker and the paper) to create a place to tie baker's twine through.
While I was making shaped tags, why not take those shapes and make a bunting?! Wouldn't this be adorable at a baby shower?!
Again, I traced the plastic Shape Shaker onto patterned paper and cut it out with scissors. How cute are the clouds and stars?! Small clothespins held the shaped shakers onto a piece of baker's twine easily.
And finally, what has to be my favorite project, wands. Who doesn't want a magic wand?! One that shakes?! I traced the Star Shaker onto patterned paper. I stamped the coordinating star image on the paper after tracing.The shakers were all filled to the brim with sequins. I tied several trims around the paper straws I adhered the shakers to. On one of the wands, I added the stamped words, make a wish, also from a coordinating stamp set.
Who else is excited about these?! What will you make with your Shape Shakers?!?! Keep an eye out for the Shape Shaker collection at your local scrapbooking store. Some Michael's stores are also carrying these!
thanks for stopping by!
kimberly
Supplies, linked to what is currently available. When the Shape Shakers Collection becomes available, I will update this supply list.


.jpg)


4 comments:
What fabulous projects you created with these fun shakers. I saw these on a JIlliebean Sneak Peek and LOVED them. Seeing them in use, I want them even more. Thank you for sharing all your beautiful creations!!
Oh, MY, the projects you created with these supplies are so adorable!
So clever, Kimberly! Every card a charmer!
=]
Kimberly, great job showing off the new products, they came awesome. Can I ask, are the cat and dog products new or are they from a different company? I love the die cuts, wood paw prints and bones and the cat patterned paper. If you wouldn't mind sharing. Thanks for inspiring. Lisaerica71@gmail.com
Post a Comment